
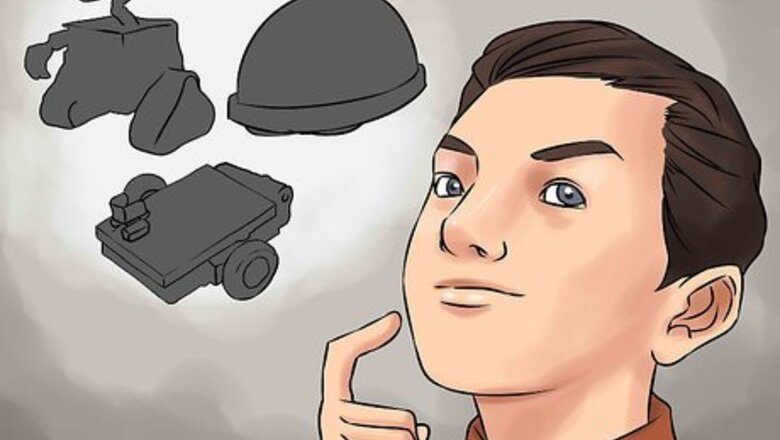
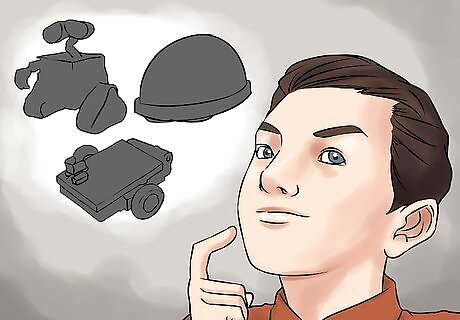
Recognize what you will be building. You are not going to be able to build a full-sized, two-legged, humanoid robot that can do all your chores. Nor will you be building a robot with multiple claws that can reach out and pick up 100-pound weights. You will need to begin building a robot that will be able to go forward, backward, left, and right from you controlling it wirelessly. However, after you get the basics down and have this simple robot built, you can usually add and change things on it. For example, a boom and bucket like a front-end loader. You should go by the principle that no robot is ever finished. It can only be modified and made better.
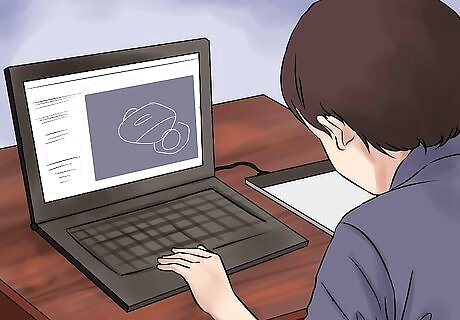
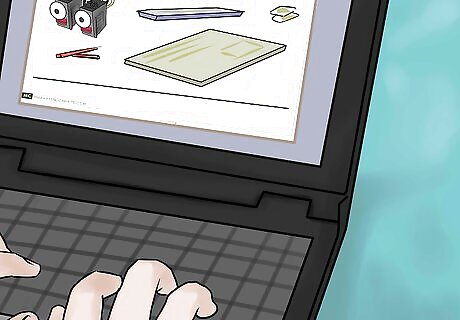
Plan your robot. Before building your robot, even before ordering parts, you need to create a design. For your first robot, go with a simple design of just two servo motors on a flat piece of plastic. This design is simple and usually leaves extra room to add extra things after it's built. Plan to build something about 15 cm. by 20 cm. For a robot this simple, you should be able to just draw it out on paper using a ruler. Draw it the same size on paper as it should be in real life since the robot is so small. When you get into bigger, more complex robots, you should start to learn how to use AutoCAD or a program similar to it, such as SketchUp.
Choose a servo motor. To move the robot, you will need to use motors. One motor will power one wheel and one for the other. This way you can use the simplest steering method, differential drive. This means to go forward both motors spin forward, to go backward both motors spin backward, and to turn one motor goes and one motor stays still. A servo motor is different than a basic DC motor because a servo motor is geared, can only turn 180 degrees, and can transmit data back to its position. This project will be using servo motors because it's easier and you don't have to buy an expensive "speed controller" or a separate gearbox. After you understand how to build a remote controlled robot, you may want to make another one (or modify the first one) to use DC motors, rather than servo motors. There are four basic things you need to worry about when buying servo motors: Speed, torque, size/weight, and if they are 360 modifiable. Since servo motors only turn 180 degrees, your robot would only be able to go forward a little bit. If the motor is 360-degree modifiable, you can modify it to spin continuously, so make sure the motor is 360-degree modifiable. Size/weight isn't very important in this project because you will probably have plenty of room left over. Try to get something average-sized. Torque is the motor's strength. These are what the gears are used for. If there are no gears and the torque is low, it probably won't allow the robot to move forward because it doesn't have the strength. You want a high torque, but the higher the torque, generally the lower the speed. For this robot, try to get a good balance of speed and torque. You can always buy and attach a more powerful or faster servo after you finish building. It's recommended to get the Hitec HS-311 servo for the first RC robot. This servo has a great balance of speed and torque, is inexpensive, and is a good size for this robot. Since the servo can normally only spin 180 degrees you have to modify it so it has continuous rotation. Modifying a servo will void the warranty, but it has to be done.
Choose your other parts. It's still not time to order parts, but you should choose them now and know where to buy them. In addition to your two servo motors, you will need material for the chassis, a battery, a transmitter, and a receiver. Battery: You will need to get something to power your robot. Do not try to use AC (i.e., plug it into the wall) power. You should use DC (i.e., batteries) power. There are 3 main types of batteries that we will be choosing from. These are Lithium Polymer (Lipo), NiMH, NiCad, and Alkaline. Lipo batteries are the newest batteries that you can get and are extremely lightweight. However, they are dangerous, expensive, and require a special charger. Only use this type of battery if you have experience in robots and are willing to spend more money on your robot. NiCad batteries are common rechargeable batteries. These are used in a lot of robots. The biggest problem with these batteries is if you charge them when they aren't fully dead, they won't last for as long on a full charge. NiMH batteries are very similar to NiCad batteries in size, weight, and price but have better overall performance and these are the batteries usually recommended for a beginner's project. Alkaline batteries are the common batteries that aren't rechargeable. These batteries are common (You probably have some), cheap, and easy to get. However, they die fast, and you have to buy them over and over again. Don't use these. Battery specifications. You have to pick a voltage for your battery pack. The most common in robots are 4.8V and 6.0V. Most servos will be fine running on either of those. It's usually recommended to go with the 6.0V (if your servos can handle it, which most can) because it will allow you to have your servo motor go faster and have more power. Now you need to deal with the capacity of your robot's battery pack. These are labeled as mAh. The higher you go the better, but the more expensive and usually heavier. For the size of the robot you are building, it's recommended about 1800 mAh. If you have to choose between a 1450 mAh battery or a 2000 mAh battery of the same voltage and weight go with the 2000 mAh. It will be more expensive by a few dollars but is an all-around better battery to get. Be sure you get a charger to charge your battery pack with. Building material: A robot needs a chassis to attach all the electronics. Most robots this size are made out of plastic or aluminum. For a beginner, use a type of plastic called HDPE. This plastic is easy to work with and cheap. When deciding the thickness to get, get about 1/4" thick. When deciding how big of a sheet to get, you should probably get a fairly big sheet in case you mess up on cutting. It's usually recommended to get at least double the size of your robot. However, you probably should get more. A 1/4" 24"X24" piece of HDPE can be purchased online or at a hardware store. Transmitter/receiver: This is the most expensive part of your robot. It can also be considered the most important because, without it, the robot can't do anything. It's highly recommended to buy a good transmitter/receiver to start off with because it's the thing that will be the limit to how much you can put on. A cheap transmitter/receiver will move your robot fine, but you won't be able to add anything to it. Also, the transmitter can be used for other robots that you may build in the future. So instead of buying a cheap one now and a more expensive one later, just buy the better one now. It will save you money in the long run. There are a few frequencies that you can use. The most common are 27MHz, 72MHz, 75MHz, and 2.4GHz. 27MHz can be used for planes or cars. It is most commonly used in cheap remote controlled toys. 27MHz isn't recommended for anything except small projects. 72MHz can only be used for aircraft. Since 72MHz is normally used in large model aircraft, it is illegal to use in surface vehicles. If you do use 72MHz, not only are you breaking the law, but you could interfere with a large, expensive model airplane flying nearby. This could cause it to crash and could cost a lot of money to repair, or even worse crash into a person and injure or even kill them. 75MHz is made for only surface use, so you could use this one. However, 2.4GHz is the best. It has less interference than any of the other frequencies. It's highly recommended to spend the extra few dollars and get a 2.4GHz transmitter and receiver. Once you've decided the frequency you are going to use, you need to decide how many "channels" you are going to get on the transmitter/receiver. Channels are pretty much how many things you can control on your robot. For this robot, you will need at least two. One channel will let your robot go forward/backward and one will allow it to go left/right. However, it's recommended to get at least 3. This is because, after you built the robot, you may want to add another thing to it. If you get 4, you usually have two joysticks. With a four-channel transmitter/receiver, you may eventually be able to add a claw. As said before, you should get the best transmitter/receiver your budget allows now, so you don't have to buy a better one later. You can use your transmitter and even your receiver again on other robots you may build. The Spectrum DX5e 5-Channel 2.4GHz Radio System Mode 2 and AR500 can be bought together. Wheels: When choosing wheels, the three most important things you need to worry about are diameter, traction, and if they will attach to your motors easily. Diameter is the length of the wheel from one side, through the center point, to the other side. The greater the diameter, the faster it goes and the more it can climb, but the less torque it will have. If you have a smaller wheel, it may not be able to climb very easily or go very fast, but it will have more power. Traction is how well the wheels stick to the surface. Make sure that you get wheels with a rubber or foam ring around them so that they don't just slide around. Most wheels that are made to attach to servos will be able to just screw right onto them, so you don't have to worry about that as much. It's recommended to get a wheel somewhere between 3 and 5 inches in diameter with a rubber ring around them. You will need 2 wheels.
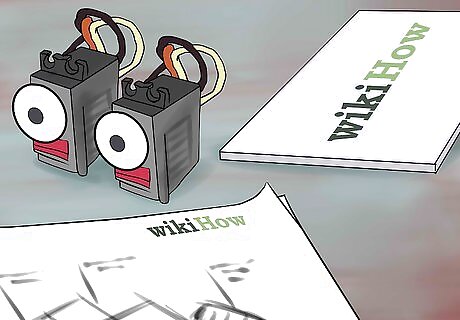
Order your parts online. Try to order them from as few sites as possible, because you may be able to save money on shipping that way if you order everything at the same time.
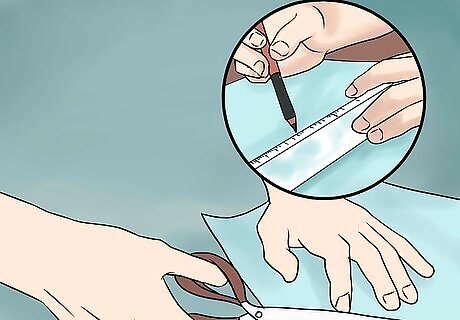
Measure and cut your chassis. Get out a ruler and a sharpie and measure out the length and width of your chassis on the material you are using for your chassis. Consider about 15 cm by about 20 cm. Now, measure it again and make sure your lines aren't crooked and are how long you want them to be. Remember, measure twice, and cut once. Now, you can cut. If you are using HDPE, you should be able to cut it the same way as you would cut a piece of wood that size.
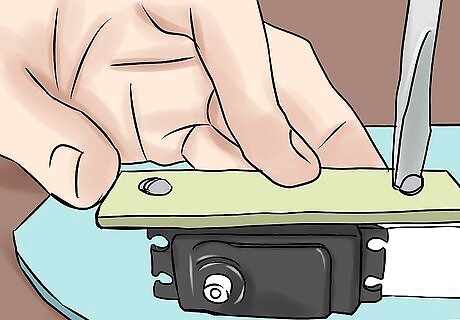
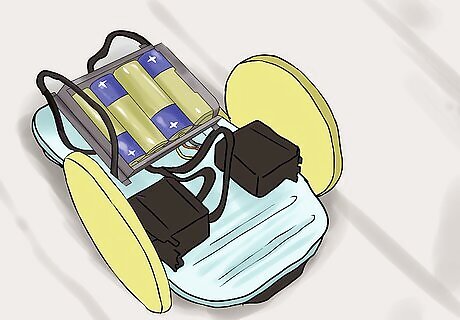
Assemble the robot. Now that you have all your materials and your chassis cut, you just need to assemble it all together. This can actually be the easiest step if you designed the robot well. Mount the servo motors on the bottom of the piece of plastic near the front. They should be sideways so that the shaft/horn (the part of the servo that moves) faces the sides. Make sure there is enough room to mount the wheels. Attach the wheels to the servo using the screws that came with the servo. Stick a piece of Velcro onto the receiver and another on the battery pack. Put two pieces of the opposite velcro onto the robot and stick your receiver and battery pack to it. You should now have a robot that has two wheels in the front and slopes down to the back. There is not going to be a "third wheel" on this robot, instead, the back will just slide along the floor.
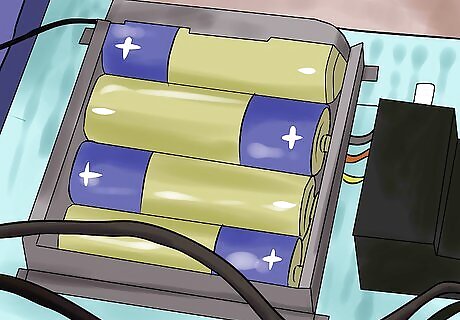
Plug in the wires. Now that you have the robot assembled, you just need to plug everything into the receiver. Plug the battery into where it says "battery" on the receiver. Make sure you plug it in the correct way. Now, plug the servos into the first two channels on the receiver, where it says "channel 1" and "channel 2".
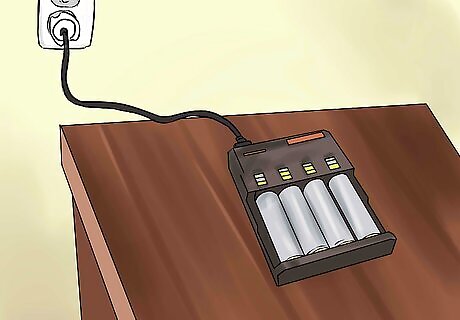
Charge it up. Unplug the battery from the receiver and plug it into the charger. Wait until the battery is finished charging. This could take a full 24 hours, so be patient.
Play with the robot. Go ahead and press forward on the transmitter. Build an obstacle course for it, play with your cat and dog, and make them chase it. Now that you are done playing with it. Add some stuff to it!


Comments
0 comment