
Blowing out the Yolk
Choose an egg to carve. Expect to break a few eggs when you're just starting out, and factor that into what type of eggs you buy. Chicken eggs will likely be your least expensive option, but goose eggs provide a larger shell to work with. Also consider what you want your final result to look like; do you want an egg that's brown, white, or speckled? Once you're comfortable with chicken or goose eggs, try more difficult eggs like small robin's eggs or thick ostrich eggs.
Tape both ends of the egg. Cut off two small pieces of clear tape and adhere one on the top, or “pointy” end of the egg. Place the other piece on the bottom, or “flat” end of the egg. The tape will help to prevent cracks when you make your holes.

Poke two holes with a needle or pin. Pierce the shell through the top piece of tape and wiggle the needle or pin around to make the hole slightly larger. Flip the egg upside down over a bowl to catch anything that drips out. Then make another hole in the egg through the bottom piece of tape.
Break the yolk with a toothpick. You’ll need to scramble the egg’s contents to get them to drip out the hole. Stick a toothpick through one of the holes (you may have to widen it a little more with the needle) and poke the toothpick in as far as you can. Repeat this a few times to be sure you’ve hit the yolk.
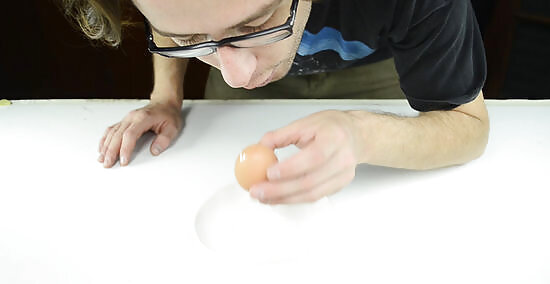
Blow out the yolk. Holding the egg straight up and down over a bowl, place your mouth around the top hole and starting blowing air into the egg. Blow hard enough that you begin to eject the scrambled egg out the bottom hole. This may take some time, and if you’re struggling to get everything out, widen the hole a little bit more with the needle. You can also use an egg blower or a nasal aspirator to suck the yolk out through the hole, but you’ll likely need to widen the hole even further.
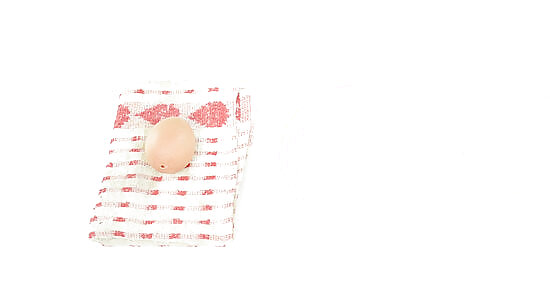
Rinse the egg. Remove the tape from the ends and lightly rinse the egg in warm, soapy water, being sure to run water through the inside of the egg as well. Set it straight up and down on a towel and allow any remaining water inside to drip out as the egg dries.
Carving the Egg
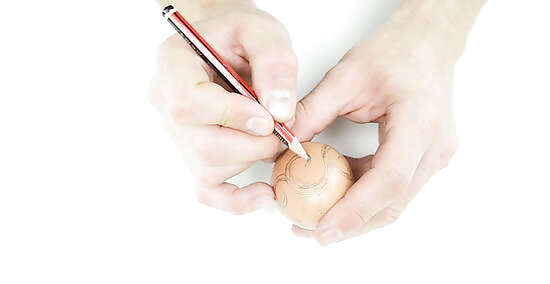
Draw your design with a pencil. Sketch a design lightly on the outside of the egg, using polka dots, hearts, teardrop shapes, or anything you like. Plan to leave attachments as you would in a stencil or the entire egg will fall apart or cave in. You can also sketch a design on paper or print one off your computer and then use transfer paper to trace it onto the egg. Start with a simple pattern for your first egg and then work your way up to more complex designs.
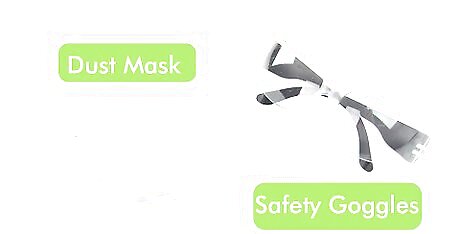
Put on a dust mask and safety goggles. Since you’ll be using an engraving tool, you should wear a dust mask to make sure you don’t inhale any particles from the shell. Wear safety glasses or goggles as well to protect your eyes from any flying pieces.
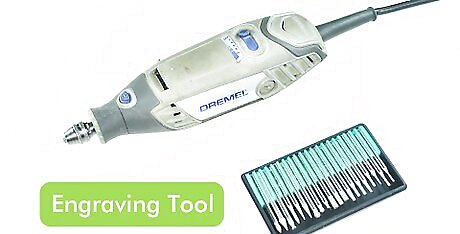
Fit a fine bit onto an engraving tool. Engravers and tips can be purchased at craft stores and some hobby stores. Any engraver that is made for etching on glass will work for carving an eggshell. An elongated diamond tip will give you the best precision.
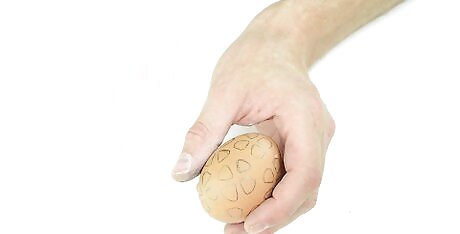
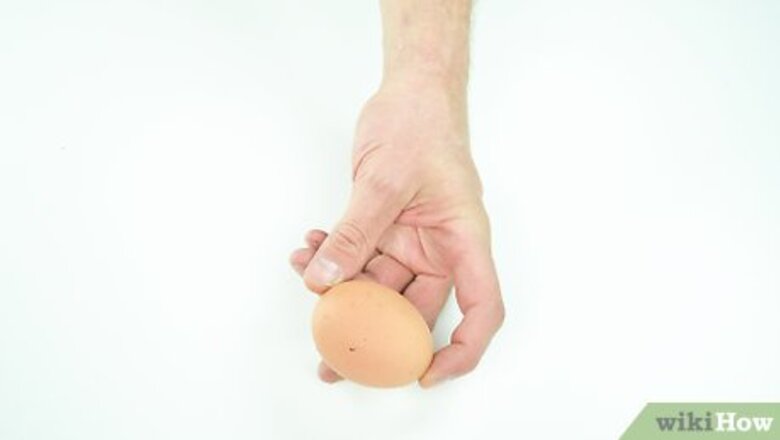
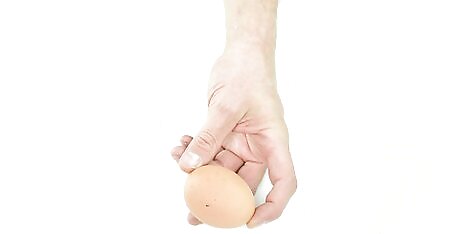
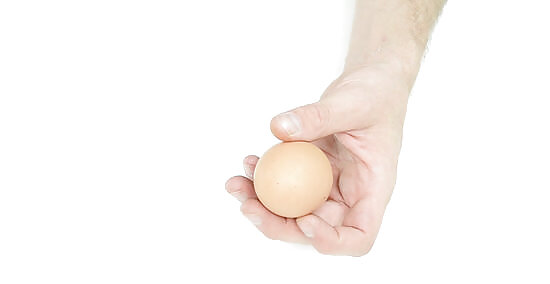
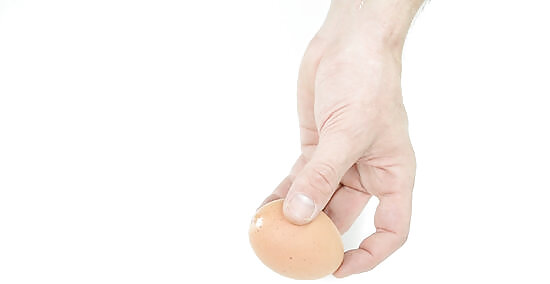
Hold the egg gently to prevent breakage. Use your non-dominant hand to hold the egg so that you can etch the design with your dominant hand. Grasp it firmly enough that it won't slip in your grasp, but gently enough that it won't break under the pressure of your fingertips.

Trace the pattern with the engraving tool. With the engraver on a high speed, begin tracing the pattern on the egg. Start wherever you want and then follow the lines around slowly. Try different amounts of pressure for different effects: press harder to cut through the shell and softer to just scratch the surface. Have a few other blown eggs available in case you break your first attempt.
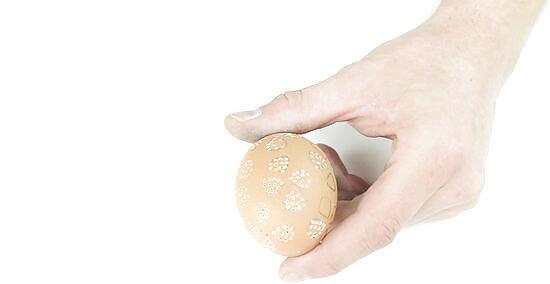
Clean the finished egg. Blow on it to dislodge any large debris, and then wipe it gently with a damp cloth to remove the dust. Wrap the cloth around your index finger to wipe small sections at a time rather than attempting to wipe off the whole thing at once and potentially breaking it.
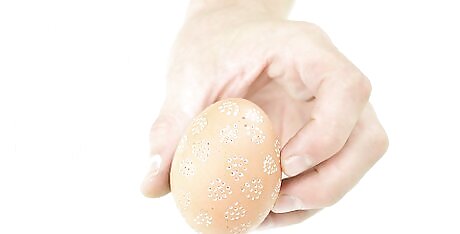
Display your carved egg. Buy egg cups or ceramic egg trays to display your finished product. You could also gather several carved eggs to create a display inside a basket for Easter.


Comments
0 comment