views
Drilling Holes in the Filter Container
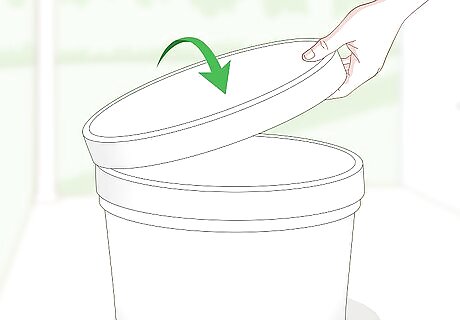
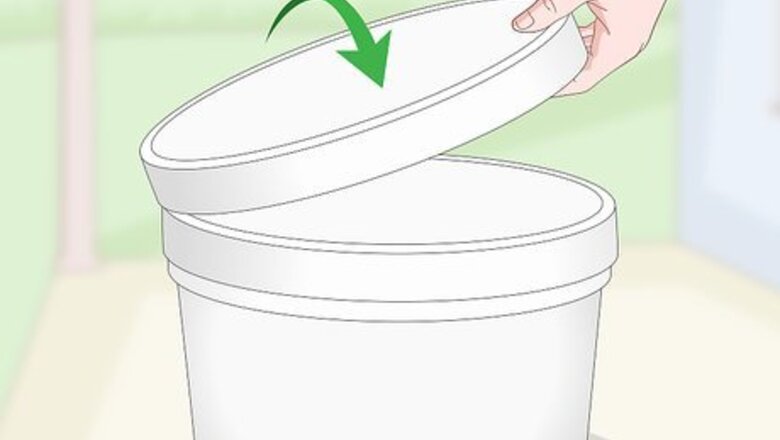
Get a bucket or trash can with a sealable lid. Having a sealable lid will help keep other debris from falling into your filter material and prevent the filter from overflowing if it starts to drain slowly. 5 gallons (19 L) buckets with sealable lids are available at most hardware and large retail stores and make for great filter housings. You can also use similarly sized trash cans or Tupperware containers as long as they have a sealable lid.
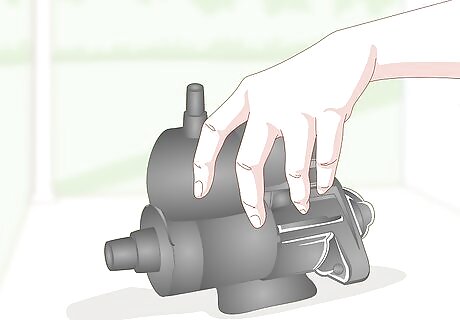
Purchase a water pump if you don’t already have one. If you have a water pump in your pond for circulation, that pump should suffice. Otherwise, purchase a good quality pump that’s rated for the size of your pond. Most pumps are rated in terms of how many gallons your pond can hold. If you are unsure, you can find pond calculators online to help you determine your pond’s size in gallons based on its measurements. You don’t need to buy a new pump if you have one for circulation already. You can use either a submersible pump or one that’s meant to remain out of the water with a line that goes into the pond.
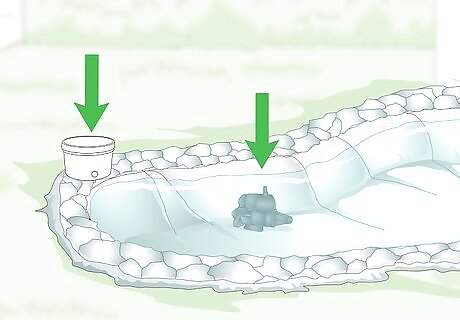
Lay out where the pump and filter will be located in relation to the pond. In order to determine how much hose you need to purchase, place the plastic container that will hold your filter and the water pump where you intend them to be once you’re finished. Then use a measuring tape to determine how much hose you’ll need to run one line from the pump to the filter, and another from the filter back into the pond. It’s best to position your filter and pump in a shady location. If you can place them under some sort of shelter, that is optimal. A submersible pump is meant to be placed in the water, whereas a non-submersible pump should be placed next to the filter with the inlet hose placed in the water. Keep the filter and pump as close to the water as possible to reduce the amount of hosing the water needs to run through under the pump’s power.
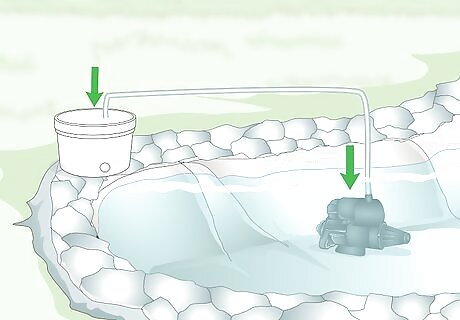
Buy rubber hose to connect the filter to the water pump. Measure the diameter of the outlet nozzle on your water pump, then take that measurement to your local hardware store. Purchase rubber hose of that inside diameter in enough length to run from where the pump will be placed to where you want to position the filter itself. Then purchase another length of hose for the return line. Keep the measurement for the hose so know what size hole to cut in the lid. Your pump may have come with the necessary hosing already.
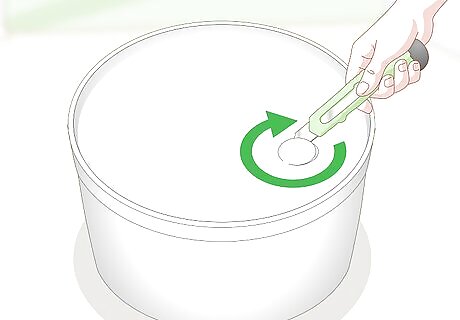
Cut a hole in the lid of the container that’s just large enough for the hose. Use a drill with a hole-saw bit of the same diameter as the hose to drill a hole through the lid for the hose. If you don’t have a drill and the lid is a thin enough material, puncture it with a knife. Place the lid on the bucket and press the knife down through the lid where you intend to run the hose. Once the knife punctures the plastic, use it to saw a hole in the lid of the approximate size and shape of the hose. If you don’t have a drill, make sure to use a sturdy utility knife for cutting the plastic, rather than a thin kitchen knife. A drill with a hole saw is the recommended way to make the hole.
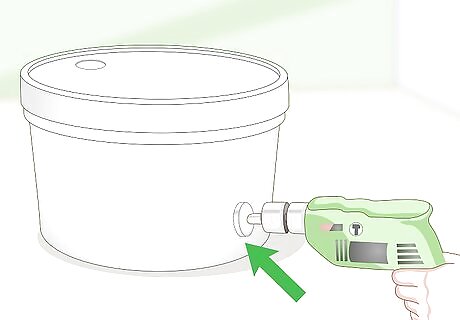
Drill a hole in the side of the container for the water outlet. Make the hole the same approximate size the top one, which should be a snug fit for your hose. The water will flow in from the top, pass through filter media, and then return to the pond via an outlet hose. Choose a spot on the side of the container about 1 inch (2.5 cm) from the bottom and use the hole-saw bit on your drill to create an outlet hole. Drill the hole near the base of the container, as far down it as you can go. Remove any debris created by drilling from the inside of the container once you’re done.
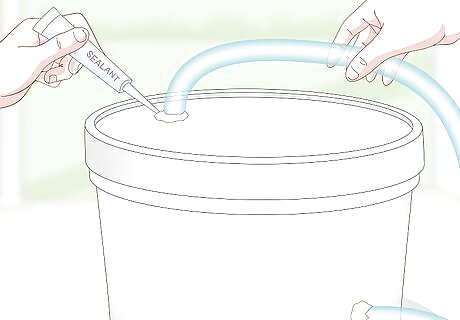
Insert the hoses and seal them with a fish-friendly sealant. Insert the end of one hose into the lid and apply a sealant meant for use with aquatic wildlife around the top and bottom of the hole to create a waterproof seal. Then do the same with a length of hose for the hole near the bottom of the container. You can purchase fish-friendly sealant at larger pet stores or on specialized websites. Read the instructions on the sealant you choose to know how long it needs to cure before you can move forward.
Assembling the Filter
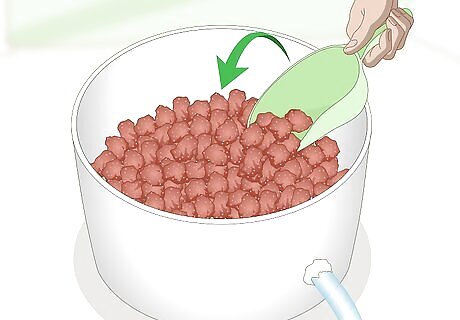
Pour a layer of red lava rocks into the bottom of the container. The lava rocks will serve as both a means of filtration and a way to hold your other filter media up away from water return nozzle at the bottom of the container. The layer of lava rocks should be just deep enough to cover the hole for the return hose. You can purchase red lava rocks at most aquarium supply stores or large pet stores. Fill the bottom of the container with lava rocks until the return hose is hidden beneath them.
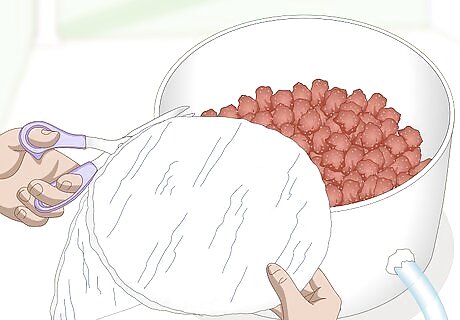
Cut filter material to match the shape of the container. Filter material often comes in rolls and is made out of layers of coarse and fine fabric. Unroll it and trace the general shape of the container onto the filter material. Cut the shape out and then repeat that process 3 more times until you have at least 4 layers of filter material to place in the container. You can purchase the water filter material at aquarium supply stores or on specialized websites. If you can’t find filter material, you can also use a mesh laundry bag filled with household sponges.
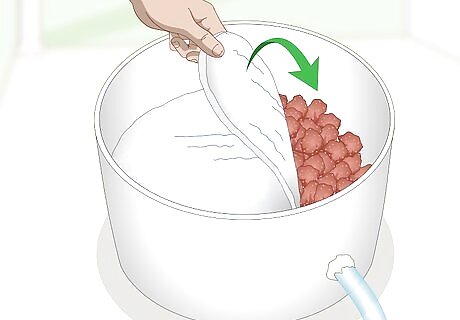
Place the filter material over the lava rocks. Lower a layer of filter material into the container and position it flat on top of the red lava rocks. Then place each additional layer on top of the previous one so the water has to pass through multiple layers of it before reaching the lava rocks. If you have trouble getting the filter material to stay on top of the rocks, you can add a layer of the metal screening you used at the end of the inlet hose to make it stiffer. If you used a laundry bag and sponges instead, make sure the bag and sponges completely cover the lava rocks.
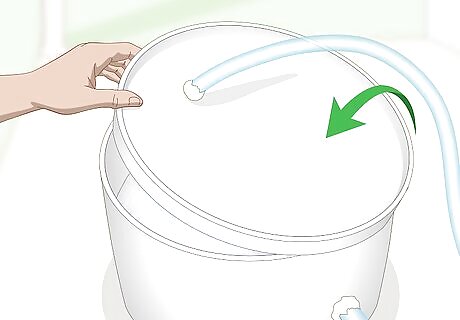
Seal the top of the container with the lid. The lid will prevent any debris from falling into the filter while also preventing overflow if the filter drains slowly. Once the lid is on the filter, move it to where you intend to set it up. Make sure to seal the lid once you put it on.
Installing the Filter
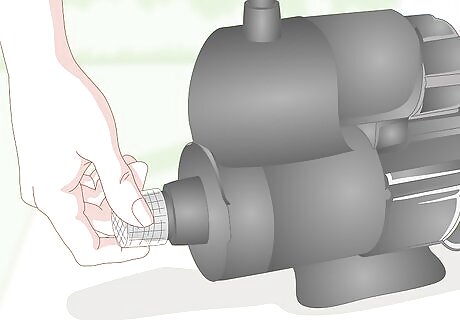
Attach a plastic screen to the end of the input hose on the pump. The water pump you put into your pond has an input hose that draws the water in. Use the same fish-friendly sealant you used to seal the hoses to the container to glue a metal screen to the end of the input hose to stop it from sucking up large debris. Wrap the screen around the end of the hose and then use the sealant to glue it in place. You can use any pliable screen material, including the screening commonly used for windows. Purchase the screen at your local hardware store.
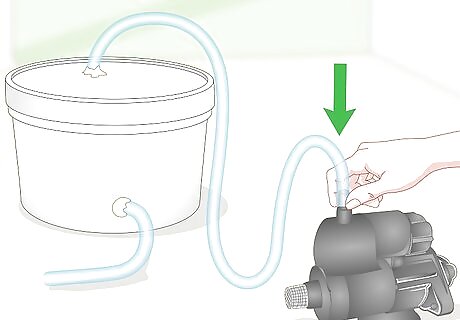
Connect the pump to the filter inlet. Attach the hose running from the lid of the filter to the outlet on your water pump. Place a hose clamp on the hose before you connect it, then use a Phillips head screwdriver to tighten the clamp over the hose and outlet nozzle to ensure it’s secure. At this stage, the pump is not connected to power, so it won’t function yet. Place both the pump and the filter at the pond’s edge once they’re connected.
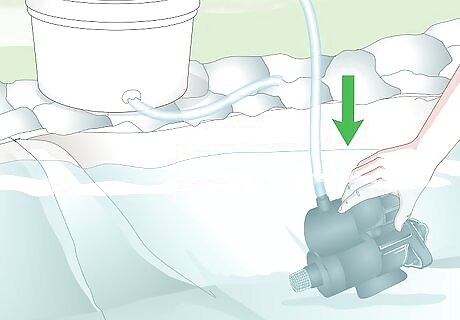
Place the water pump in or near the pond and position the filter next to it. If the pump is not designed to be submerged, position it in a covered spot near the water’s edge and just submerge the inlet hose. Place the filter nearby on the water’s edge. When you turn on the pump, water will flow through it and into the filter. Submerge the screened end of the inlet hose in the water. Read the package your pump came in. It will clearly specify if your pump is meant to be submerged in water.
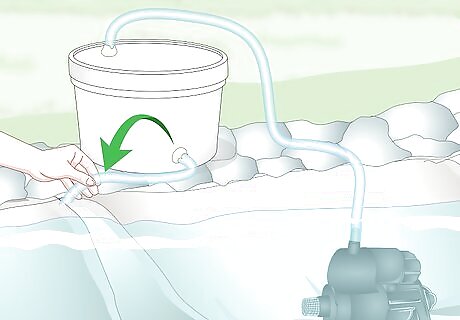
Run the filter return hose back into the pond. The lower hose on the filter will allow the filtered water to return back into the pond. Simply orient the filter so the hole points toward the pond and run the hose from the hole into the water. This hose returns the clean water to the pond after it's been filtered. Position this hose as far away from the pump’s inlet hose as you can.
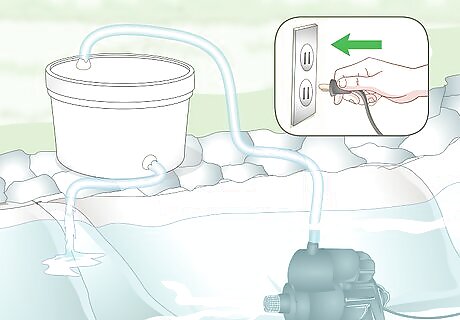
Connect the pump to power and switch it on. Plug the pump into a power source like an outdoor wall outlet. With the pump running, water will move into the top of the filter, pass through the filter material and lava rocks, and back out the return hose. It may take a few minutes for the water to fill the container enough to begin pouring out the return hose. If water completely fills the container and does not exit from the return hose, the outlet is blocked by the lava rocks. Disassemble the filter, clear the outlet, and try again.
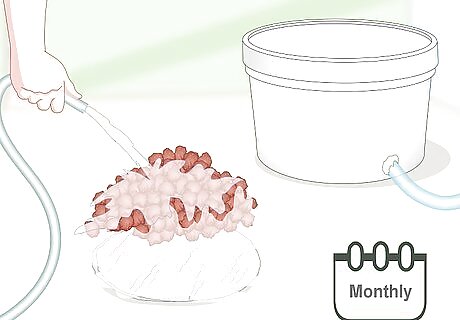
Clean the filter media every month. Open the lid of the filter and remove the filter material. Rinse it thoroughly and then remove the lava rocks. Use a hose to rinse them off completely and then put both filters back into the container. If the pond is very dirty, clean the filter every two weeks instead of every month. Replace the filter material if it becomes too dirty to allow water to pass through.



Comments
0 comment