
Preparing for the Cleaning
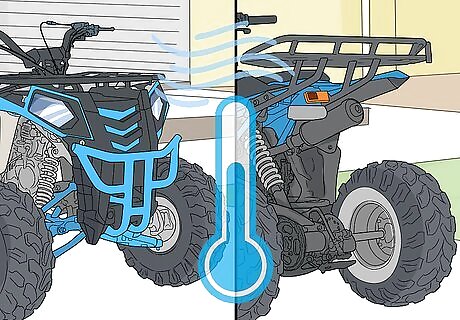
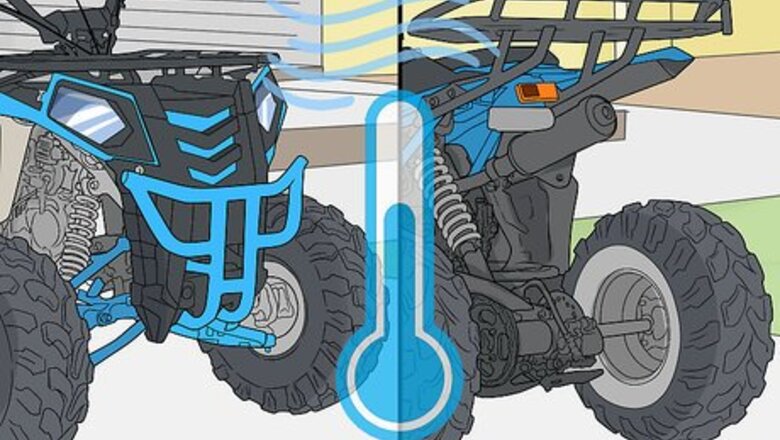
Allow your engine and exhaust to cool. You shouldn’t start washing your ATV right after finishing a ride. Give your ATV some time to cool off before spraying it with water.
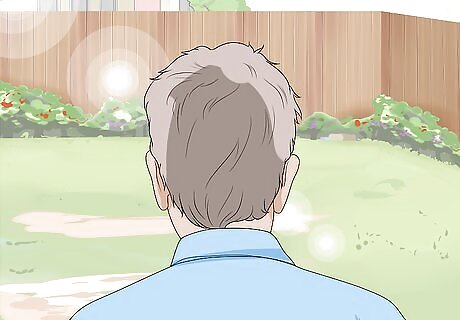
Choose an open washing location that can get messy. ATVs accumulate a lot of dirt and mud, and washing off all that muck is a very messy process. So, before starting to wash your ATV, select a wide-open location for the cleaning that you don’t mind getting dirty and will be easy to clean. Because plants and seeds also latch onto ATVs’ exteriors, you’ll want to wash your ATV away from your yard, or a bunch of weeds might pop up in the middle of your nice green lawn.
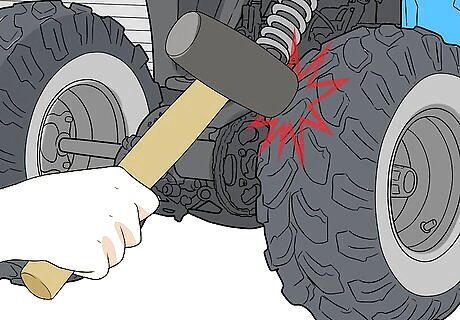
Knock large chunks of mud and dirt off with a rubber mallet. Before you bring water into action, knock any big chunks of mud or dirt off your ATV’s exterior with a rubber mallet. By removing this outer layer, you’ll be able to speed up the overall washing process. You’ll want to lightly tap these chunks to avoid unintentionally hitting your ATV with force.
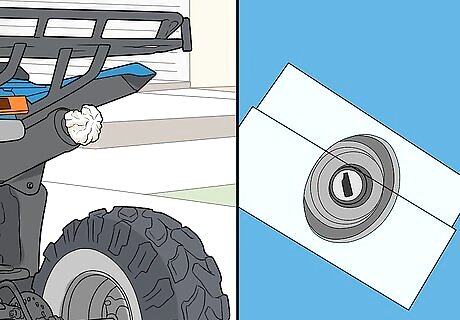
Cover sensitive parts. You should do your best to keep water off sensitive parts of your ATV, like the rear opening of the muffler and the ignition switch. Cover the rear opening of the muffler with a plastic bag, and the keyhole with tape.
Washing Your ATV’s Exterior
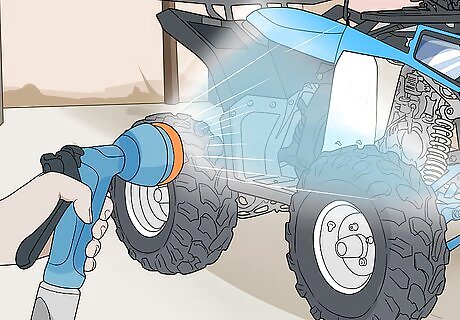
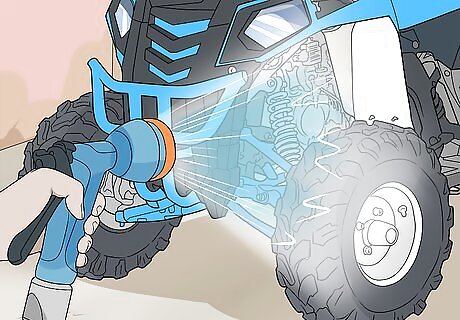
Presoak your ATV’s exterior with water to loosen mud and grime. Using a garden hose, spray your ATV with a flood of cold water. This will help wash off easy-to-remove dirt on the surface and begin to loosen up caked-on grime. You’ll want to soak the entire body in water, including the undercarriage. Repeat this step a few times to reach every nook and cranny with water. Don’t worry about washing everything off at this stage. The main goal is just to loosen everything up.
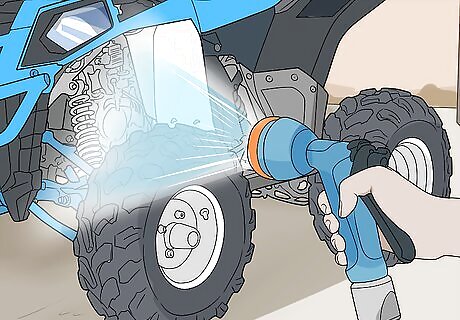
Blast your ATV with water to remove built-up crud. Set the nozzle of your hose to its strongest pressure setting and spray every inch of your ATV’s exterior and undercarriage. Aim your spray at areas caked with stubborn patches of grime. You’ll want to repeat this step several times to blast off as much as possible. If you decide to use a pressure washer for this step, you’ll want to check your owner’s manual before starting. Every ATV is different, and using a pressure washer on many models is not recommended. When using a pressure washer, you’ll want to dial the pressure back and use a broad tip. Too much power can damage your ATV. Try to avoid directly hitting the air box, gas tank, fuse box, and other sensitive areas.
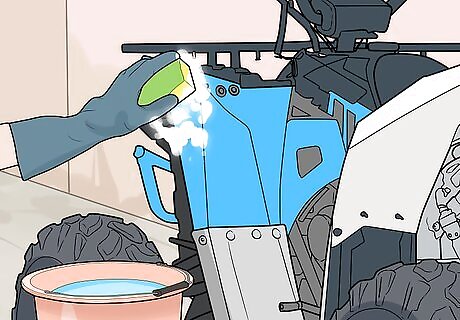
Wipe down your ATV with water and detergent. Nothing will get your ATV cleaner than a little soap and elbow grease. Mix a mild automotive detergent and water in a bucket, and use a sponge to wipe oily and grimy buildup off your ATV’s surface. The goal of this step is to clean off any areas the pressure washing missed. You’ll want to use soap or detergent designed for cars or motorcycles and closely follow the directions printed on the bottle. After wiping down your ATV’s frame and seat, finish by scouring the wheels and tires.
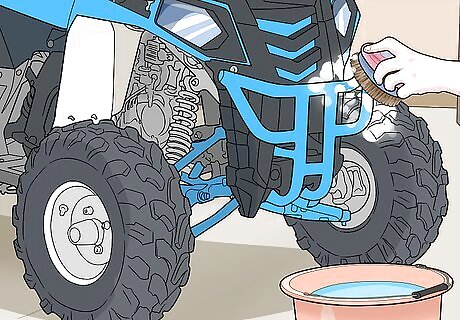
Scrub off resistant buildup with a brush. Using a sponge alone might not be enough to clean off every piece crud. To scrub away the grimiest trouble spots, you can use a brush with thick bristles. Some brushes might scratch painted or plastic surfaces, so take care in selecting the brush you use.
Rinse off suds. Once you’re done with the scrubbing and brushing, use a garden hose to rinse off your ATV. Then, walk around your ATV one more time to make sure you didn’t miss any spots.
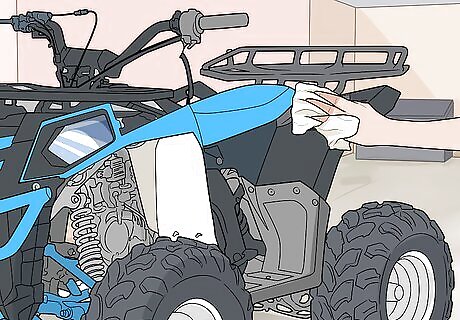
Dry your ATV with a lint-free towel and/or air. Once you’ve made your ATV squeaky clean, use a lint-free towel or towels to wipe off excess water. To dry places you can’t reach with a towel, you can try using an air compressor or even a leaf blower. Drying your ATV as soon as possible after washing will prevent the appearance of ugly water spots and help prevent damaging rust and corrosion.
Making Your ATV Look and Run like New
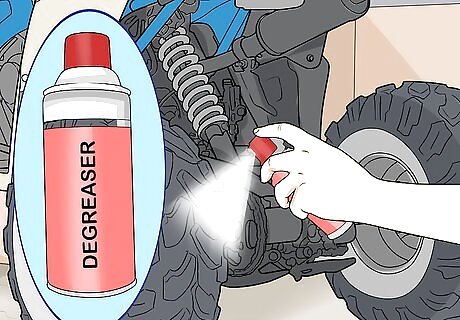
Degrease areas coated with oily residue. Why stop at just washing your ATV’s exterior? For a deeper clean, start by degreasing areas of your ATV caked with oily residue, like the swing arm and chain guards. Just apply a little degreaser to these areas and rinse. Every degreaser is a little different, so you’ll want to be sure to follow the directions printed on the specific bottle you use.
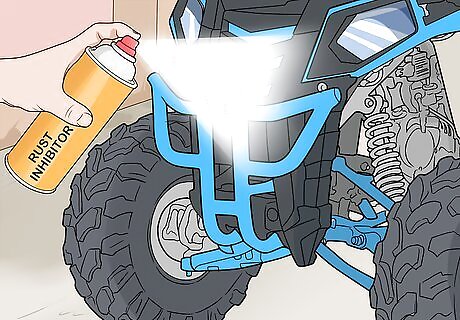
Coat metal surfaces and parts with a rust inhibitor. Rust is the scourge of all ATV owners. You can guard your ATV against this threat by occasionally spraying metal parts and surfaces with a rust inhibitor. Spraying essential moving parts is the most important part of this step. You’ll want to apply the rust inhibitor as instructed on the bottle you use.
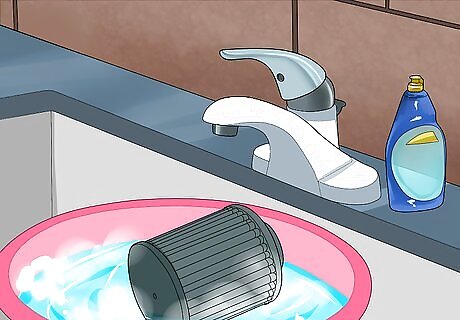
Clean out the air filter. By cleaning your air filter regularly, you will help prevent engine wear and tear by keeping dirt particles from seeping into your engine. You can use liquid dish soap or an air filter cleaning solution to wash your foam filter. After washing and rinsing the filter, you should dry it with a fan and then spray its inside and outside with filter oil. Before reinserting it, squeeze out any excess oil. Don’t twist the filter to dry. Doing this could cause the filter to tear.
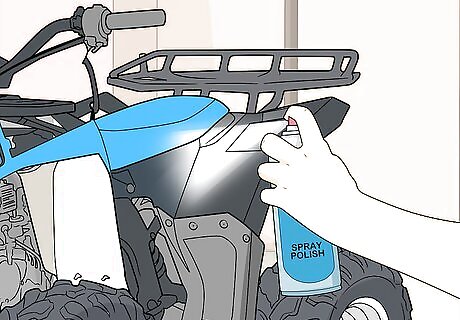
Treat chrome and aluminum parts with polish. You can use a chrome/aluminum polish to shine up chrome and uncoated aluminum parts on your ATV. To wash coated aluminum, however, you’ll want to use just a spray polish.
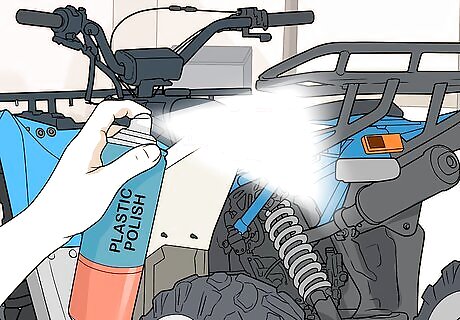
Buff your ATV with plastic cleaner/polish to make it look like new. Finally, after your ATV is dry, you can spray plastic parts with plastic polish. This will help minimize scuffs on plastic and give your ATV a nice shine. Be sure to follow the specific directions on the bottle you use.


Comments
0 comment