views
Removing Excess Dirt
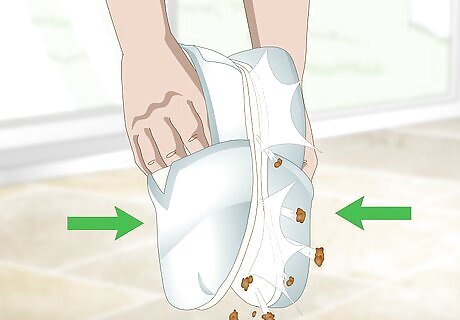
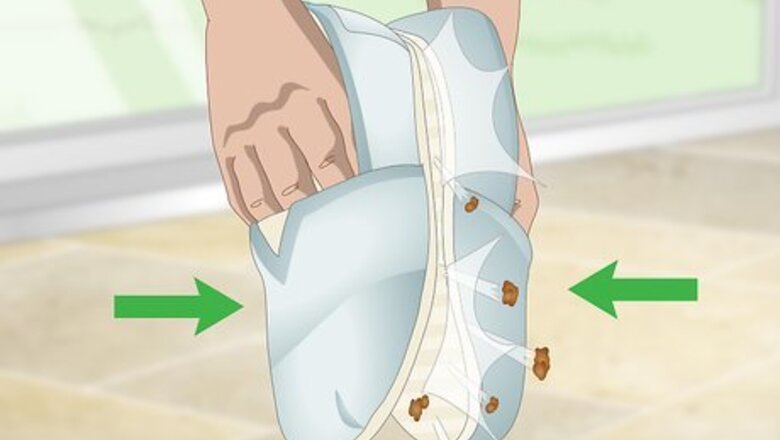
Beat your shoes together to loosen large clumps of dirt. Hold a shoe in each hand and bang the soles together forcefully a few times. This will help dislodge clumps of soil, dried mud, and similar substances that have become caked on the tread. Be sure to take your shoes outside or hold them over the garbage can to avoid making a mess. If necessary, try scraping the soles of your shoes gently against the curb or sidewalk to wear down thick, persistent residue.
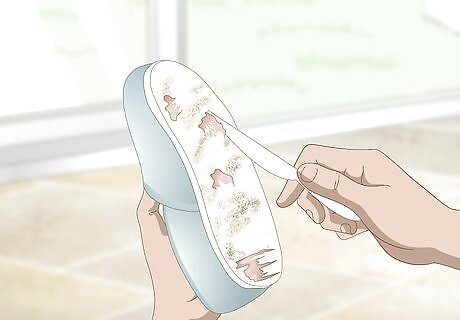
Scrape away any remaining dirt with a plastic knife or similar tool. Stick the tip of the knife into the crevices in the tread and use it to dig out any dirt left behind after the initial beating. Focus on cracks, depressions, grooves, and other contours where dirt is likely to become trapped. If you don’t happen to have any plastic cutlery available, you can also use one of the keys on your keyring. Work carefully and be patient. Scraping out stubborn clinging dirt by hand can be time-consuming, but it’s the best way to ensure that your shoes come out completely clean.
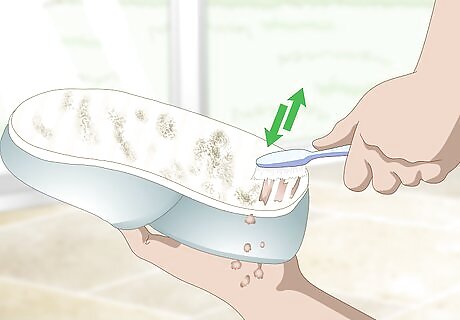
Use a toothbrush to scrub hard-to-reach spots. Another type of stiff-bristled brush, such as a shoe brush, can also do the trick. Run the brush back and forth over the bottom surface of the shoe. The bristles will easily sweep out particles that are lodged too deep in the tread for you to reach with a knife or key. An old toothbrush will be your best bet if the soles of your shoes have a complex tread pattern with lots of different textures, or if you’re having difficulty getting the majority of the dirt out with just your scraper. Consider investing in a durable nylon shoe brush that you can keep around for the purpose of cleaning your shoes.Tip: You can also use a toothbrush or shoe brush to gently and effectively clean your shoes’ uppers while you’re at it.
Deep-Cleaning Rubber Tread
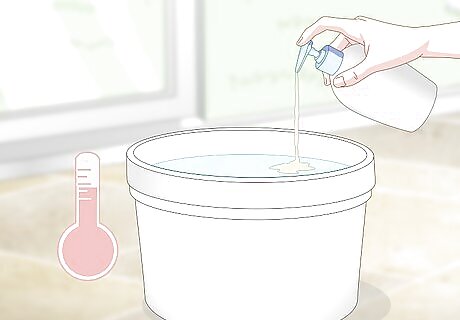
Fill a container with a mixture of warm water and liquid dish soap. Run about 1 inch (2.5 cm) into the container, or just enough to cover the bottom and lower side edges of the shoes you’re cleaning. Add roughly 1 teaspoon (4.9 mL) of dish soap and stir the mixture with your hand until it forms a sudsy, uniform solution. If you can’t find a suitably-sized container, put the stopper in your kitchen sink and run the water directly into the basin.
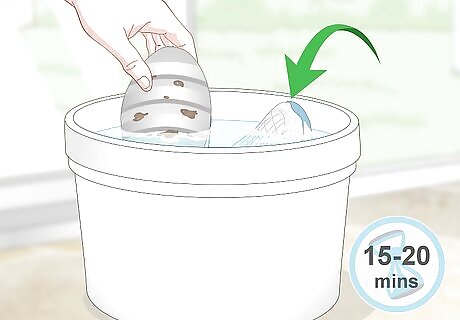
Soak your shoes in the soap solution for 15-20 minutes. Set your shoes down upright in the soapy water. While they sit, the combination of warm water and surfactants in the detergent will go to work breaking down the stains and leftover residue on the soles. Be careful not to splash water onto the uppers of your shoes accidentally.Warning: Make sure the soapy water doesn’t come up higher than the upper side edges of the soles. Getting your shoes wet could produce unsightly water spots or cause the colors of certain materials (such as suede) to run.
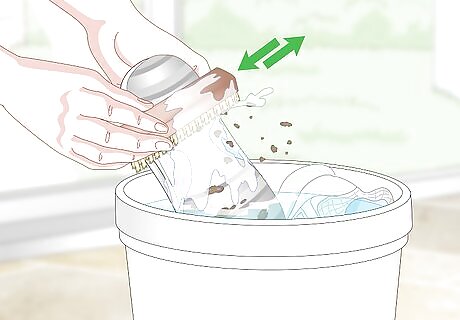
Scrub the soles of your shoes with a wet brush. Grab one of your shoes and dip an old toothbrush, shoe brush, or similar stiff-bristled brush into the soap solution. Polish the tread thoroughly with the bristles of the brush until it’s completely spotless, then repeat with the other shoe, cleaning and rewetting your brush as needed. Be prepared to spend a little extra time on hard-to-reach spots and heavy stains. These areas tend to require more attention. Don’t forget to go over the upper side edges of the soles, as well.
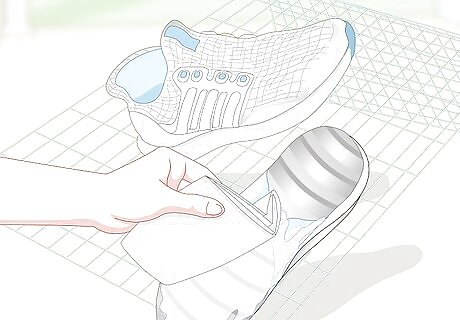
Dry your shoes with a microfiber cloth or allow them to air dry. Fold the cloth in half to make a thick pad and use it to dab at the standing water on the soles of your shoes. If you prefer, you can also hang your shoes up on a shoe rack or shoe tree and let them dry off naturally. This method takes a little longer, but it can be useful if you’re busy doing other things. Another option is to simply set your shoes on a clean, dry towel, which will soak up any remaining moisture. You can wear your shoes again as soon as they’re completely dry to the touch.
Touching up Your Soles Quickly with a Magic Eraser
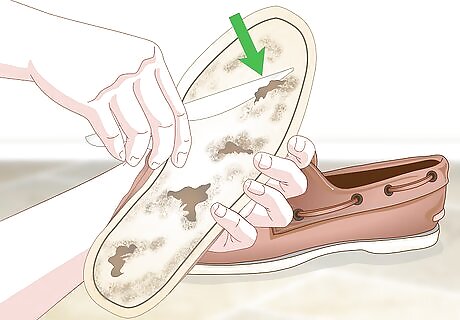
Clear away any dried dirt that’s built up on the soles of your shoes. Bang your shoes together outside to loosen large clumps. Then, use a plastic knife, key, or old toothbrush to scrape off any dirt that’s still sticking. Getting your soles as clean as you can to start with will make the job much easier for your magic eraser.
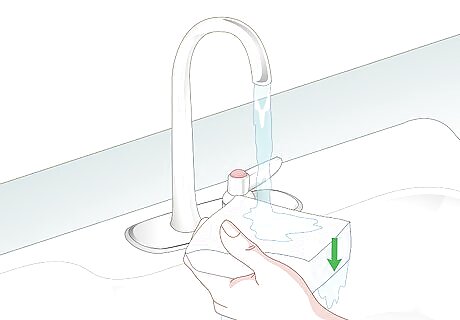
Wet your magic eraser and squeeze out the excess water. For best results, your magic eraser should be just slightly damp. Hold the block of foam under the faucet or dunk it briefly in a container of warm water. Once it’s nice and wet, squeeze it with both hands until no more water comes out. Wetting your magic eraser helps to cut down on friction, which in turn reduces the amount of wear you’ll be subjecting your shoes to. It also serves to absorb more dirt.
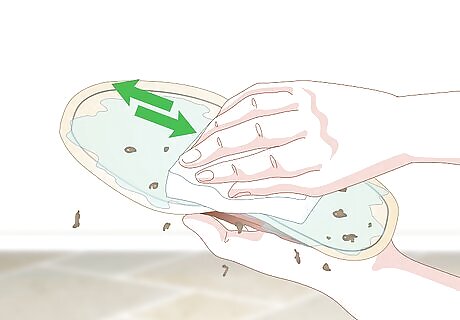
Buff your soles thoroughly to remove scuffs, spots, and stains. Rub the magic eraser over the bottom of your shoes with both back-and-forth and circular motions, applying moderate pressure. Pay particular attention to textured and heavily-soiled areas—you may need to go over these more than once. By the time you’re finished, your shoes should look practically as good as new. The secret of magic erasers is their patented microabrasion technology. They essentially work like ultra-fine sandpaper, wearing down dirt and discoloration to expose the untouched material underneath. A magic eraser can also do wonders on substances that put up a fight, like glue and stuck-on chewing gum.Tip: Use a plain white magic eraser to avoid transferring color to your shoe.
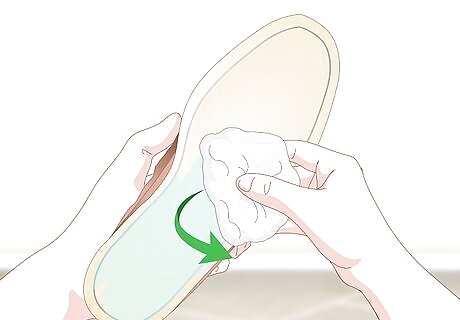
Wipe your soles clean with a damp cloth or paper towel. This will help remove any loosened dirt or small pieces of debris still clinging to the bottom of the shoes. Try to pick up as much material as you can. Afterwards, your shoes will be ready for many more miles of faithful service! Avoid walking on any dusty or dirty surfaces until the soles of your shoes are completely dry.
Trying out Other Cleaning Methods
Erase dirt and stains fast with nail polish remover. Dunk a cotton swab into the liquid and use it to gently blot any part of your soles that’s seen better days. The main ingredient in nail polish remover is acetone, a powerful solvent that’s guaranteed to dissolve even the most stubborn dirt and grime almost instantly. A splash of distilled white vinegar will work almost as well if you’re allergic to acetone.Warning: Acetone can cause permanent discoloration if it comes into contact with your shoes' uppers, or any other section that contains dyes.
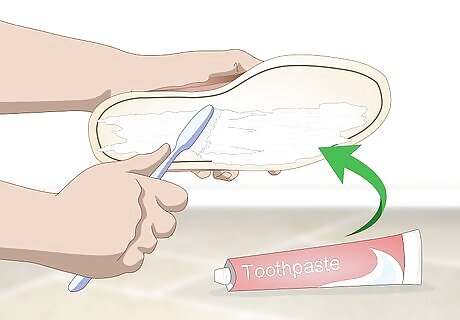
Brighten dingy soles using toothpaste. The same whitening agents you use to maintain your flawless smile can also work wonders on sneakers. Just squeeze a glob of toothpaste onto an old toothbrush and use the stiff bristles to work it into the problem area. Let the toothpaste sit for about 10 minutes, then wipe it off with a damp cloth and marvel at the difference! Make sure you’re using plain white toothpaste, especially if you’re cleaning white soles. Colored toothpastes can actually create stains, which is the opposite of what you’re trying to accomplish.
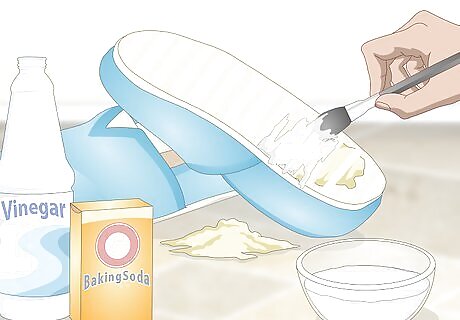
Attack caked-on dirt and stains with vinegar and baking soda. Fill a small container with 1 cup (240 mL) of warm water. Add 2 tablespoons (30 mL) of distilled white vinegar and 1 tbsp (20 g) of baking soda and mix well. Together, the ingredients will form a thin paste that you can slather onto the soles of your shoes using a brush or clean cloth. After 10-15 minutes, rinse the soles clean, or wipe the paste away with a separate, damp cloth or sponge. You can also make a simplified baking soda paste using only equal parts baking soda and water. When combined, baking soda and vinegar undergo an instant chemical reaction and become fizzy, acidic, and slightly abrasive. This compound action is what makes them so effective for cutting through substances like grease and set-in stains that other cleaning products don’t even make a dent in.
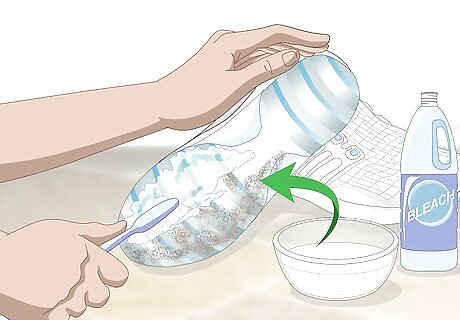
Mix up a diluted bleach solution for heavy-duty spot cleaning. Bleaching is tried-and-true way to make once-white things white again. Add 1 part chlorine bleach to 5 parts room temperature water and stir the two liquids together thoroughly. Then, dip an old toothbrush or similar utensil into the bleach solution, scour those long-standing stains, and watch them vanish before your very eyes. It’s important to use diluted bleach when renewing white shoe soles and other types of clothing and accessories. Exposure to pure bleach can turn white surfaces an ugly yellow color. Be sure to wear gloves and set up your materials in a well-ventilated space anytime you’re working with bleach. Protective eyewear is also a plus.


Comments
0 comment