views
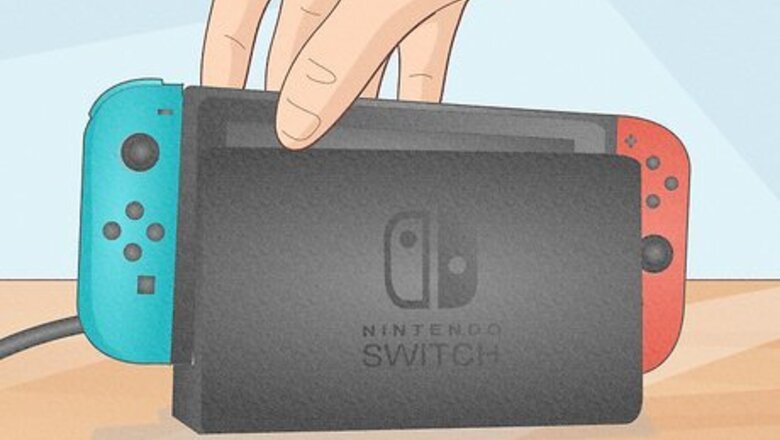
- Place your Switch in the dock and connect it to a video capture card.
- Open the capture software came with the card, and configure it with the on-screen instructions.
- Turn on your Switch and plug the capture card into your Chromebook.
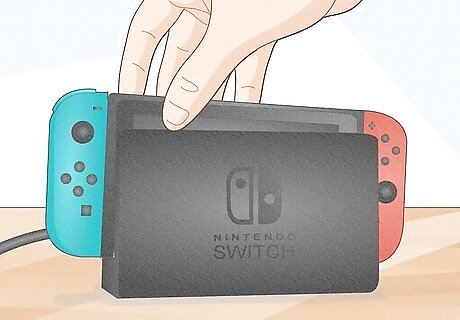
Insert your Switch into the Dock. You'll need to connect the USB-C ports on the Switch to the Dock to make a solid connection. Disconnect any monitors or TVs you have connected to your Dock.
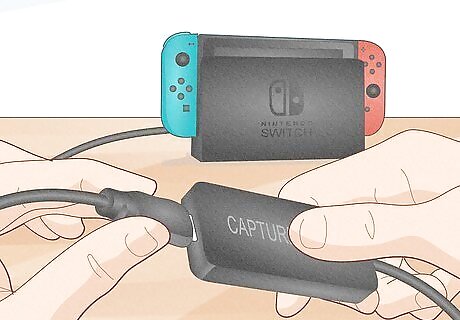
Plug-in the HDMI from your Dock to the capture card. Since your Dock only offers an HDMI Out port, make sure you're plugging the other end of the HDMI cable into the "In" port on the capture card to enable the information to transmit to your computer.
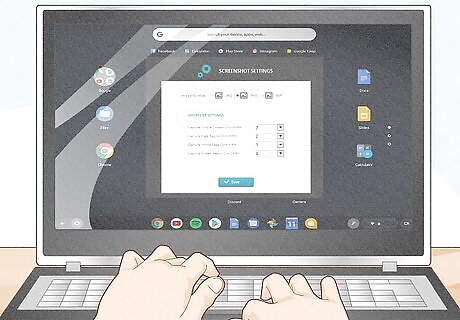
Open the video capture card software on your Chromebook. You might have been directed to download this software from the packaging or user manual. Your Chromebook might also prompt you to download the appropriate software once you plug in the USB cable.
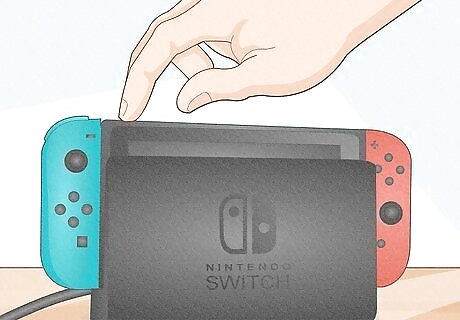
Turn on your Switch. The POWER button is in the top left corner.
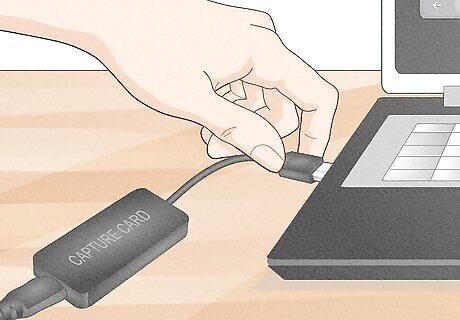
Plug-in the USB cable from your capture card to your Chromebook. If you don't have your video capture card's software open, it will open now. You should see your Nintendo Switch screen displayed on your Chromebook quickly.





Comments
0 comment