views
In the Files App
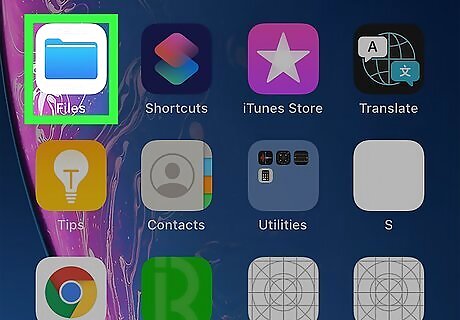
Open Files iPhone Files App. You'll find this icon that looks like a folder on one of your Home screens or inside the Utilities folder. Use this method if you want your camera to take high efficiency photos but want to convert them later. There are many third-party apps that claim to offer conversions, but they may contain ads or require payments to unlock special features, so this is the most reliable method. If you want your iPhone to take JPG photos by default, see this method.
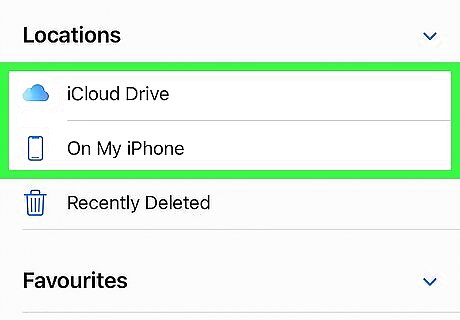
Choose a location. Since this will be where your JPG is, you'll want to remember the location you picked. If, however, you choose to use iCloud Drive, the data used will be counted against your storage limit.
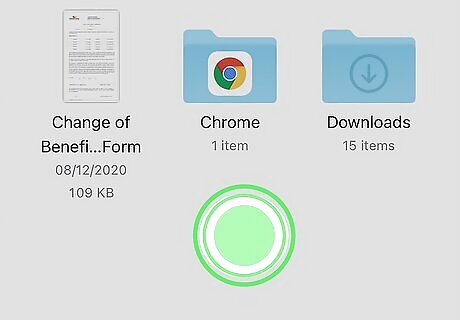
Tap and hold an empty space. You can release your finger when a menu pops-up.
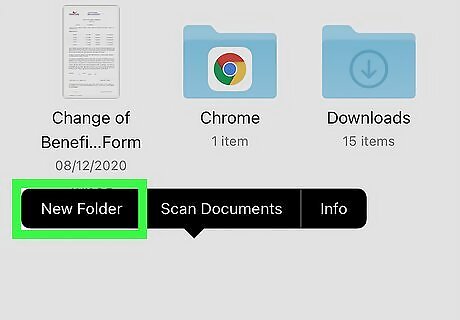
Tap New Folder. You'll want to name this something recognizable since this is where you'll put your HEIC files to make them JPGs. Tap Done to close the file creation window.
Open the Photos app Mac Photos App and navigate to your photo. Find the HEIC version of the photo you want to convert. EXPERT TIP Brandon Phipps Brandon Phipps Technology Specialist Brandon Phipps is a Technology Specialist based in Bakersfield, CA. He is the owner of Second Star Technologies and specializes in Managed IT Services for small and mid-sized businesses in Bakersfield, CA. With over 23 years of experience, he offers expert cloud computing, cybersecurity, and network management solutions. Brandon is a committed community member and coach who leads and innovates in tech and sports coaching. His dedication to local businesses and communities is evident in his hands-on, tailored approach to IT solutions. Brandon Phipps Brandon Phipps Technology Specialist High Efficiency Image Format (HEIC) is a file format that provides high-quality images while minimizing storage space. However, they're incompatible with many apps and devices, so you often have to convert them to other formats.
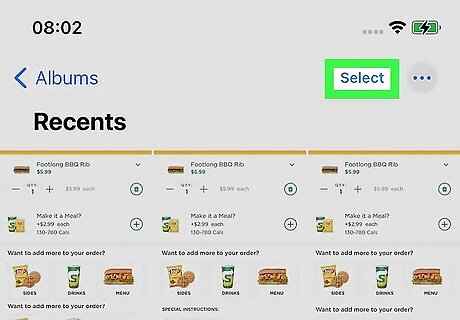
Tap Select. You'll see this in the top right corner of your screen.
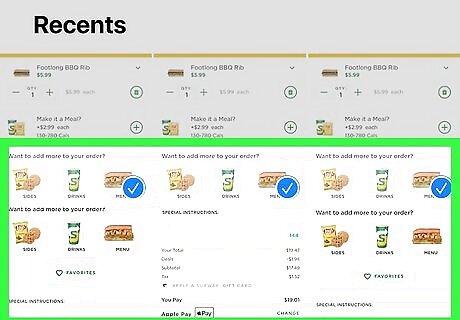
Tap the photo you want to convert. It will display a blue checkmark in the lower right corner of the thumbnail to indicate that it is selected.
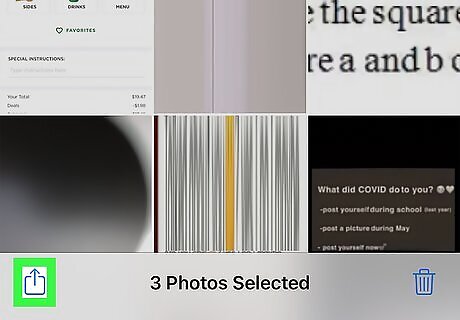
Tap iPhone Blue Share. This share icon is in the lower left corner of your screen and a share menu will appear.
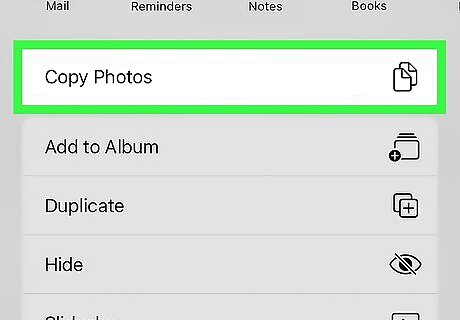
Tap Copy Photo. The photo you have selected previously will copy to your clipboard.
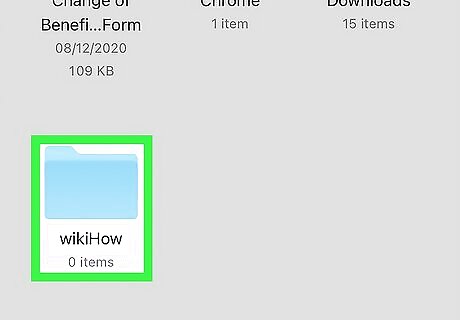
Open the Files app and navigate to the folder you created previously. If you didn't close the Files app, you should be inside that newly created folder when you open the app.
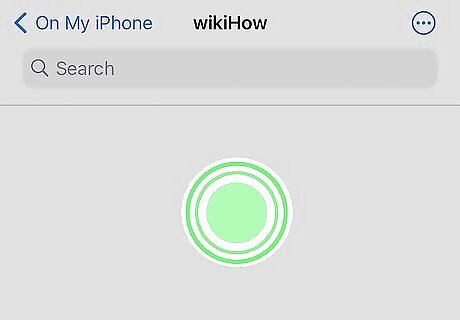
Tap and hold on an empty space. You can release your finger when a menu pops-up.
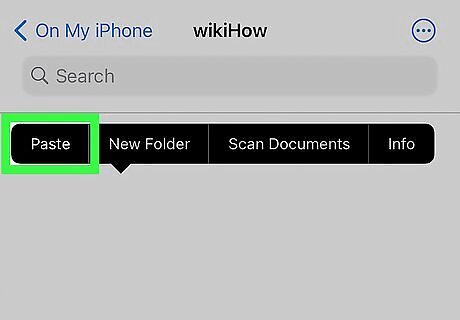
Tap Paste. Your HEIC image will appear here in JPG format. Again, if you opted to use cloud storage, the images here will count toward your storage limit.
Taking JPG Photos by Default
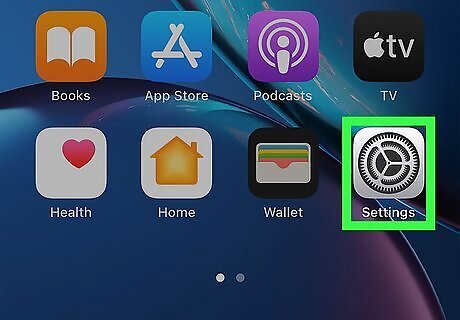
Open Settings iPhone Settings App Icon. You'll find this gear-like app icon on one of your Home screens or in the Utilities folder.
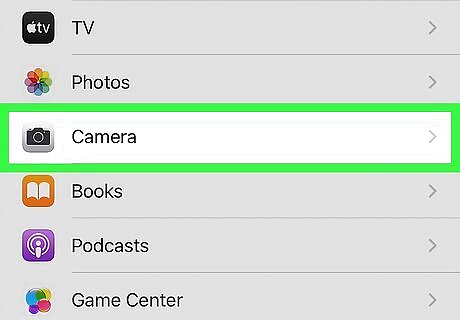
Tap Camera. It's usually in the sixth grouping of menu items next to the camera icon.
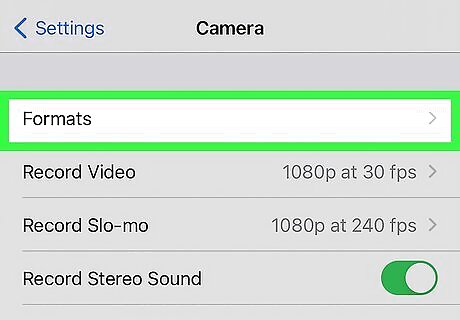
Tap Formats. You'll see this under the "Record slo-mo" option.
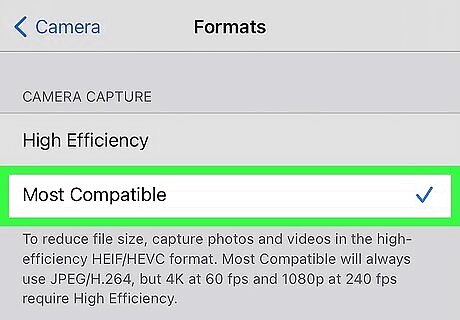
Tap to select Most Compatible. This should change from "High Efficiency" to indicate that your images will be in JPG format instead of HEIC.










Comments
0 comment