views
Setting up an Illustrator Document
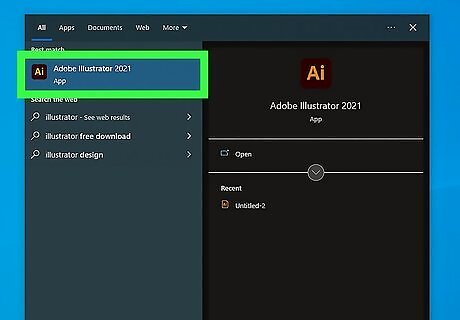
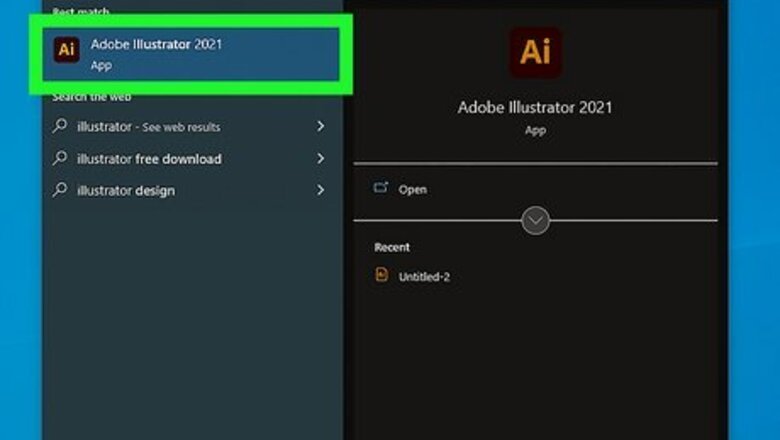
Open Illustrator. Open up the Adobe Illustrator application on your computer. If you haven’t installed it, go to the Adobe Illustrator website, press “Buy Now,” and follow the on-screen instructions for installation.
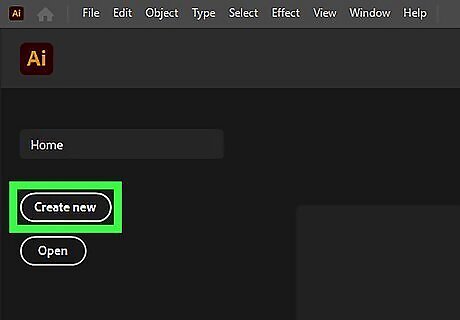
Create a new document. Click “Create New...” on the left side of your screen, then click “Art & Illustration” up top.
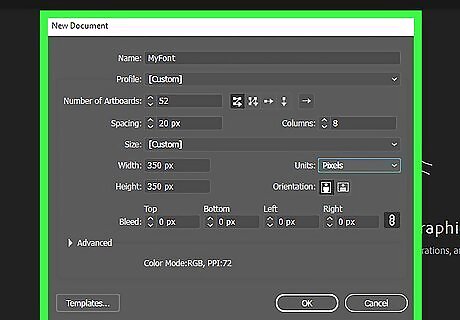
Set up your document specs. Within the right panel, type your desired height and width into the boxes provided. We recommend doing 350 px x 350 px for a font. You should also specify the number of artboards. The amount of artboards correlates to the number of characters in your font. Click “Create” in the bottom right once you’re done. For example, you should set 52 artboards if you want to make a font with uppercase and lowercase letters. You should add more artboards for any additional numbers or characters! Be sure that your dimensions are in pixels, rather than points. You can change this by clicking on the drop-down menu next to “Width” and selecting “Pixels.”
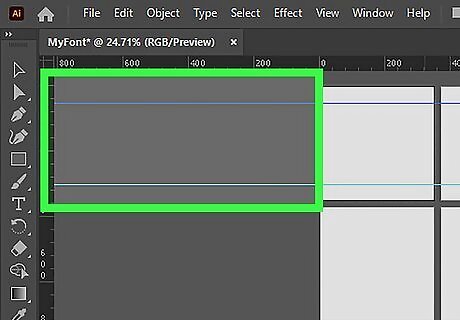
Create guides. Guides are lines you can add (that don’t actually appear in the final product) to help you keep your letters even. First, add rulers on the top and left sides of your document by clicking on “View” > “Rulers” > “Show Rulers.” To add a guide, simply click on one of the rulers and drag your mouse to a desired location on your document. Dragging the vertical ruler (on the left) will place a vertical guide, while dragging the horizontal ruler (on the top) will place a horizontal guide.
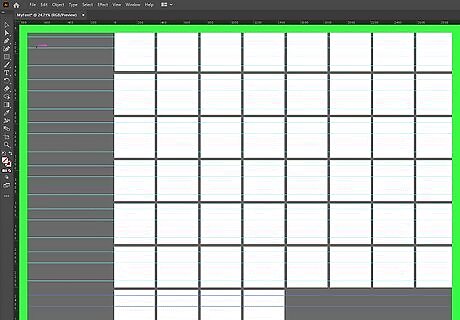
Space out your guides. For fonts, we suggest adding three horizontal lines to each artboard: the baseline, height, and cap. The baseline is the bottom guide where all letters will rest. The height is the middle guide indicating the top of lowercase letters. The cap is the top guide indicating the top of all uppercase letters. The spacing should be relatively even, but we recommend making the height and cap slightly closer together.
Creating Your Letters
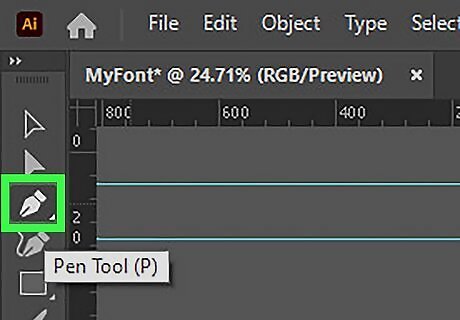
Use the pen tool. Click the pen icon in the left menu. This looks like the tip of a quill. To draw a line, click on a place in your artboard where you want the line to start. Then, click again where you want the line to end. Continue clicking to add more line segments to this path. Whenever you want to end the path, press Enter on your keyboard. This method only allows you to draw straight lines. This is great for letters like “L,” but follow along for how to draw curves!
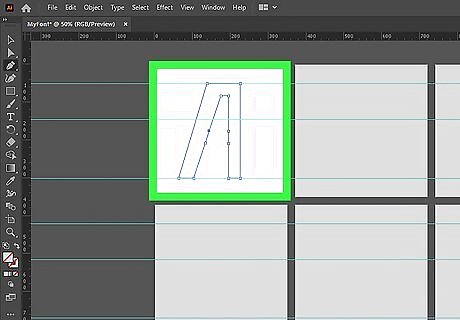
Draw curves using the pen tool. Select the pen tool and click where you want the curve to start. Then, click and hold where you want the curve to end. Before releasing, drag your cursor around to see a curve form. Continue dragging until you are satisfied with a certain curve, then release your mouse. Click, hold, and drag your cursor to other places until you’ve created your desired shape. Press Enter on your keyboard to finish the path. This is helpful for letters like “R,” where you need to add a curve. This is also great for stylizing your font!
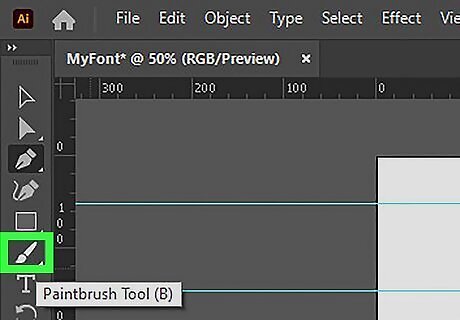
Use the brush tool. The brush tool gives you a bit more fluidity and artistic freedom, making it perfect for handwriting-inspired fonts. To select a brush, click “Window” > “Brush Libraries,” then select any of the brush options. One brush we recommend for fonts is “Calligraphic.”
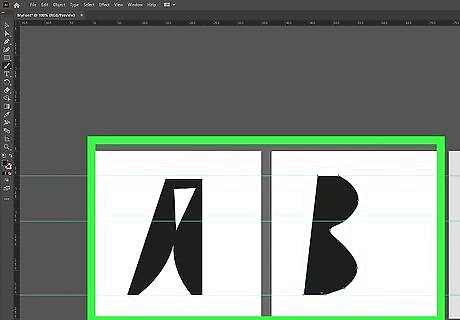
Draw brush strokes. Apply brush lines and curves just as you would using the pen tool. Refer to the first two steps of this method for further instruction. Feel free to play around with different types of brushes! Simply go back into the Brush Library to choose other styles.
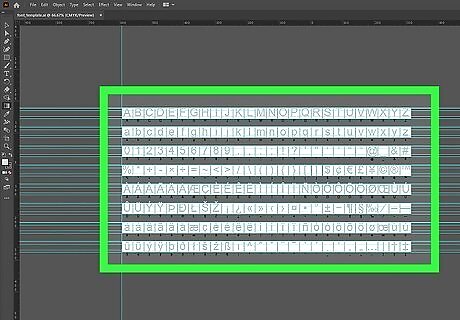
Draw all of your characters. Go through every artboard and draw each of your letters and/or characters! Don’t be shy to try out different lines, shapes, and styles. You can always undo something by clicking on “Edit” > “Undo” within the top menu.
Exporting Your Font
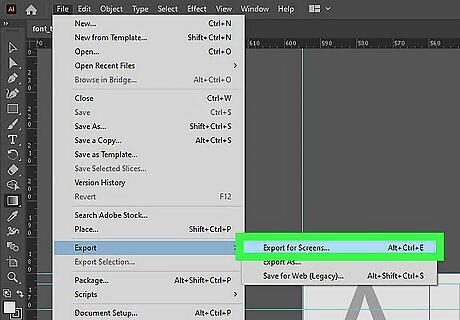
Export your document as SVG files. Click “File” > “Export for screens.” Be sure that all of your artboards are selected so they can be exported as individual files. This should be the case if you select “All” (rather than “Range” or “Full Document”). Select where you want these files to reside on your computer, then click “Export Artboard” in the bottom right.
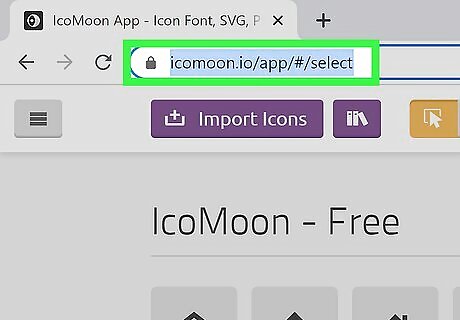
Navigate to a font creation software. This is what will convert your files from .svg to .ttf. There are plenty of options out there, but we’ll lead you through how to use IcoMoon.
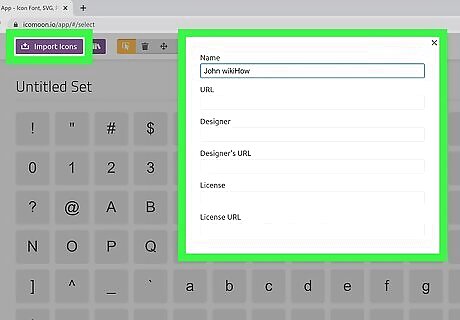
Go to IcoMoon on your preferred web browser. Click “Import Icons” in the top left corner. Now select every .svg file you just saved to your computer and click “Select for download.” You will now see your files on the website, listed under “Untitled Set.” To rename this set, click on the three lines to the right of “Untitled Set.” Click on “Properties” > “Edit Metadata,” then type in a new title under “Name.”
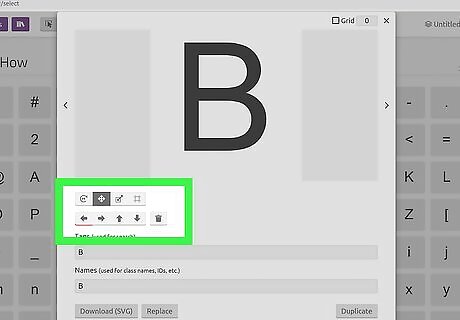
Edit the sizing and spacing of your characters. Click on the pencil icon in the top menu and select one of your files. A popup menu displaying a large image of your character will appear. The four buttons directly below this image are editing tools: (from left to right) Rotate/Mirror, Move, Scale, and Canvas/Alignment. Click on any of these, then use the buttons below them to manipulate these tools. Once you’re done editing, click the “X” button in the top right corner of the popup window.
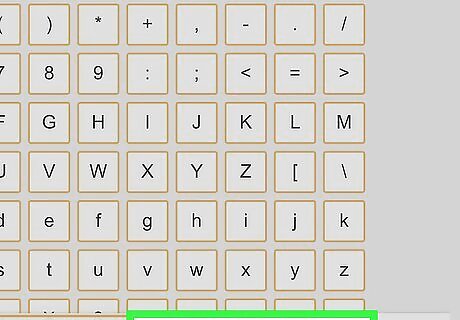
Generate your font. Once you’ve edited all of your characters, click the “Select” icon in the top menu. It looks like a box with a cursor inside. Now select all of your files and click “Generate Font” at the bottom of your screen. You will now see a page listing all your characters.
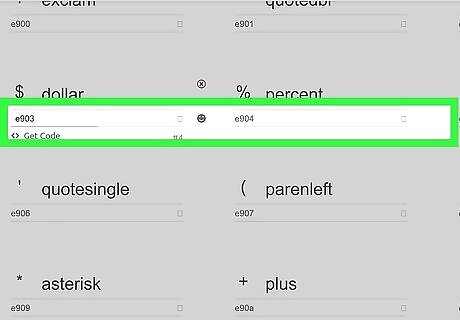
Type in the Unicode character for each of your files. Underneath each file, there is a horizontal bar where you can type in either the hexadecimal code (on the left) or the actual character (on the right). We recommend clicking on the right side of this bar. Now type in the letter (or number/character) that corresponds to the particular file you’ve selected.
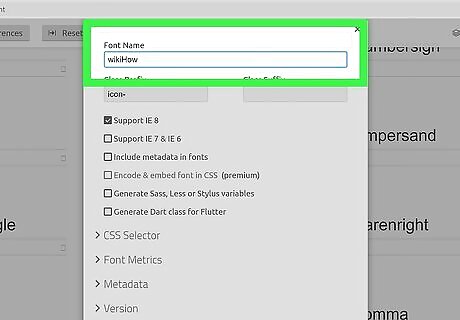
Name your font. Once you’ve assigned the Unicode to each character, click “Preferences” in the top menu. Type in a name for your font, located under “Font Name.” This will be the official name of your font, so spend some time deciding! You can also edit the metadata and other details in “Preferences.” Simply click on “Metadata” or any of the other categories to edit them. Click the “X” in the top right corner of this popup window when you’re done.
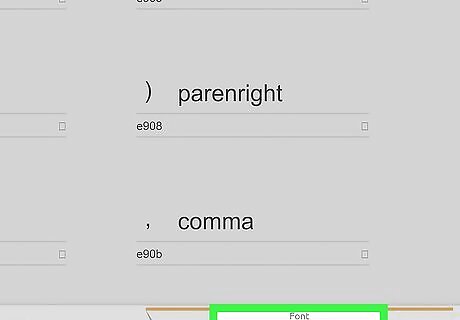
Click “Download” in the bottom right corner. A zip file that includes your font and relevant instructions will now download to your computer. Open that file, open the “fonts” folder within it, then double click the .ttf file.
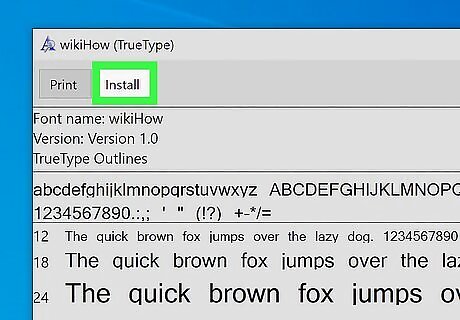
Install the .ttf file. Click “Install Font” in the popup window that your computer displays. Your font is now installed on your computer! Feel free to test this out by going into any desktop application that allows you to change fonts. For example, open Microsoft Word, type the name of your font into the font dropdown menu, press Enter on your keyboard, and begin typing in the document. You should now see your custom font appear!


Comments
0 comment