views
Creating the Group
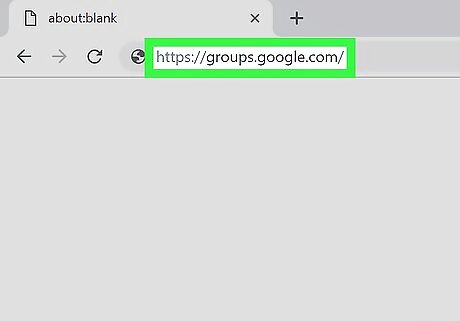
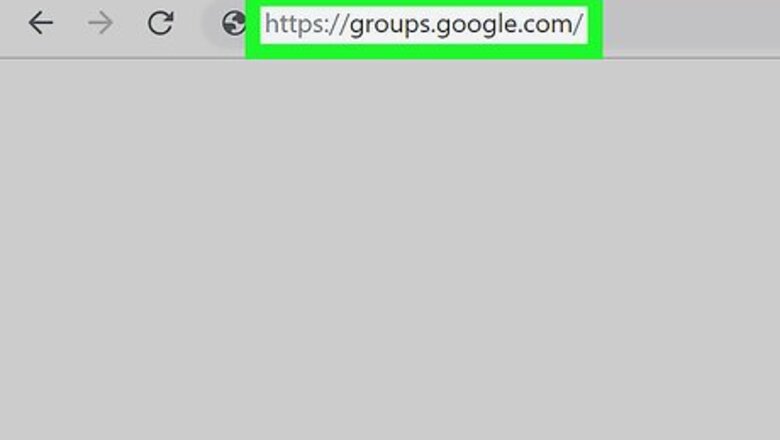
Open the Google Groups website. Go to https://groups.google.com/ in your computer's web browser. This will open the Google Groups creation page.
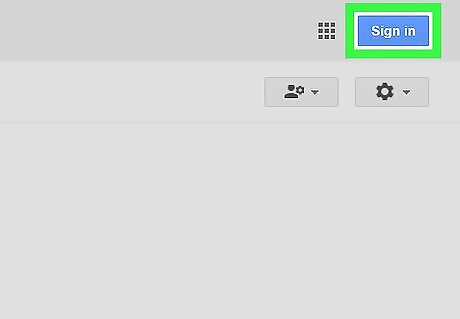
Sign into your Google Account if necessary. If you aren't signed into a Google Account, click the blue Sign in button in the top-right corner of the page, then enter your Google Account's email address and password. You can also switch to a different Google Account by clicking your profile image in the upper-right corner of the screen and then either selecting a different account or clicking Add account and signing in with the account's login information.
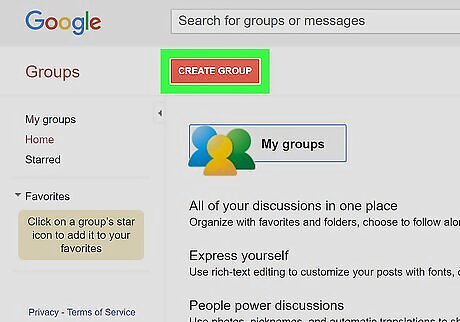
Click CREATE GROUP. It's a red button in the upper-left side of the page. Doing so opens a new group form.
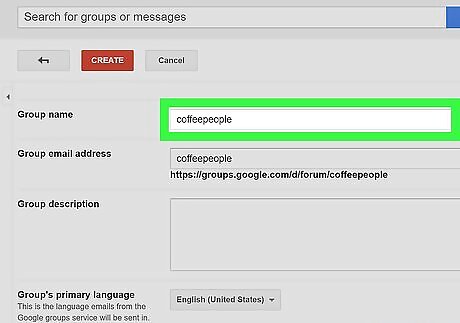
Enter a group name. Click the "Group name" text box near the top of the page, then type in whatever you want to name your group.
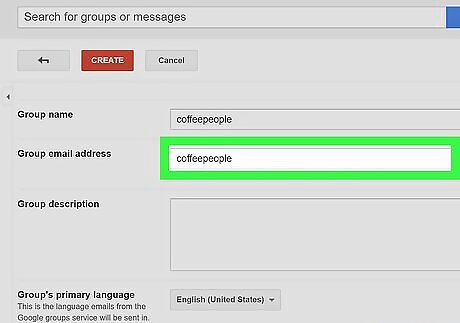
Add an email address username. Type whatever you want your group's email username to be into the "Group email address" text box. For example, typing coffeepeople into this text box will set "[email protected]" as your group email address. If the email address you want to use is already taken, the text box's contents will turn red and you'll be asked to set a different name.
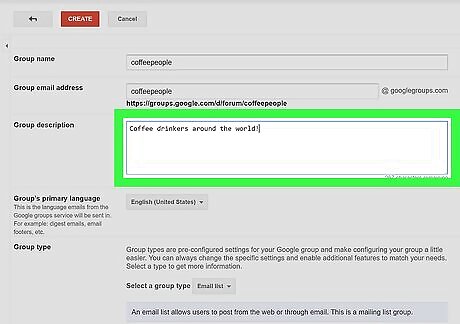
Enter a description for your group. Click the "Group description" text box, then type in a brief sentence or two about the purpose of the group.
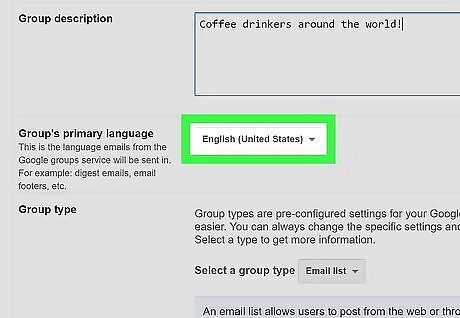
Select a primary language. In the "Group's primary language" section, click the current language box to prompt a drop-down menu, then scroll to and click the language you want to use in the drop-down menu. Skip this step if your Google Group is already using the language you want to use.
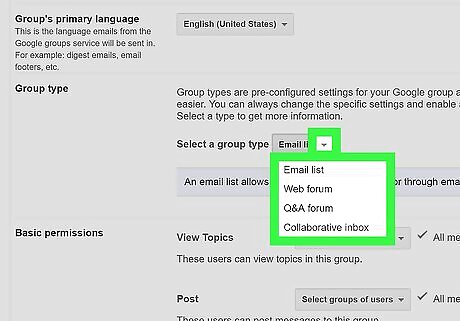
Select a group type. In the "Group type" section, click the "Select a group type" drop-down box, then click one of the following options in the resulting drop-down menu: Email list — Allows you to contact all group members at once by emailing the Google Group email address. Web forum — Allows group members to post and reply to topics. Q&A forum — Allows group members to post questions, add answers, and mark addressed questions as answered. Collaborative inbox — Allows you to assign questions or topics to specific group members.
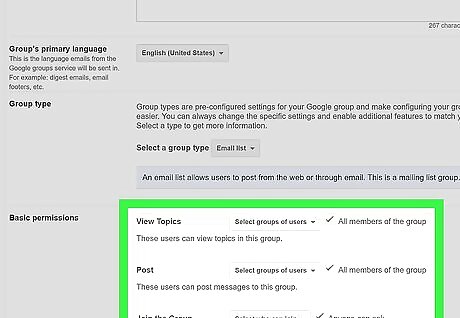
Set your group's permissions. You can determine who can view your group's topics, post in the group, and join the group by doing the following: View Topics — Click the Select Groups of Users box, then click a privacy option to check or uncheck it. Post — Click the Select Groups of Users box, then click a privacy option to check or uncheck it. Join the Group — Click the Select who can join box, then check the option you want to use.
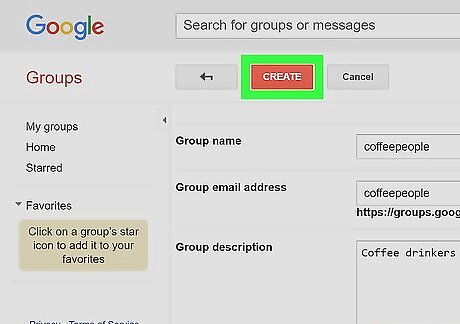
Click CREATE. It's a red button at the top of the page.
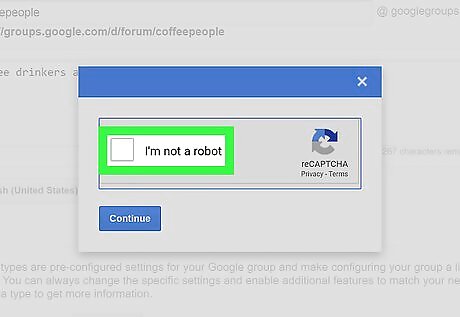
Confirm that you're human. When asked, check the "I'm not a robot" box in the middle of the prompt window, then click Continue at the bottom of the window.
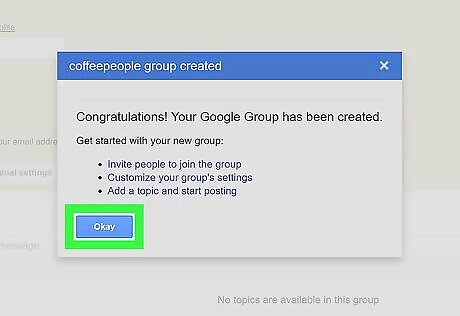
Click Okay when prompted. Doing so confirms that you've created your Google Group.
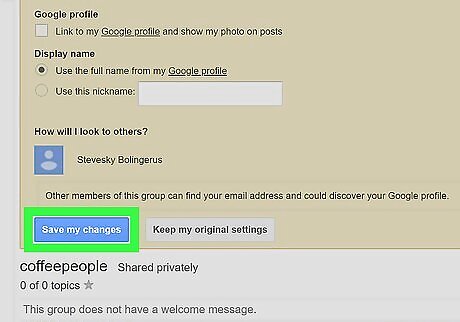
Click Save my changes. It's a blue button near the top of the page. Your Google Group has now been created; at this point, you can proceed with adding members.
Inviting Members
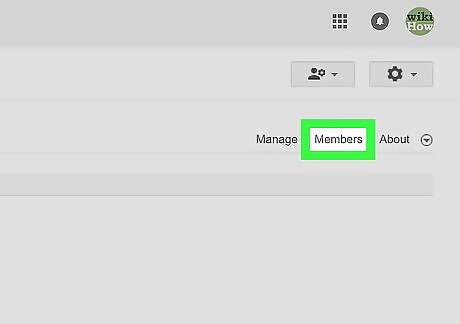
Click the Members tab. It's in the upper-right side of your group's page.
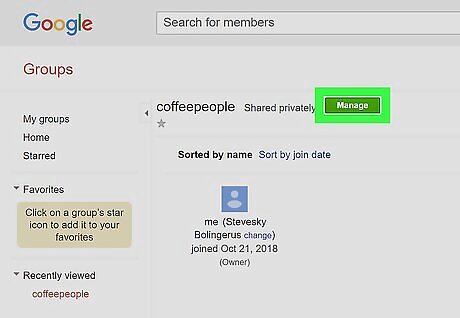
Click Manage. You'll see this green button at the top of the page.
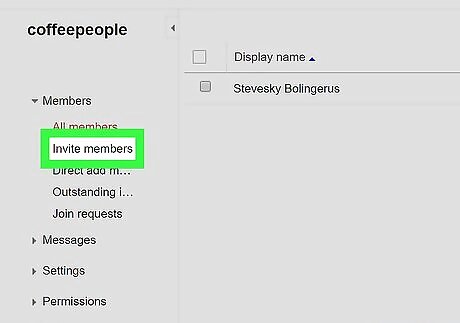
Click Invite members. It's on the left side of the page. Doing so opens the invitation form.
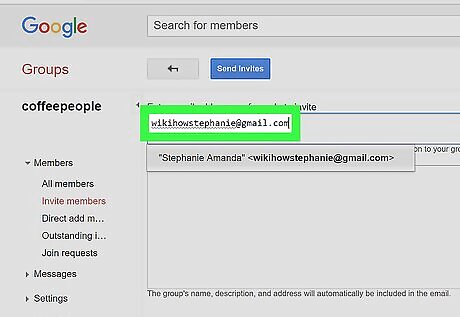
Enter email addresses. In the "Enter email addresses" text box, type in the email address of a person whom you want to invite to your group, type a comma, and repeat with the email address of each additional person you want to add.
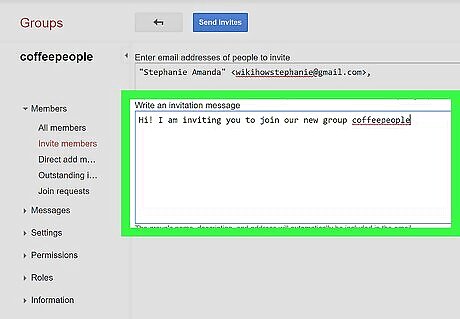
Enter an invitation message. Click the text box below the email addresses, then type in the message you want to include in the invitation.
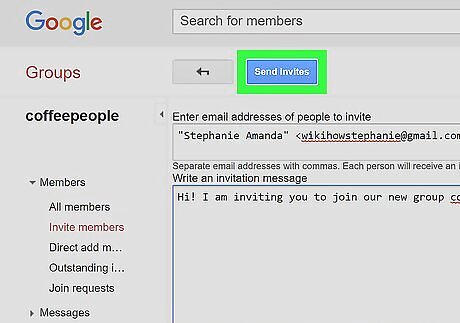
Click Send invites. This blue button is at the top of the page. A pop-up prompt will appear.
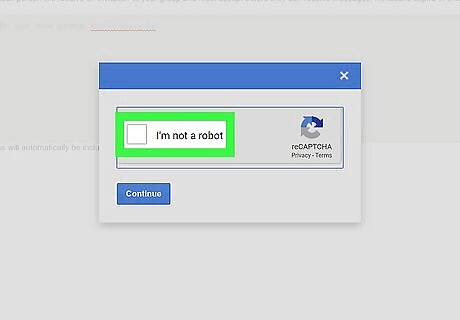
Check the "I'm not a robot" box. You'll see this checkbox in the middle of the pop-up prompt.
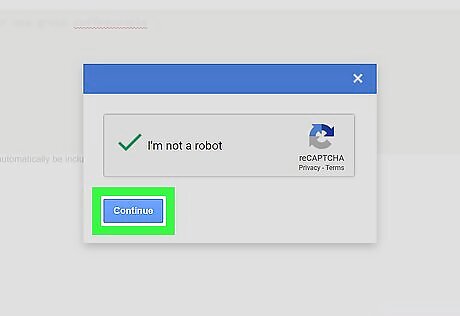
Click Continue. It's at the bottom of the prompt. Doing so sends your invitations to the specified people.
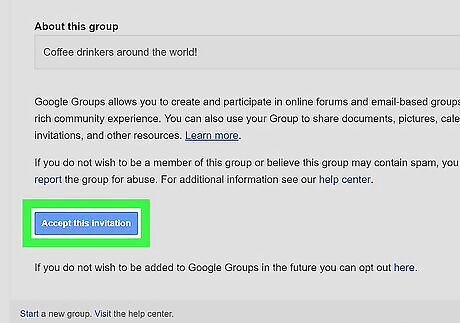
Have the invited people accept their invitations. To accept an invitation, the people you invited simply need to open the invitation email and click the blue Accept this invitation button.





Comments
0 comment