
Making the Earth and Moon
Round up your materials. For this project, you’ll need 2 spheres of different sizes, 2 sticks, paint or markers, a piece of wood or other surface to anchor the sticks to, and nails, screws, or glue to anchor the sticks. For the spheres, styrofoam balls will work nicely, but you could also use rubber or plastic balls. The smaller ball should have approximately ¼ the diameter of the larger ball. For example, if the larger ball is has a diameter of 4 inches (10 cm), the smaller ball should have a diameter of 1 inch (2.5 cm).
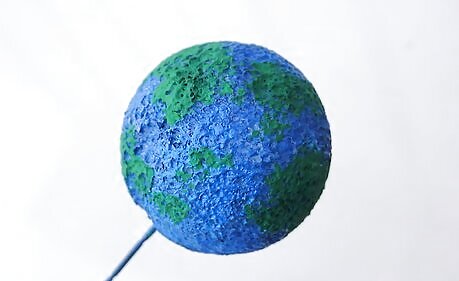
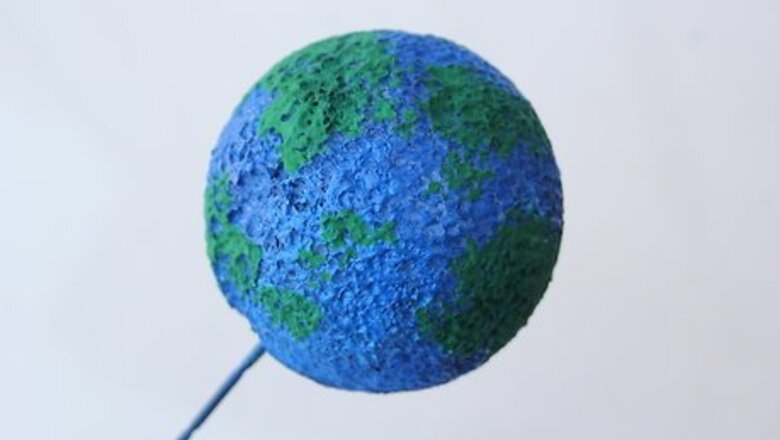
Decorate the larger ball like the earth. The earth is larger than the moon. This fact should be reflected in your model. Color the large ball with blue marker or paint to represent the oceans and green or brown paint to represent the continents. This will give your model character and make it more realistic. It will also help others to understand what they are looking at when they see your model.
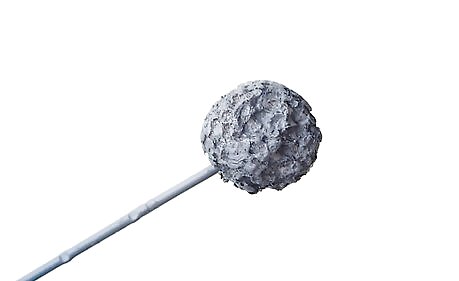
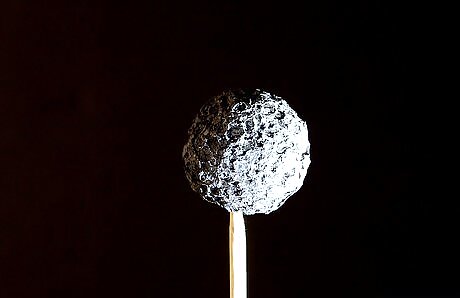
Make the smaller ball look like the moon. The smaller ball can be colored grey. You can add black dots and circles to denote the craters that are scattered across the moon’s surface. Some people also choose to color the moon yellow; just make it clear that it is not the sun. The relative size of the objects should be a reasonable indication that your model contains the moon and not the sun. The sun is much larger than the earth or moon.
Anchoring the Model
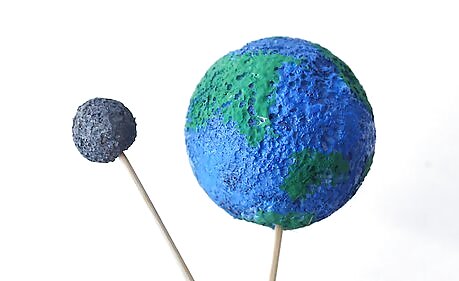
Place each ball on a stick. In order to fix your model so that the earth and moon are always in the place you want them to be, you will need to put each ball on a stick. If you’ve used the styrofoam balls, this will be rather easy. Just slide the a metal, plastic, or wooden stick through the center of the ball so that it stands on the stick. There is no need to push the stick all the way through.
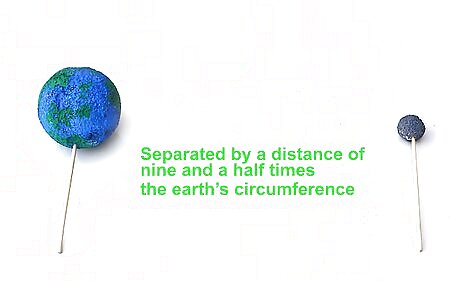
Measure the distance you want between the balls. You can place the balls any distance apart. However, if you want to make the model to scale, you will need to measure the distance more precisely. The objects should be separated by a distance of 9.5 times the earth’s circumference. Measure this distance with a ruler or tape measurer. For example, if your earth is 4 inches (10 cm) in diameter, the moon should rest 38 inches (97 cm) from the earth.
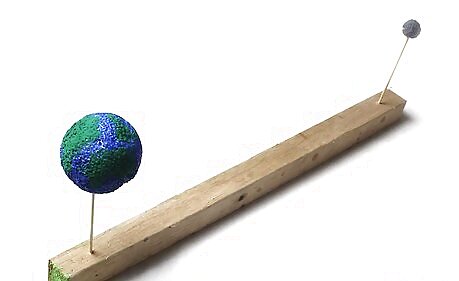
Anchor the sticks to a piece of wood. Once you have measured the appropriate distance for your objects, it is time to mount them. Use nails, screws, or glue to set the sticks on a board. This will allow you to move the model without it coming apart. Ask an adult to help you with this step, particularly if you’re nailing or screwing the sticks to the board.
Using Your Model as a Demonstration
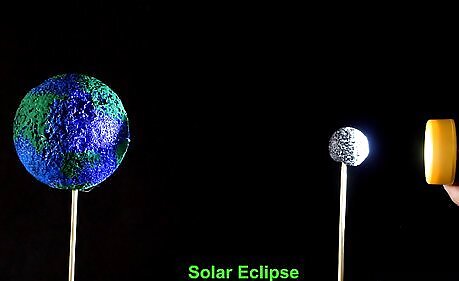
Demonstrate a solar eclipse. To do this you will need a flashlight or a lamp. Cast a solar eclipse by shining the light onto the moon ball. This will create a shadow on the Earth ball. Make sure that the lights in the room are turned off so that you can see the shadow.
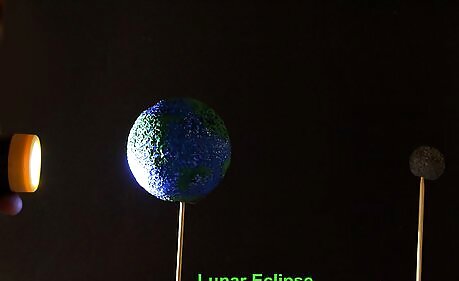
Demonstrate a lunar eclipse. To do this you will do the opposite of what you did to cast a solar eclipse. Use the flashlight or lamp to cast a lunar eclipse by shining the light onto the Earth ball. This will create a shadow on the moon ball.
Understand the relationship between the earth and moon. The moon orbits the earth on a cycle of approximately 28 days. This generates the tides in the ocean and allows us to see different stages of the moon (half moon, full moon, etc.). The earth holds the moon in its gravitational orbit and prevents it from drifting off into space.

Hang your model. When your model is not in use, you can hang it from your ceiling. This makes a good decoration and displays your model. To do this, you can tie a string around the middle of your model and hang it, or you can screw or glue a hook to the center of the model for hanging.


Comments
0 comment