
Creating An Entire Page Of The Same Label
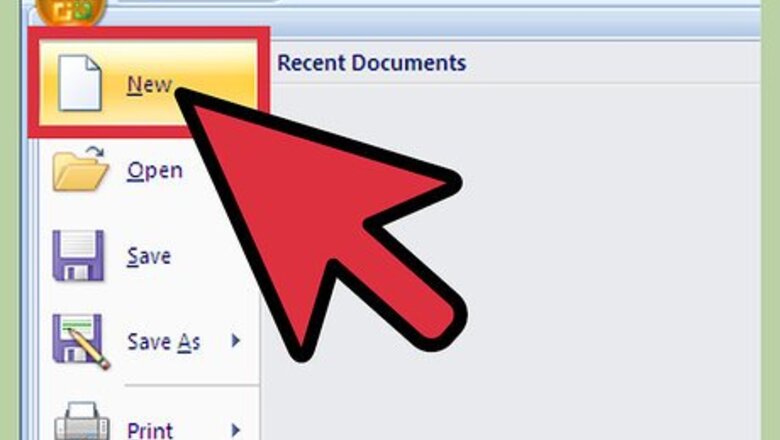
Open a blank Word document.
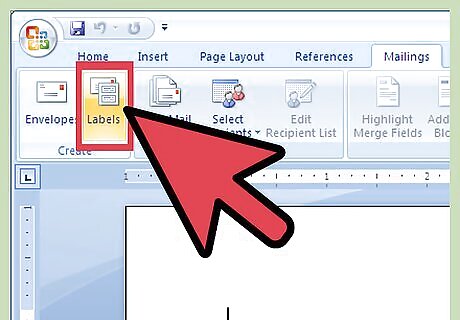
From the mailings tab, in the Create group, click on Labels.
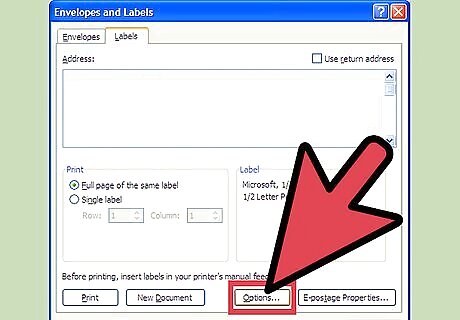
Select the correct label size and then click Options: From the Label products pull down list, select the brand name From the product number scroll list, select the product number Click OK
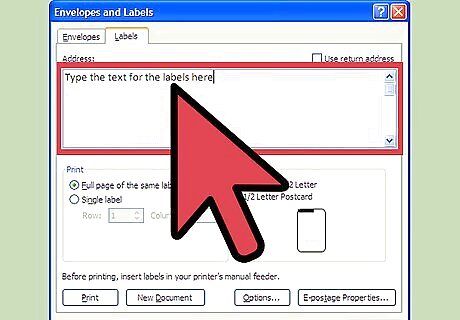
In the Address text box, type the text for the labels
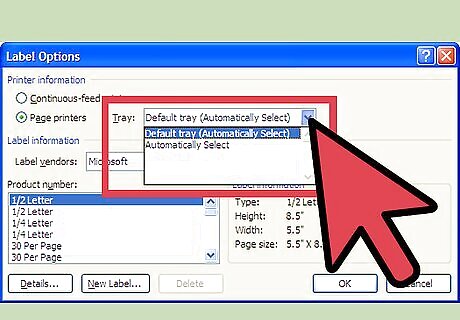
Before printing, specify your paper source Click on Options. The Label Options dialog box should appear. In the printer information section, look at the Tray pull-down list and make the appropriate selection.

Load the labels into the printer and click on Print.
Creating a Page Of Custom Labels
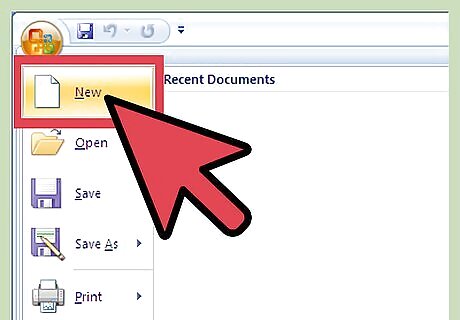
Open a blank Word document.
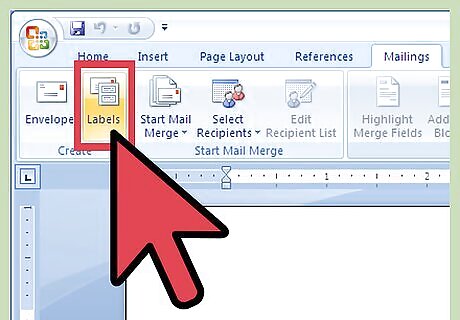
Go to the Mailings tab in the Create group and click Labels. Note that the Envelopes and Labels dialog box appears, with the Labels tab displayed.
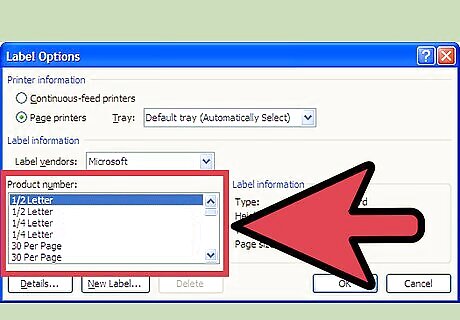
Select the correct label size. Click on Options. From the Label Products pull-down list, select the brand name. From the Product Number scroll list, select the product number.
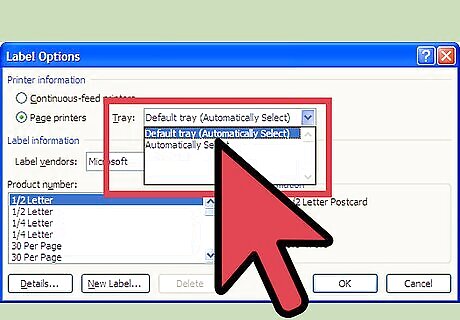
Specify the correct paper source. Click on Options. The Label Dialog box should appear, In the Printer Information section, go to the Tray pull-down and make your selection. Click OK.
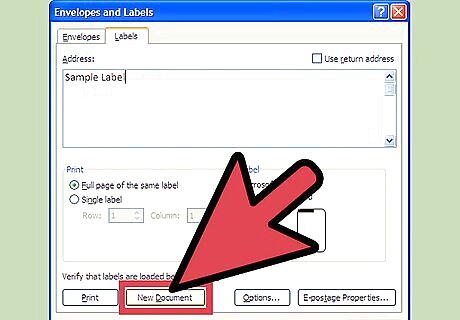
Click new document.

Type the contents of each label using the tab key to move between labels. Each table represents one label.
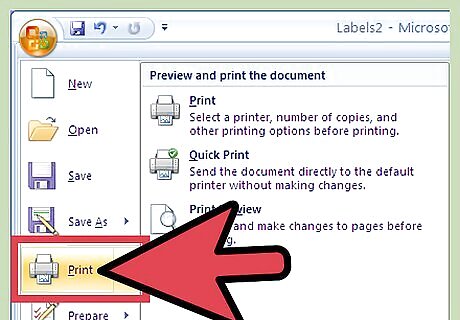
Load the labels into the printer and make any necessary adjustments before printing.


Comments
0 comment