views
- Use an electric grinder with a diamond cutting blade to cut stone.
- Use a chisel and hammer to cut the side of the stone that will face outward for a cleaner finish.
- Always wear safety goggles, hearing protection, and a face shield when using an electric grinder.
Cutting Stone for a Wall
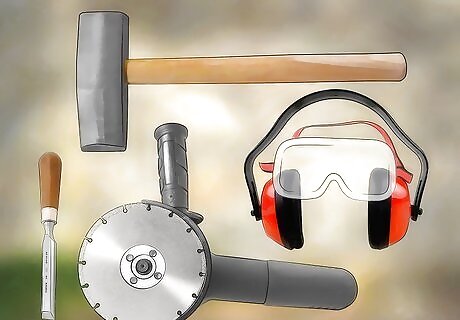
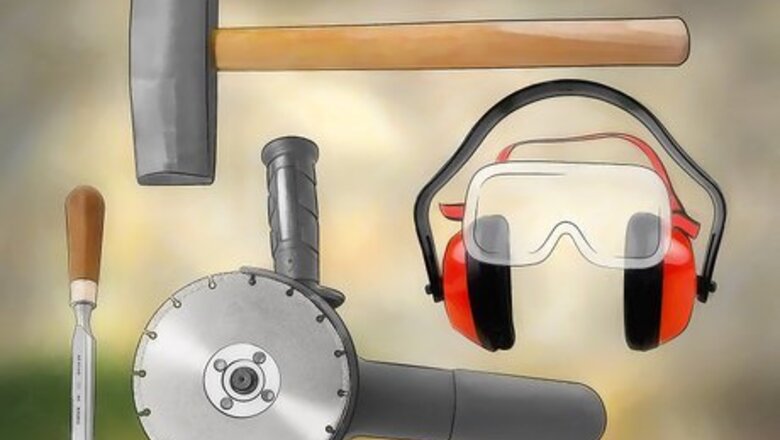
Gather your supplies. Before you begin cutting into stone, make sure you gather all the proper supplies. You can pick up most of the following at a local hardware store. If you can't find them at a hardware store, look online. You will need a chisel as well as an electric grinder with a diamond cutting blade to cut the stone. If your project is small, it may be less expensive to rent the grinder. You'll need a stone mason's hammer (these are similar to small sledge hammers). You will also need safety gear. You'll need protective goggles, a full face shield, and hearing protection. You can get hearing protection, which are ear muffs designed to block out loud sound from machinery, at most hardware stores.
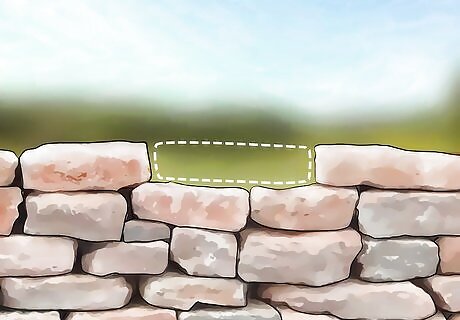
Measure how big of a stone you need. If you want all your stones the same size, you may already know the dimensions you're using. However, you may not be using one specific dimension. If you need a piece of stone to fit into a particular space in the wall, measure that space's dimensions with a measuring tape. Make sure you have the proper dimensions in mind before you begin cutting.
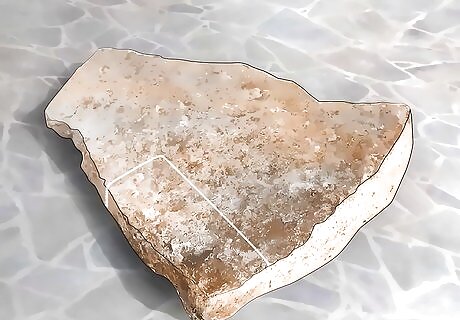
Mark where you'll split your stone. Mark all the way around the stone where you will make your cut.
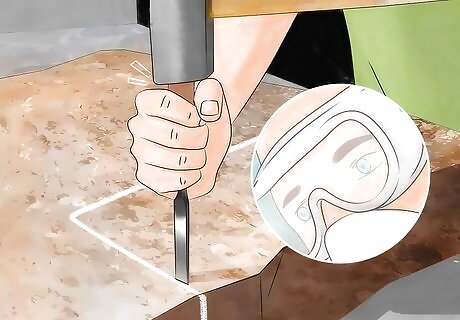
Chisel along your line on the "face side." The face side of a stone is the side that will face outward on a wall. The chisel will help achieve a cleaner break than the grinder wheel.You'll want a more even break for the face side, as this gives it a smoother look. Use your chisel and sledgehammer to begin the cut on the face side. Put on eye protection before you start using the hammer and chisel, which can send sharp chips of stone flying. Take your chisel and hold it in a vertical position on the stone, with the blade of the chisel on the line you wish to cut. Take your sledgehammer and hit firmly it on the end of the chisel to make three or four small marks, about an inch apart, running along your line on the stone. Then, fill in the spaces between these marks by once again tapping your chisel with the sledgehammer. Keep working the line until you have a groove the entire length of the face side. Use single, solid taps against the chisel with the sledgehammer, working back and forth up the line.

Put on a face mask, and hearing protection. The next step involves working with an electric grinder. Make sure, for your own safety, to put on your safety goggles, hearing protection, and face shield before you begin working with your grinding tool. Small debris may fly off the stone at this point, and the noise from the grinding tool can cause hearing damage.
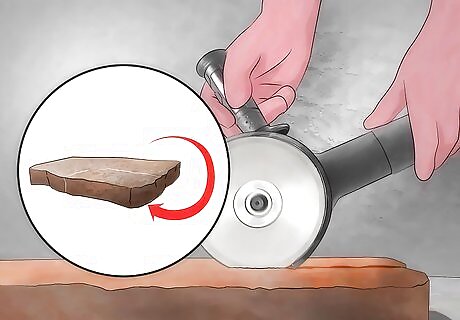
Use a grinder to cut the lines on the other sides. Rotate your stone so that one of the other sides is up. Use your grinder to cut a straight line across one side of the stone. Cut over the line a few times, until you have a small indent. Go slowly to make sure the line is cut evenly across the stone. Turn the stone over and repeat this process on the next side of the stone. Then, turn the stone over again. You should repeat this process on all of the sides of the stone other than the face until you have a good groove on each side of the stone.
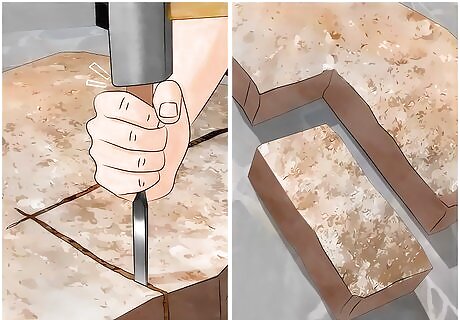
Use your chisel to finish cutting the stone. Once you've cut into all sides of the stone either with your chisel or your grinder, you're ready to finalize the cut. Start with the face side, and give 3-4 good blows with the hammer along the groove in the face. Rotate to the next face, and repeat. Continue this process (it may take a while) until the stone breaks.
Carving Shapes or Curves into Stone
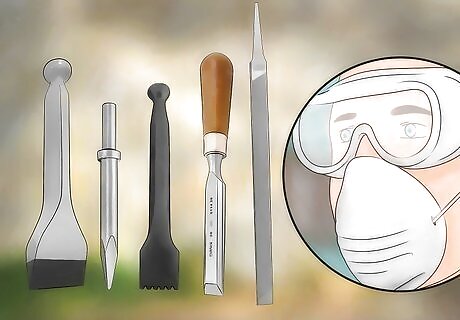
Gather your tools. If you want to carve stone into a shape for a project, or carve curves into stone, you have options as well. First, you need to gather some tools. The process of carving and shaping stone is a bit more delicate. You will need a chisel set containing the following types of chisels: a large, heavy chisel, a point chisel, a claw chisel, a flat chisel, and a file. Chisel sets can be purchased online and at most hardware stores, but can get pricey. A set may cost up to $100. You will need dust masks to wear during the shaping process, as well as safety goggles. Leather gloves are a good idea as your hands may get sore while carving.
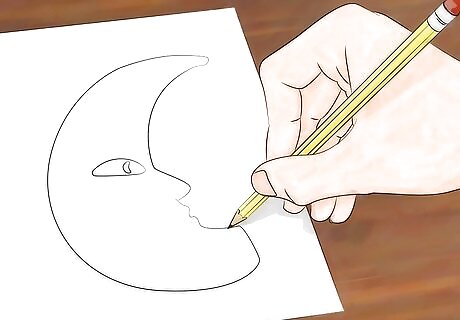
Make a drawing of the shape you plan to carve. To start, making a drawing of the object you're trying to carve. This can help guide you during the process. You may be making a fancy shape, like a flower, or just making a curved corner or a tile for a larger project. At any rate, sketch a rough drawing of your shape.
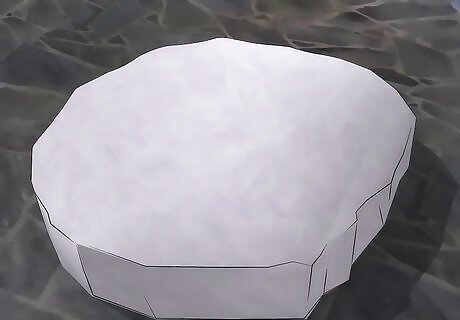
Choose a stone close to the shape you want. You can use found stones, or slabs of stones you purchase at a hardware store, for your project. When selecting a stone to use, especially with found stones, you want to select something close to the shape you want. If a stone has a curved edge, for example, this would be a good option to carve out a curved corner. This will result in less extensive work for you as you shape the stone.
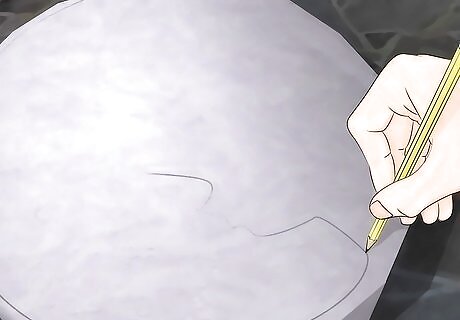
Draw your design on the stone itself. From here, draw out your design on the stone itself. If you're carving a curve, draw the direction and shape of the curve along the edge of the stone. If you're drawing a fancy shape, like a flower, for example, draw out the shape of the petals, buds, and so on against the stone. You can use a marker or a pencil to draw on your stone.
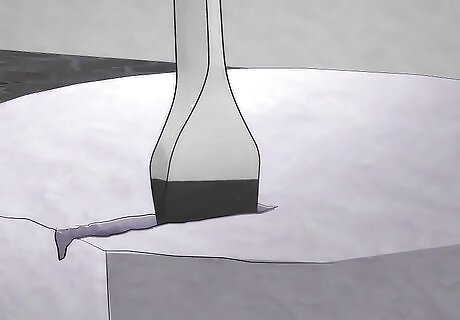
Outline rough shape with your large, heavy chisel. Now you can begin shaping to stone. Take your largest, heaviest chisel to start. You will use this to carve out the rough shape of the stone. Do not worry, during this process, if the stone does not look much like your desired shape. You will go through several different rounds of carving, and you're just trying to get a very rough outline here. Scrape your chisel along the stone, carving it into the rough shape you want. Carve along the edges of the drawings you've made. Make sure to wear your safety goggles, as bits of stone may fly off during this process. Do not break off big chunks of the stone. Instead, take out small bits of stone one at a time. Try to make a series of groves in the stone with tiny bits of stone wedged inside. You'll remove these lines later, with other tools. A large chisel can be rough on stone, and is not delicate enough to remove such lines.
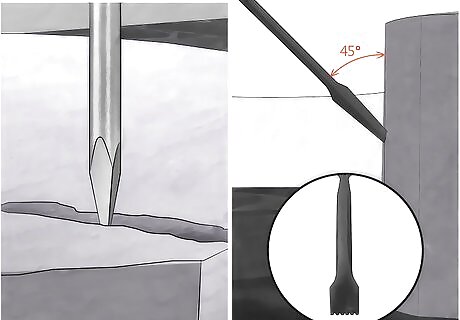
Use your point chisel to carve out small lines in the stone. Once you've carved the rough outline, grab your point chisel. You will use this to further carve out the shape. You'll be making small lines in the stone by scraping your chisel along the stone. These lines will be leveled later, with your claw chisel. You should hold the claw chisel at about a 45-degree angle. However, the angle varies slightly depending on the roughness of the stone. For particularly rough stones, you may have to go for a steeper angle as you scrape the chisel along the stone. Once again, go slowly. Remember, it'll be awhile before your stone truly begins to take shape. Make a series of small lines in the stones running along the exterior of the shape you're carving. Make lines about 1 to 1 and a half inches apart. Then, make a crosshatch pattern by drawing lines the other way. This levels the stone, creating small bumps that can be removed with a claw chisel. Your stone should look something like the shape you desired, except the exterior of your shape will be bumpy and uneven.
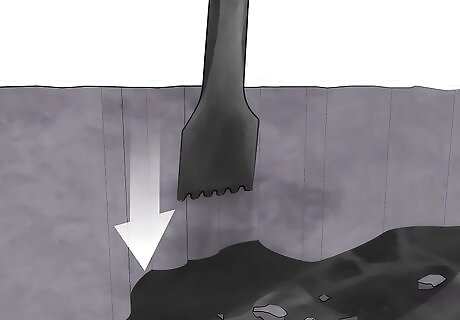
Refine the shape with the claw chisel. From here, you can begin to refine the shape by using your claw chisel to smooth out these bumps. Use the claw chisel to remove lines and bumps by gently tapping or scraping the chisel against the bumps and lines. The bumps should come off fairly easily. Keep working until you've smoothed out most of the bumps and lines from the previous chisel. In the process, however, you may create some lines and cracks with your claw chisel. That's okay. These are removed with the flat chisel.
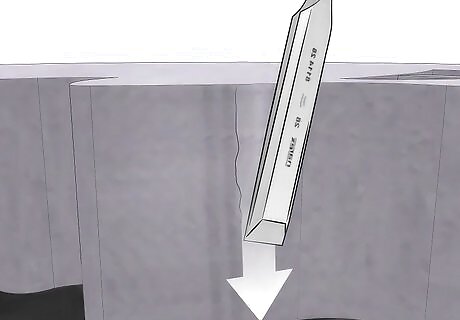
Remove lines with the flat chisel. Your stone should really begin to take shape here. It should look mostly like your desired shape, only a bit rough on the edges. Now, you can take your flat chisel. Gently scrap the chisel along the stone, removing any lines or bumps created by the claw chisel. The flat chisel has a flatter edge, so any lines created here will be less noticeable and can be filed out later.
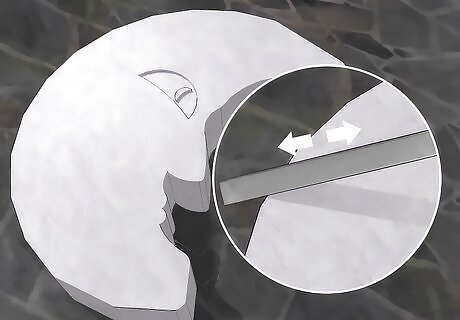
Carve out loose stones and soften edges with a file. There may be some loose stones and rough edges on your shape now. Take your file and rub it against the stone. Target any sharp edges, rubbing them until they soften, and look for any loose stones or pebbles embedded in your stone. These can be gently dislodged with the file.
Taking Safety Precautions
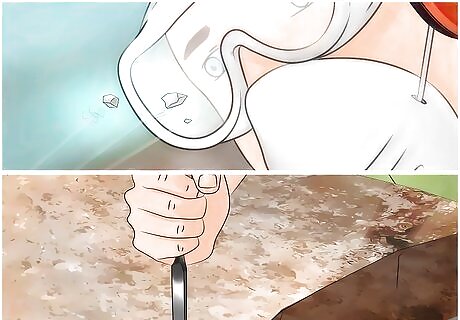
Use safety goggles. When working with stone, you should wear safety googles. You can purchase safety goggles at a local hardware store. Safety goggles will help protect your eyes from bits of stone that may fly off the main piece while you're chiseling.
Read instructions from the products you're using carefully. You should learn about the materials you're using. When you purchase stone, it will usually come with safety instructions. There are also generally safety instructions on tools you would use from the hardware store. Do not disregard these rules. Read them in their entirety before you begin to cut stone.
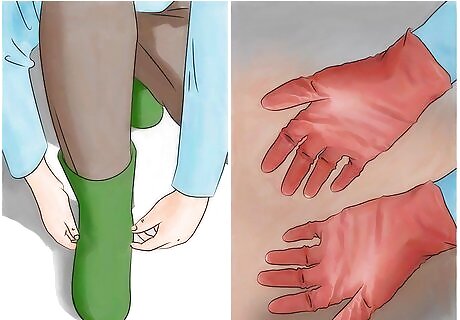
Dress safely. When you're cutting stone, you should make sure you dress in a way that will help prevent accidents. Take some basic safety precautions before you begin cutting stone. Remove any jewelry before you begin working. If you have long hair, pull it back into a ponytail. Avoid wearing shorts, as pant legs can protect you from bits of stone that may fly away from the main piece while you're cutting.
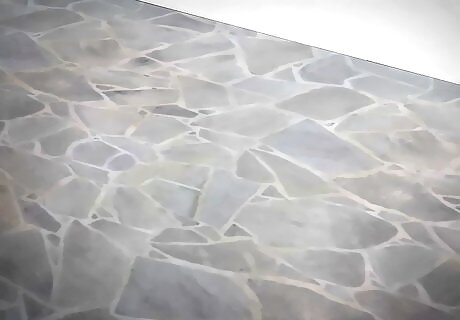
Work in a clean, well-lit space. Where you work is also a safety concern. Make sure you work in a space that's clean and well lit. If an area is full of debris, you could trip and hurt yourself. You also want to make sure you have adequate lighting so you can see what you're doing.
Selecting the Right Stone
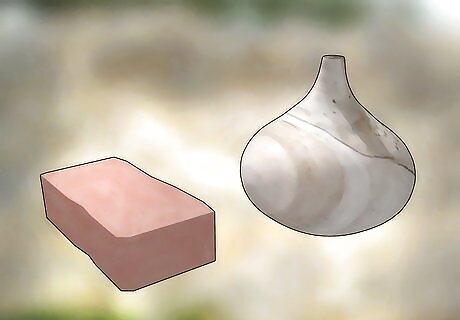
Decide whether you're using your stone for commercial or domestic use. When deciding on a type of stone, you have to make a decision about stone type. One major factor in the decision-making process is whether your project is for commercial or domestic use. Commercial use implies there will be a lot of traffic on your stone. For example, stone used on a walkway or on the floor of a shopping mall would be commercial use. You should go for a heavier, sturdier type of stone. Limestone, a common stone used for DIY projects, should be avoided. Domestic use is stone that would be used privately in your home. A stone counter would be domestic use, for example. You can use softer, cheaper stone for a domestic project. Stone types like granite or other natural stones would work well.

Stick to stones in your price range. You may not always find your first choice in stone. Depending on your area, certain types of stone may have to be shipped to providers. This can get costly. Write down a variety of stone types you would be okay with and then check with a local provider to see what's readily available. Stone can get expensive, so be willing to work within a budget. In general, the thicker the stone is, the more expensive it will be. However, thicker stone is also more durable. For a flagstone patio with a crushed stone base, go with stone that's at least 1.5 inches (3.8 cm) thick. For a patio with a concrete foundation, go with stone that's 1 inch (2.5 cm) thick.
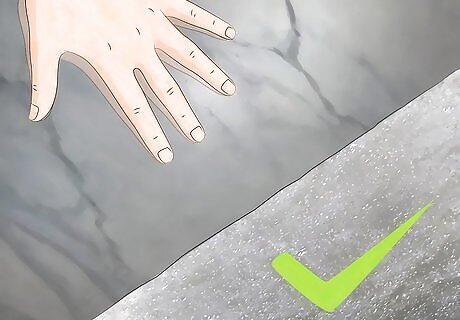
Use stone that does not need finishing. Many types of stone may require special finishing procedures. If your stone-type is particularly slippery, for example, sanding, finishing, and flaming may be necessary. These types of projects are cost and time intensive and offer require professional assistance. Look into a type of stone that does not need a lot of special finishing.


Comments
0 comment