
views
Skype for Windows
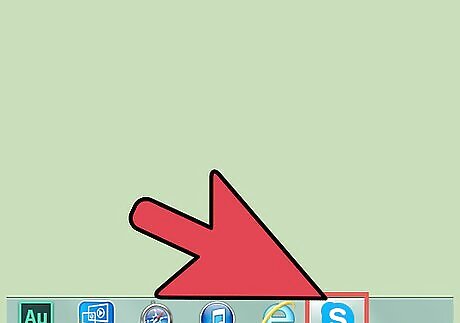
Open Skype. If necessary, sign in with your username and password.
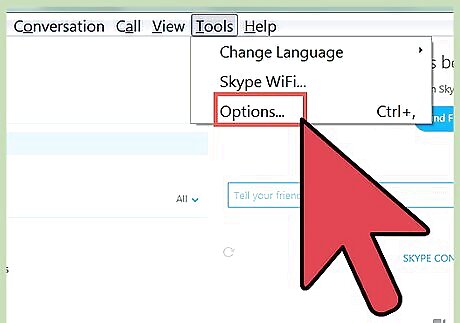
Open the Options menu. Find "Tools" on the menu bar. Click on it, then click "Options" in the drop-down menu.
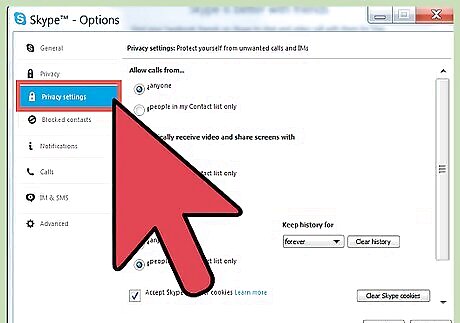
Select the Privacy tab. Look for a button on the left side of the window that says "Privacy." It will have a padlock icon next to it. Click this button.
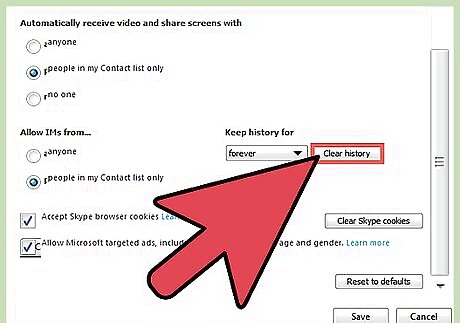
Click "Clear History." This is a small button on the right side of the window. It is under the header "Keep history for." This will open a popup that asks you to confirm your choice. Click on "Delete" button to finish deleting your history.
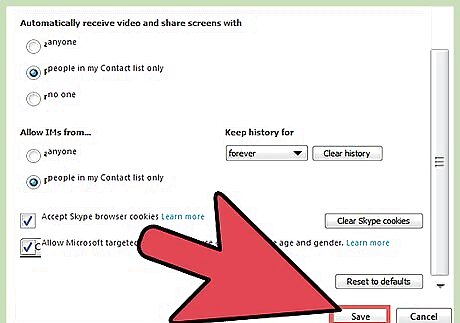
Click "Save" to save your work. This button is in the bottom right next to "Cancel." Clicking it will close the window and return you to the main Skype window where your previous conversations will be deleted.
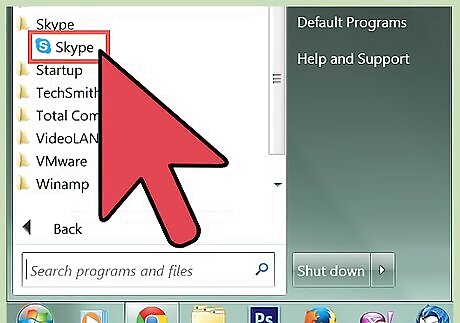
Open Skype. If necessary, sign in with your username and password. Windows 8 computers have the Metro version of Skype available on the Start screen. To access the start screen, click the Windows flag icon in the bottom left of your desktop. Click on the blue rectangular Skype tile (you may need to scroll to either side to locate it).
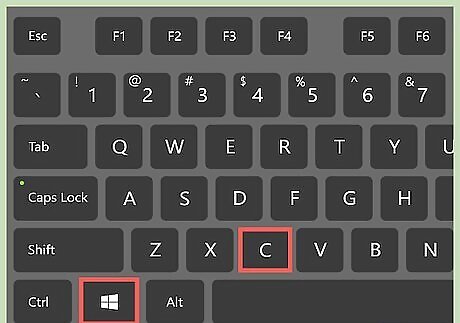
Open the Settings charm. "Charms" are the buttons in the menu that appears from the right side of the screen on Windows 8 computers. This is the same menu you use to shut down your computer. There are several ways to access the Settings charm: Press ⊞ Win+C and click the Settings button at the bottom (labeled with a gear icon). Move your mouse to the bottom right corner of the screen, then move it up. Click the Settings button. If you have a touch screen, swipe in from the right side of the screen and tap the Settings button.
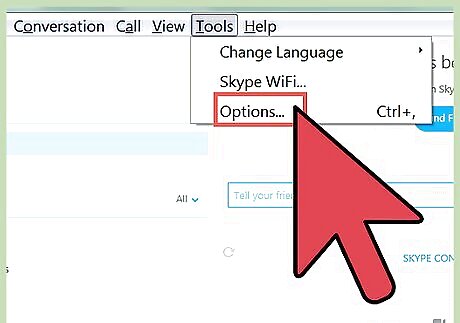
Open the Options menu. Click on the "Options" link that appears after clicking on the Settings charm.
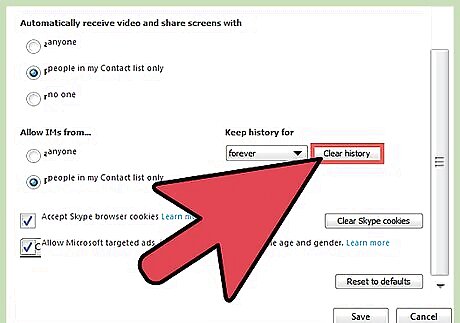
Click "Clear History." This is a blue button that appears under the header "Privacy." When you click the button, you'll be asked to confirm your choice. Click "Clear History" again to confirm or click outside of the popup box to cancel. When you are done, click the "back" arrow in the top left corner of the Options menu to return to Skype.
Skype for Mac

Open Skype. If necessary, sign in with your username and password.
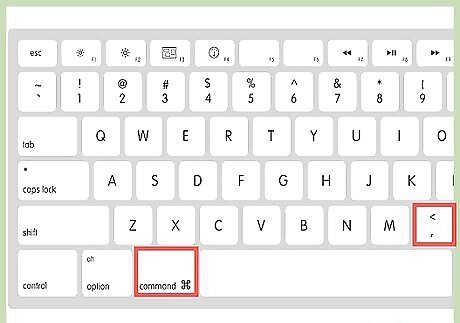
Open the Preferences menu. Click "Skype" in the menu bar at the top of the screen. It is in the top left next to the apple icon. Select "Preferences" from the drop-down menu. Alternatively, you can hit ⌘ Command+, on the keyboard.
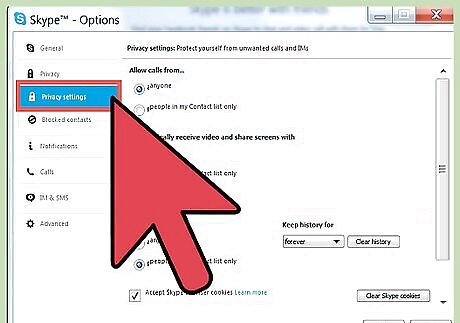
Select the Privacy tab. Click the button at the top of the window that says "Privacy." It is marked with a picture of a "do not disturb" sign.
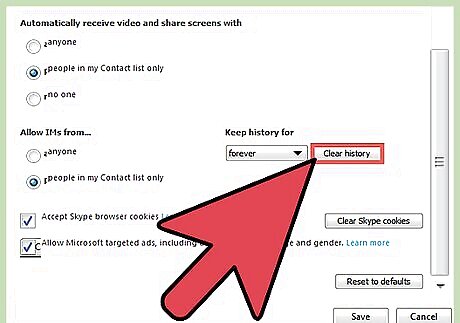
Click "Delete All Chat History." This is directly under the "Save chat history for:" option. You will be asked to confirm your choice. Click "Delete All" to finish. At this point, you can exit the window — you don't need to save your changes like on Windows.
Skype for Mobile
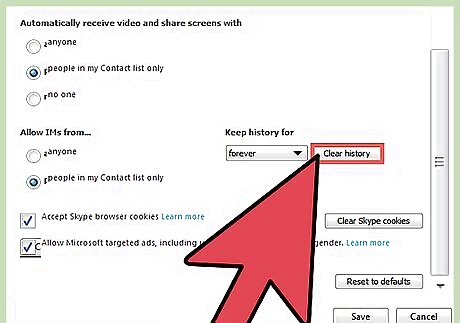
First, delete the history on your computer. Skype for mobile is synchronized with your computer version of Skype, so changes to one will affect the other. Start by deleting your Skype history from your computer. Find your operating system in the sections above and follow the instructions in its section.
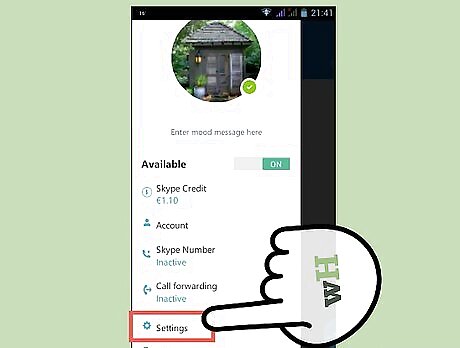
Open the Settings menu for Skype on your mobile device. The precise way to do this will vary based on your device. Usually, the process is similar to this: Open your mobile Settings menu from the list of apps (it generally has a gear icon). Select the "Apps" option, then scroll through the list and select Skype. Some systems may require you to tap and hold down on the Skype icon and select "Settings." Others may have a Settings menu hidden in a swipe-down menu on the main screen.
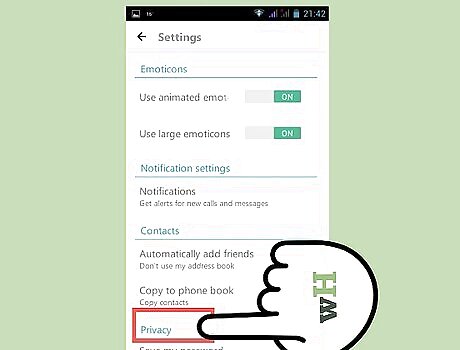
Clear the app's data. This should remove all of your conversation history from your device. If you are asked to confirm your choice, tap "OK" or the equivalent option. You may need to re-enter your login details the next time you launch Skype. Note that some users report that this also clears your Skype address book for your device. You may need to re-sync with the computer version or re-enter contacts manually.


Comments
0 comment