
Finding the Target Computer's IP Address
Make sure that your computer meets the requirements for remote shutdown. In order to be shut down remotely by another computer on a LAN, your target computer must meet the following criteria: Be connected to the Local Area Network (LAN) on which the computer from which you want to shut down this computer is on Have the same administrator account that you use on the computer from which you want to shut down this computer

Open Start Windows Start on the computer you want to shut down. Click the Windows logo in the bottom-left corner of the screen.

Open Settings Windows Settings. Click the gear-shaped icon in the lower-left side of the Start window.
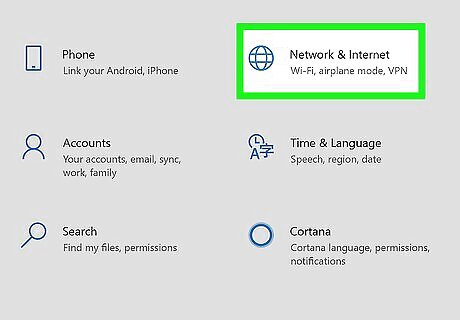
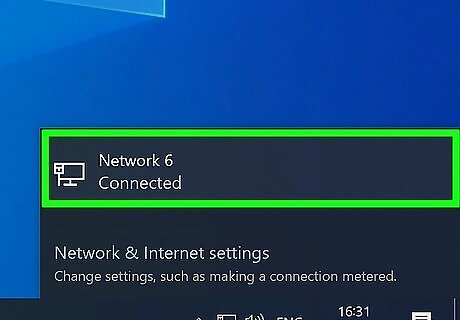
Click Windows Network Network & Internet. It's in the top row of Settings options.
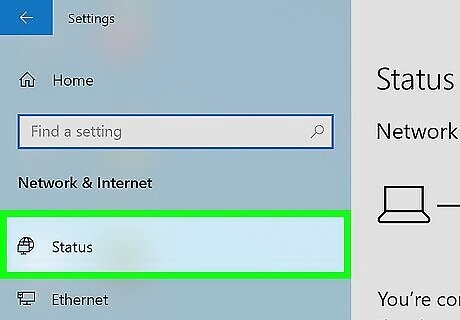
Click the Status tab. This is in the upper-left side of the window.
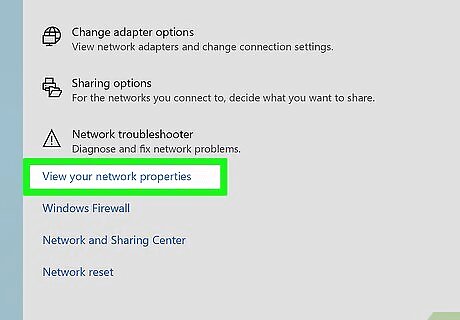
Click View your network properties. It's a link at the bottom of the page. You may have to scroll down to find this link.
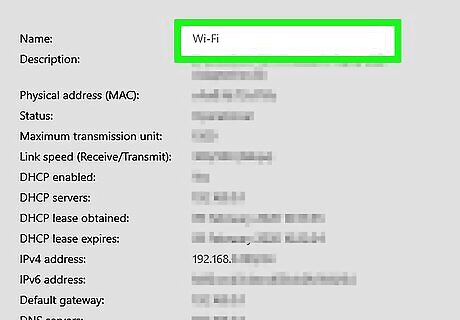
Scroll down to the "Wi-Fi" heading. You'll find this near the middle of the page.
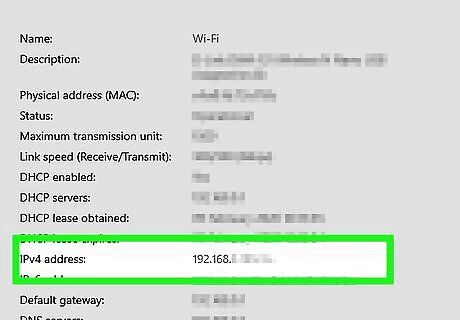
Review the "IPv4 address" heading. The number with periods in it to the right of the "IPv4 address" heading is the IP address of the current computer. You'll need to use this IP address when specifying a computer for shutdown later. You may see an IP address that ends with a slash and another number (e.g., "192.168.2.2/24"). If so, ignore the slash and the number after it when inputting the IP address later.
Enabling a Computer for Remote Shutdown
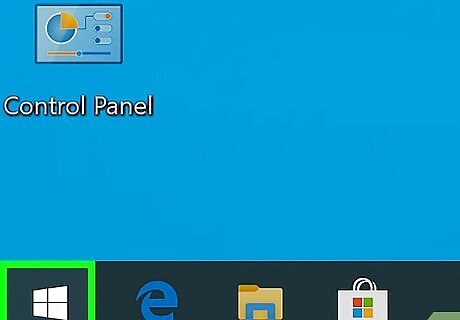
Open Start Windows Start. Click the Windows logo in the bottom-left corner of the screen. Make sure you're still on the target computer when doing this.
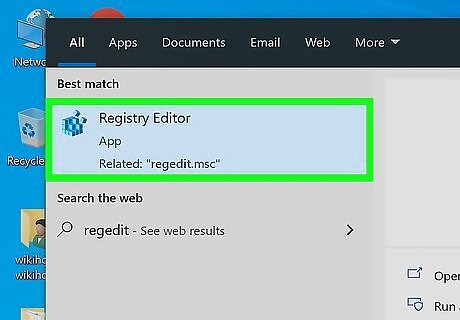
Open the Registry Editor. Do the following: Type in regedit. Click regedit at the top of the Start window. Click Yes when prompted.
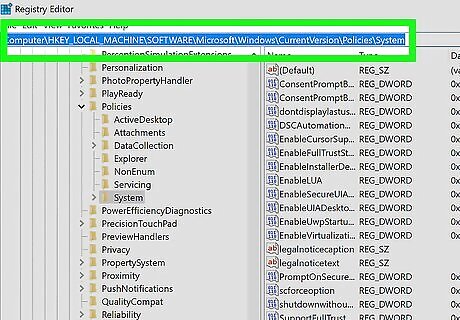
Navigate to the "System" folder. You'll use the folders in the top-left corner of the Registry Editor window to do this: Double-click the "HKEY_LOCAL_MACHINE" folder to expand it. Double-click the "SOFTWARE" folder. Scroll down and double-click the "Microsoft" folder. Scroll down and double-click the "Windows" folder. Double-click the "CurrentVersion" folder. Scroll down and double-click the "Policies" folder. Click once the "System" folder.
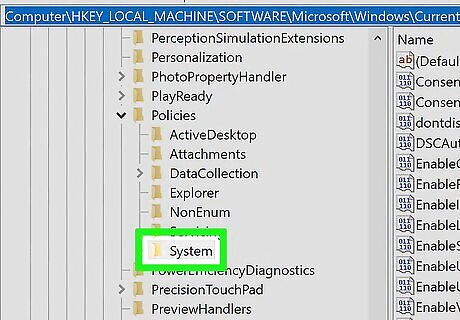
Right-click the "System" folder. A drop-down menu will appear.
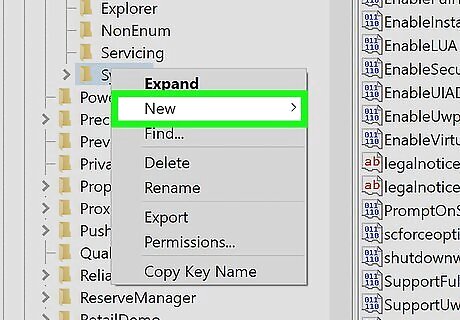
Select New. It's in the drop-down menu. Selecting it prompts a pop-out menu to appear.
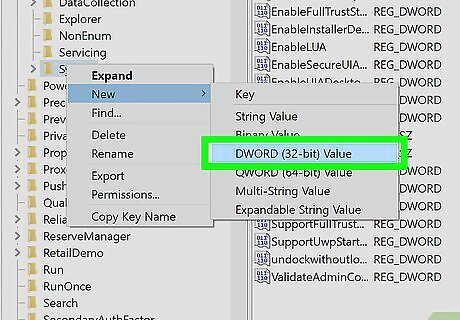
Click DWORD (32-bit) Value. This option is in the pop-out menu. A DWORD value icon will appear on the left side of the page.
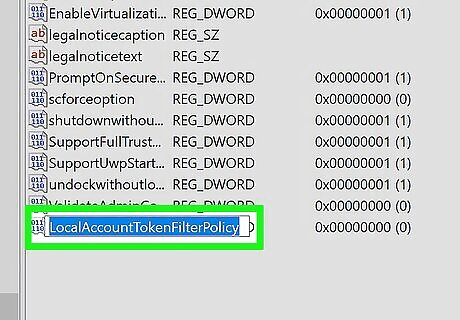
Type in LocalAccountTokenFilterPolicy and press ↵ Enter. Doing so names the DWORD value.
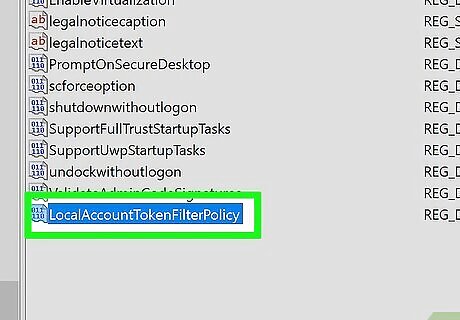
Open the "LocalAccountTokenFilterPolicy" value. Double-click it to do so. A pop-up window will open.
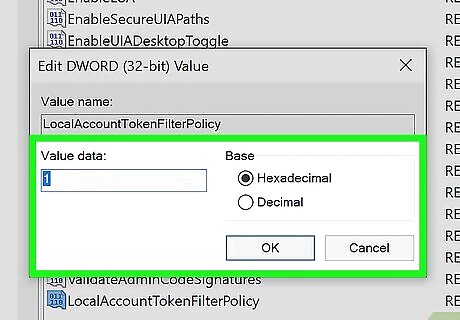
Turn on the value. Change the "Value data" text field to 1, then click OK at the bottom of the pop-up window. At this point, you can exit the Registry Editor.
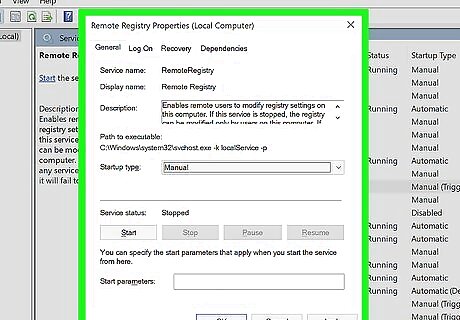
Enable Remote Registry access. To allow your Registry Editor tweak to work from another computer on the network, do the following: Open Start Windows Start. Type in services, then click Services at the top of the Start window. Scroll down and double-click Remote Registry. Click the "Startup type" drop-down box, then click Manual. Click Apply. Click Start, then click OK.
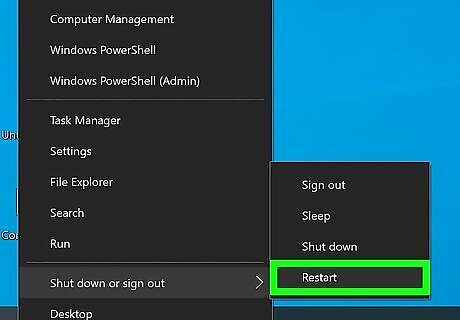
Restart your computer. Click Start Windows Start, click Power Windows Power, and click Restart in the pop-up window. Once your computer finishes restarting, you can switch over to the computer from which you want to initiate a remote shutdown.
Using the Remote Shutdown Interface
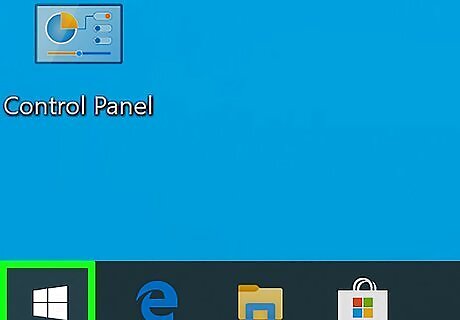
Open Start Windows Start on a different computer. You should do this on a computer that both belongs to the LAN network and has administrator privileges.
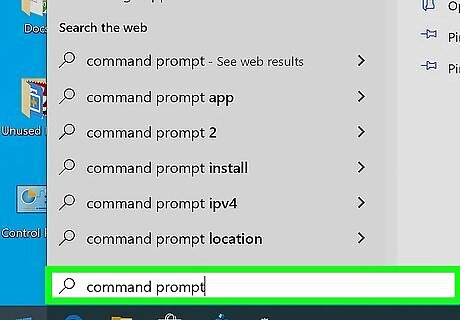
Search for Command Prompt. Type in command prompt to do so.
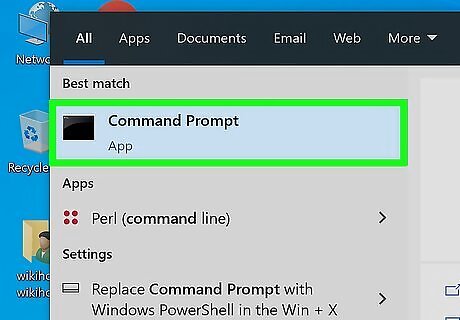
Right-click Windows cmd Command Prompt. It's at the top of the Start window. A drop-down menu will appear.
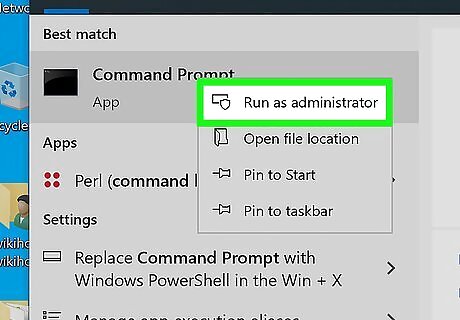
Click Run as administrator. This is in the drop-down menu.
Click Yes when prompted. Doing so opens Command Prompt in administrator mode.
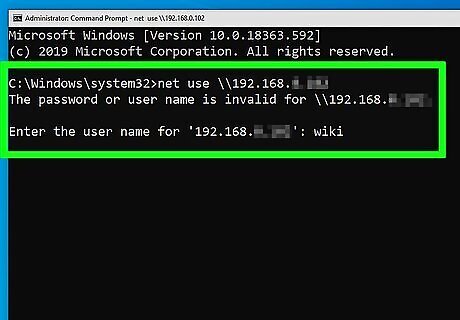
Enter your login information for the computer. Type in net use \\address (making sure to replace "address" with the IP address you obtained earlier), press ↵ Enter, and enter your administrator login email address and password when prompted. For example, you might type net use \\192.168.2.2 here.
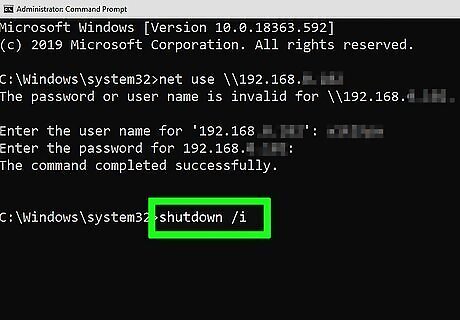
Open the remote shutdown interface. Type in shutdown /i and press ↵ Enter to do so. You should see a pop-up window appear.
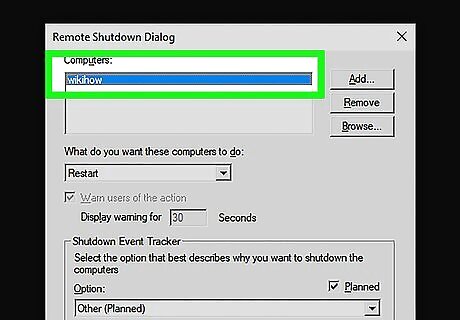
Select a computer. Click a computer's IP address or name in the "Computers" text box at the top of the window. If you don't see your computer's IP address or name, click Add..., then type in the computer's IP address and click OK. You can then click the computer's name in the "Computers" text box.
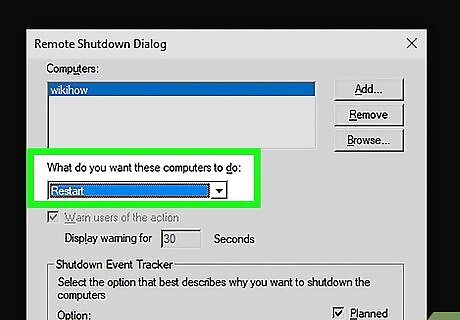
Click the "What do you want these computers to do" drop-down box. It's in the middle of the page. A drop-down menu will appear.
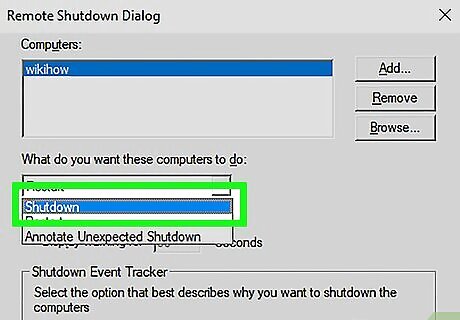
Click Shutdown. It's in the drop-down menu.
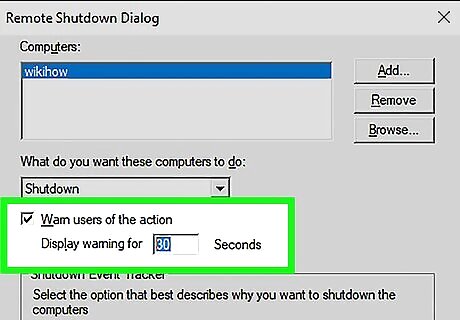
Set a time limit. Type a time limit (in seconds) into the "Display warning for" text box.
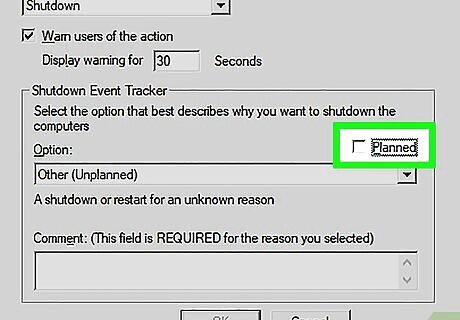
Uncheck the "Planned" box. It's on the right side of the page.
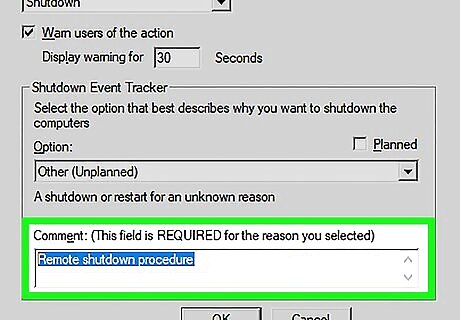
Enter a comment. In the "Comment" text box at the bottom of the window, type in the comment you want the target computer to display before shutting down.

Click OK. It's at the bottom of the window. Doing so will force your specified computer to turn off.
Creating a Batch File for Multiple Shutdowns
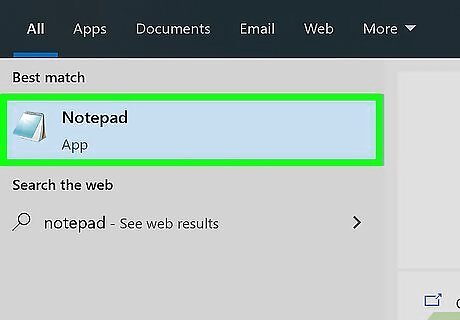
Open Notepad. Click or double-click the Notepad app icon, which resembles a blue notepad. You may have to search for Notepad in Start.
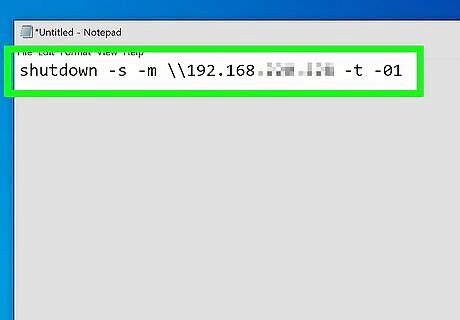
Enter the "shutdown" command along with your computer's IP address. Type in the following command, making sure to make the necessary substitutions with your target computer's information: shutdown -s -m \\address -t -01 Make sure to replace "address" with the target computer's IP address. You can change the "01" to any numeric value. This represents the number of seconds that will pass before the computer turns off.
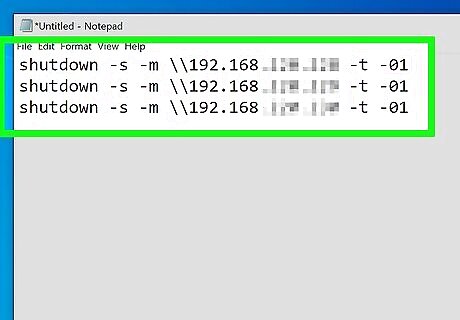
Press ↵ Enter, then add a line for a different computer. You can repeat this process for as many networked computers as you like.
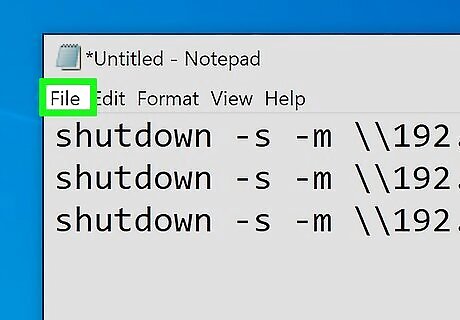
Click File. It's in the top-left corner of the Notepad window. A drop-down menu will appear.
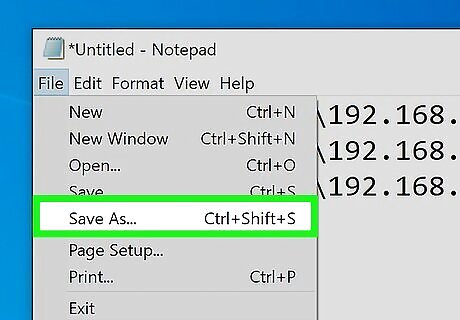
Click Save As…. This option is in the File drop-down menu. Doing so opens the "Save As" window.
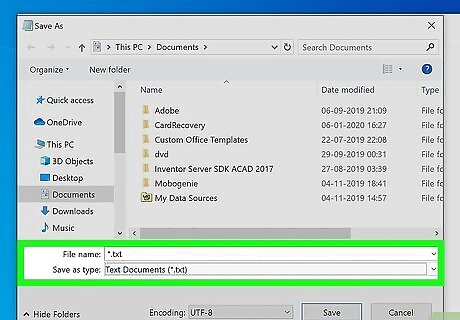
Click the "Save as type" drop-down box. It's near the bottom of the window. A drop-down menu will appear.
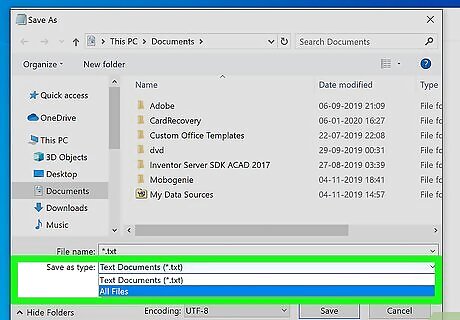
Click All Files. This is in the drop-down menu.
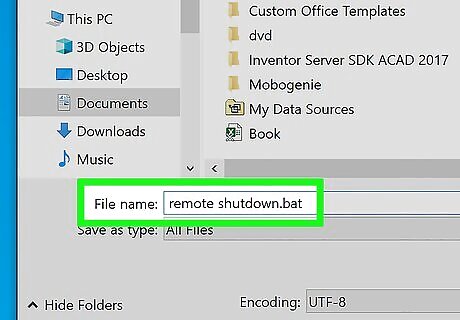
Add the ".bat" extension to the file. Click the "File name" text box, type in a name for your file, and type .bat at the end of the file name. For example, you would type in shutdown.bat to create a batch file named "shutdown".
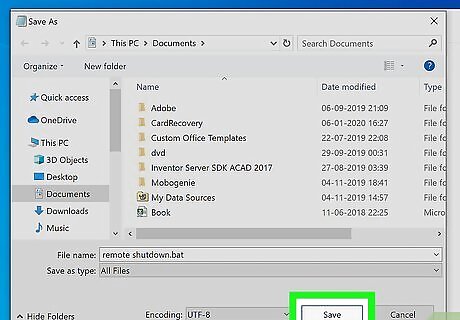
Click Save. It's in the bottom-right corner of the window. Your batch file will be saved in the default file location (e.g., "Documents").

Run your file. Double-click the batch file to run it. Doing so will prompt any connected and turned on computers that you listed in the file to turn off.


Comments
0 comment