
X
Research source
Once you have bleached your hair, you can move right into the dyeing process. Simple maintenance techniques, such as shampooing less often and limiting your use of heat styling tools, will help you keep your new shade looking vibrant.
Bleaching Your Hair
Avoid washing your hair for 48 hours before you bleach. Bleach is a strong chemical; it can irritate and even burn your scalp and skin. The natural oils that build up when you do not wash your hair will protect your scalp from these harsh irritants. Give your hair at least a 48-hour break from shampooing before you begin the bleaching process. Deep-condition your hair a week before you plan to bleach. This can help minimize hair damage and breakage associated with bleaching.
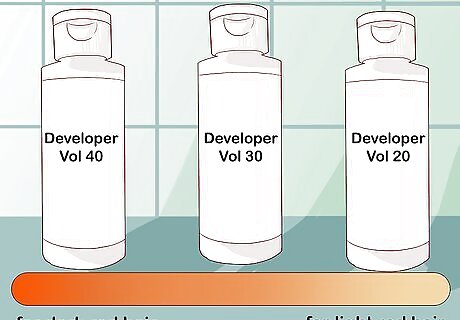
Choose a developer strength. Unless you were born with very light red hair, you will probably have to bleach first to achieve a true color change. Developer is the chemical that lifts color from your hair. The strength you need depends on how many shades you have to lift. Dark red hair will need a stronger developer than lighter red shades. Volume 40 is the strongest developer. Because it lifts your hair more quickly than lower volumes, is also harsher on your hair. If you are concerned about using a volume 40 developer, you can use repeated treatments of a volume 20 or 30 developer over the course of a few weeks.
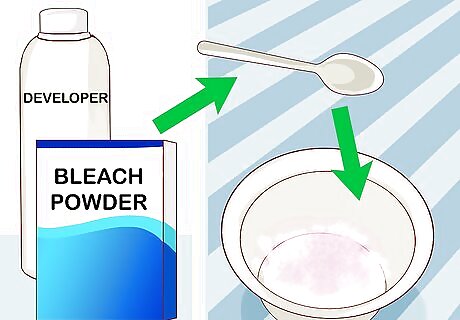
Mix the developer and bleach powder together. Pick up the developer strength you need and bleach powder at a beauty supply store. Grab an applicator and a pair of plastic gloves, too. Put on the protective gloves and pour equal parts bleach powder and developer in a large plastic bowl. Stir until they are fully incorporated. Drape a towel around your shoulders to protect them from the bleach right before you begin.
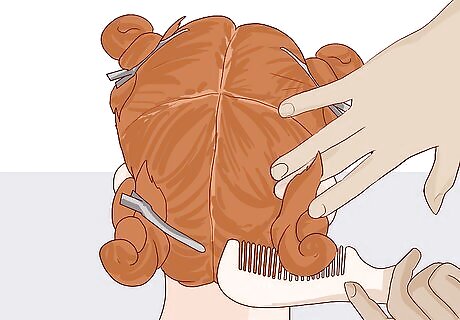
Use a plastic comb to divide your hair into four sections. Bleaching is an easier process if you start by dividing your hair up into four manageable sections. Part your hair down the middle, from crown to nape. Then divide those sections in half horizontally, from one ear to the other. Use plastic hair clips to secure each section on top of your head. Working in sections also helps you get the most even coverage and results.
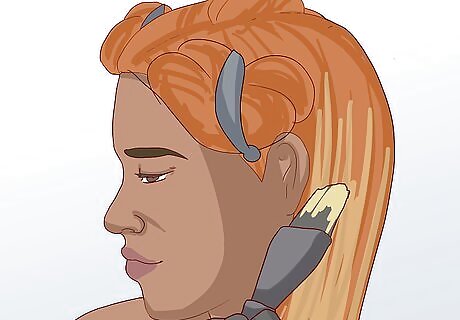
Paint bleach onto the first section using the applicator. Bleach the bottom sections first. Remove the hair clip from one of the bottom sections of hair. Apply the bleach mixture to that section of hair with the applicator, working from root to tip. Get as close to the roots as you can, but do not get the bleach on your scalp. Completely saturate that section of hair, then carefully clip it back up.
Apply the bleach mixture to the other three sections of hair. Remove the clip from the next section and apply the bleach in the exact same way. Clip it back up and repeat until you have finished saturating all four sections of hair with the mixture. Paint the mixture on in thin layers to make sure you get full and even coverage. If you like, you can wrap your hair up with saran wrap or place a shower cap over it to prevent dripping, but you do not have to.
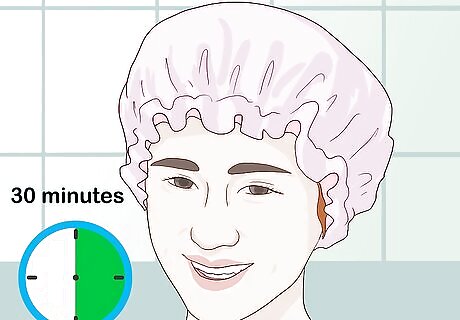
Wait 30 minutes. The exact time frame depends on the current color of your hair and the specific products you are using, but 30-45 minutes is the typical range. Never leave bleach on your hair longer than 60 minutes. If it helps, set a timer so you will not lose track of time. Check your hair every ten minutes or so to gauge progress.

Rinse out the bleach mixture thoroughly with cold water. Cold water reacts with the bleach chemicals and causes them to stop processing your hair immediately. Rinse the bleach mixture out carefully and thoroughly. Follow up the rinse by shampooing twice to ensure you have completely removed all of the bleach mixture. If the bleach left yellow or brassy shades in your hair, use a purple shampoo to tone it.
Applying Hair Dye
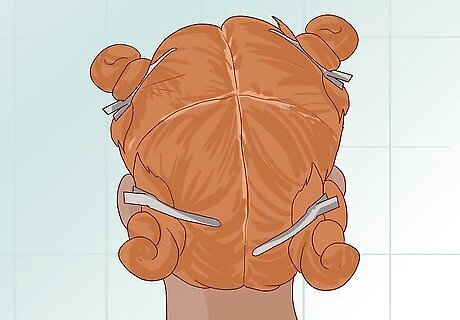
Divide your hair into four even sections. Use a plastic comb to divide your hair into four manageable sections. Part your hair down the center, from the crown of your head to the nape of your neck. Then divide those sections in half, horizontally, from ear to ear. Use a plastic clip to secure each section of your hair up and out of the way so you can concentrate on one at a time.
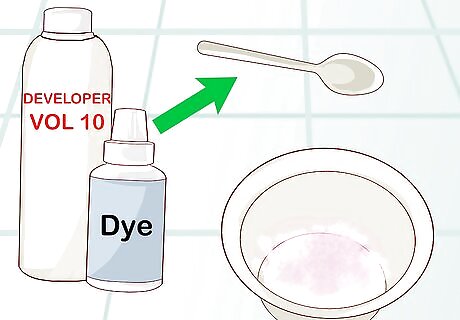
Mix your chosen dye with volume 10 developer. Put on protective gloves. Pour the dye components and developer into a large bowl, then mix it up until fully incorporated. Check the instructions that came with your products to make sure there are not any additional directions.
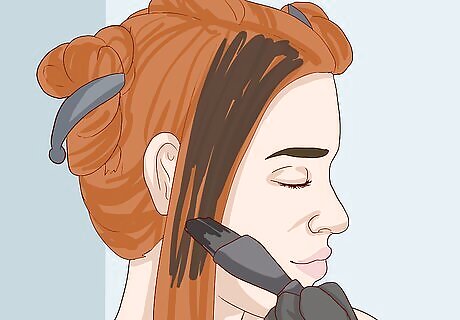
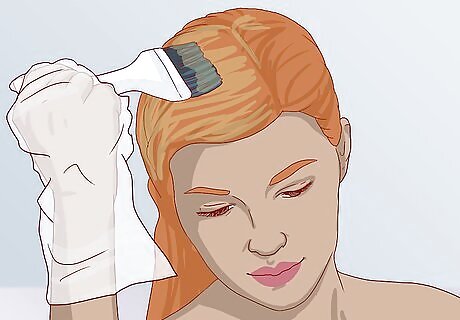
Release one section of hair. Drape a towel around your shoulder. Start with one of the top sections and work your way down to the bottom two. Unclip one of the top sections of hair. Use an applicator to saturate the section with the dye mixture. Use thin coats to ensure even application. Once saturated, clip it back up.
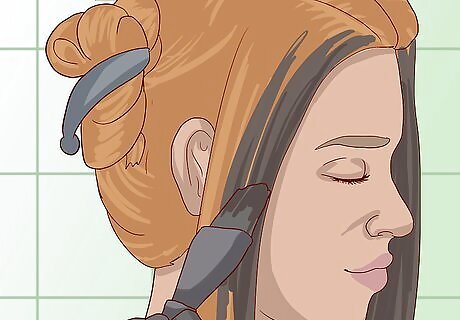
Release the next section of hair. Take out the clip and use the applicator to thoroughly apply the dye mixture to your hair. Once saturated, clip it back up out of the way. Continue in this fashion until you have saturated all of your hair with the dye.
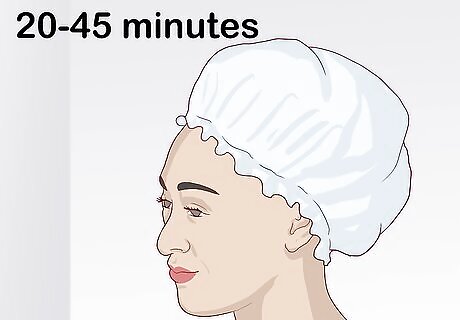
Wait 20 to 45 minutes to allow the color to develop. Different products and brands will vary in exact time frames for color development, but in general, you will be waiting anywhere from 20 to 45 minutes. Check the instructions that came with yours and follow those specific directions.
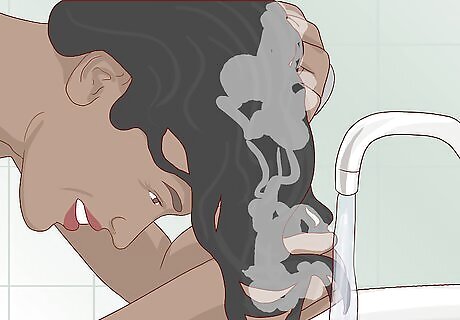
Rinse out the dye with cold water. Rinse thoroughly while gently massaging your scalp. Continue to rinse until the water runs completely clear. Once rinsed you can proceed to style your hair right away.
Maintaining Your New Shade
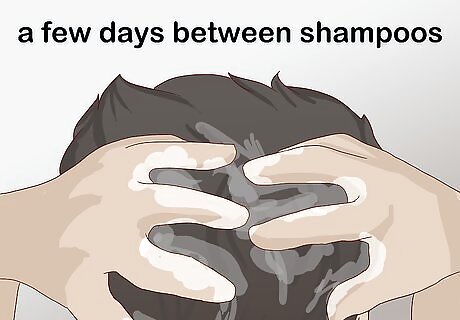
Keep shampooing to a minimum. Purchase a shampoo and conditioner formulated for color-treated hair to help the color from fading so quickly. Try to go a few days between shampoos, since your hair color will fade slightly with every wash. Use cold water when shampooing, which is easier on color-treated hair. Try out dry shampoo, which can help you prolong the time between washings.
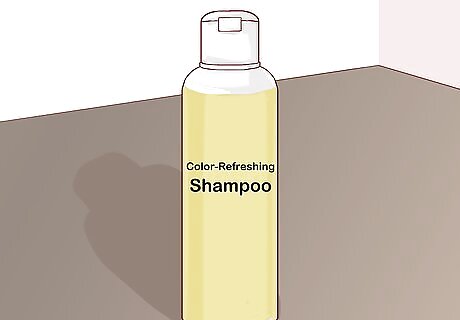
Try a color-refreshing shampoo product. These products, which you can pick up at beauty supply stores, can help you keep your newly-dyed locks looking vibrant. Pick up one or two brands and give them a try. There are easy-to-apply semi-permanent dye products you can look into to help preserve your color, as well.
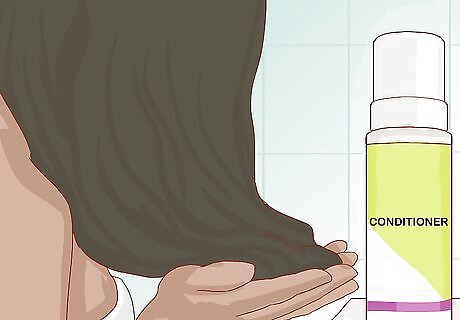
Deep-condition your hair weekly. Bleaching and dyeing chemicals can be tough on hair. You may experience damage and breakage after going through the process. This is normal! To combat this, deep-condition at least once per week to restore much needed nutrients and moisture. Apply a rich and moisturizing hair mask every couple of weeks, as well.
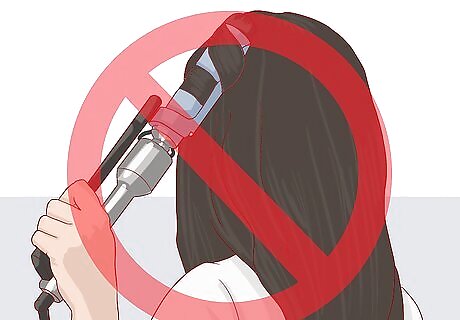
Avoid heat styling as much as possible. Heat styling tools can fade your hair color. Whenever possible, forego the blow dryer and let your hair air-dry. Use flat irons and curling irons as minimally as possible. When you do use them, apply a protective heat serum to your hair before proceeding. Use the lowest heat setting your styling tools will allow.


Comments
0 comment