views
Preparing Beans for Fermenting
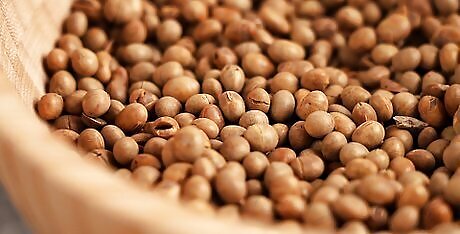
Get everything you will need. Before you begin, you should complete your shopping and get everything you will need to ferment the beans. You don't want to get started and realize you don't have something essential on hand. You will need: A pound of dried soybeans (or other beans) A colander or strainer Seasonings to cook the beans, including salt, garlic, onions, bay leaves, oregano, cumin, or whatever else you like. These are optional but tasty! A stockpot, slow cooker, or pressure cooker A culture to ferment the beans, which you can purchase online or in health food stores or obtain by straining plain yogurt (this will be discussed more in the next section).
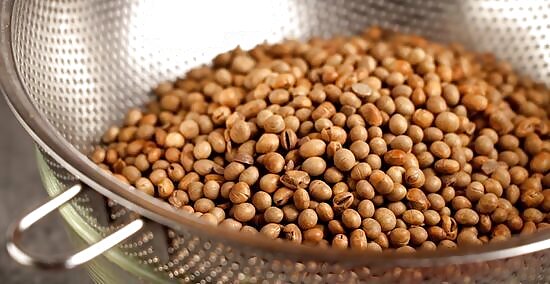
Rinse the beans first. You will need a pound or so of dried soybeans (you can use more, but you'll have to adjust your cooking times). Rinse the soybeans thoroughly under running water to remove any dirt or debris. You should also pick through them to remove any shriveled beans, and to make sure there are no rocks or twigs in the beans (small rocks in bags of dried beans are very common, but you must remove them to avoid breaking a tooth). If you have a colander or sieve, you can put the beans in it and then rinse them directly in the sink. Otherwise, you can put them in a large pot, fill with water, and swish it around, then drain out the water. Do this a few times to rinse thoroughly.
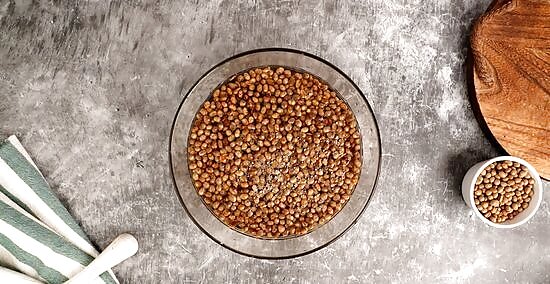
Soak the beans. Beans are hard to cook, and soaking them in water before cooking helps to break down their structure and soften them up for cooking. Place the beans in a large glass bowl and cover the beans with clean, warm water. Allow the beans to sit in the water for 24 hours. You can change out the water periodically to eliminate some of the starches in the beans. Even if you don't change the water, be sure to add more as needed; the beans will triple in size and soak up a lot of the water you've placed them in. Drain the beans and rinse once before cooking.
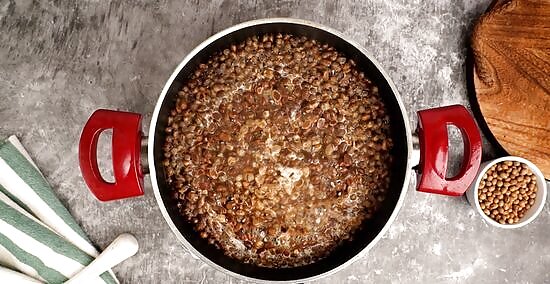
Cook the beans. There are a few methods you can use to cook the beans, depending on what equipment you have handy. Beans can be cooked in a slow cooker, boiled, or cooked in a pressure cooker. You can also add various herbs and spices for flavor; garlic, onions, oregano, and cumin is a delicious combination. To cook the beans in a slow cooker, place beans in a 3 1/2 quart slow cooker and enough water to cover the beans by two inches. Add a teaspoon of salt if you like. Set the slow cooker to "low" and cook for six to eight hours, depending on how firm you want your beans. Add another teaspoon of salt toward the end of cooking time. To boil the beans, place them in a medium to large sized stockpot. Add enough water to cover them by one inch, and turn on the burner to the medium-high setting. When the water comes to a boil, turn the burner down to low so that the rapid boil turns to a gentle simmer (the water should be moving, but just a bit). You can decide if you want to leave the lid on or off of the beans depending on how firm you like the beans; no lid will result in firmer beans, but a lid placed slightly ajar will result in softer beans. Cook for an hour or so until they're tender, and then add salt to taste (usually about two teaspoons for a pound of beans). To cook the beans in a pressure cooker, place beans, a teaspoon each of salt and vegetable oil, and eight cups of water to the pot. Secure the lid tightly and turn heat to high. When it reaches high pressure, turn the heat down to medium low. Cook the soybeans for 22 minutes if you're using an electric pressure cooker, or 20 minutes if it is a stovetop cooker. You'll need to increase your cooking time if you are at an elevation above 2,000 feet above sea level. Whichever method you choose, cook the beans until they are soft and easy to stab with a fork or smash with your fingers (be careful, they're hot!). Don't overcook them, or they will be mushy.
Fermenting the Beans
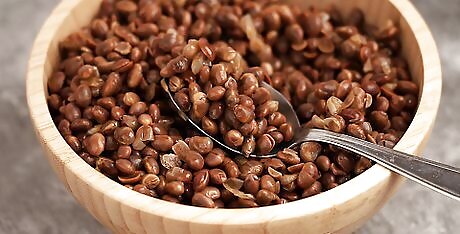
Taste the beans for seasoning. Before you begin to ferment the beans, you should taste them to know what you're working with. If they are already well flavored and seasoned from your cooking method, you won't need to add any more seasonings. Otherwise, if they taste bland, you can add seasonings like salt, garlic, herbs, or onions to taste.

Add a culture to the cooked beans. After they have cooked and cooled, you need to add a bacteria culture to the beans to begin the fermentation process. There are several ways to add a culture to your beans. Two convenient options include: Purchase a dry culture powder. These are sold at health food stores or online (search for "powdered starter culture for vegetables"). The package will tell you how much to use. Strain the whey from buttermilk or plain, unflavored and unsweetened yogurt or kefir. The whey is the liquidy part of yogurt, and it contains live bacteria cultures that will ferment the beans. It can take a little while to strain, but it is easy to do: place a coffee filter in a sieve or strainer placed over a large bowl. Pour the yogurt into the strainer and let it sit so that the liquid drains through. Use a tablespoon for every cup of beans you want to ferment.
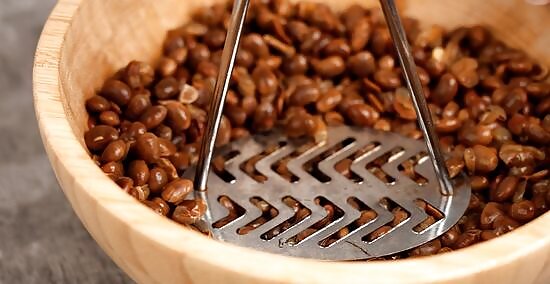
Break the beans. Beans have a skin on the outside that will prevent the culture from getting inside and fermenting the beans, so you have to break the skin open in order for the beans to ferment. You can mash the beans if you want a mashed texture. If you want to keep the beans mostly intact you can bruise them by stirring vigorously.
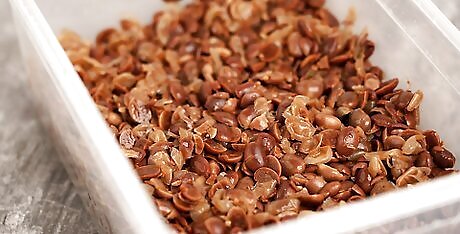
Let the beans sit. In order for the culture to ferment the beans, the bacteria has to have a chance to grow. That means you have to leave them in a warm environment for a few days while the culture works its magic. Cover the container tightly so that no dust or bugs gets inside. Place the beans in a warm place-- the top of a radiator, a warm sunny window, or the top of a clothes dryer are all good places. Leave the beans to ferment for several days, checking on them often.
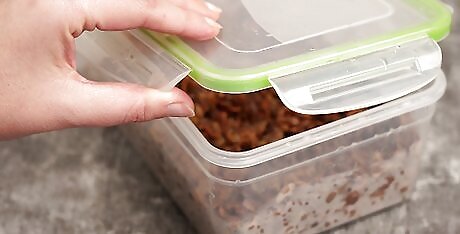
Burp the beans. As the beans ferment over the next few days, gasses will build up inside from the chemical reaction going on. Open the lid slightly once a day to release excess gasses and prevent a blowout.
Using and Storing the Beans

Store the beans in the fridge. In a tightly sealed container, fermented foods can last a long time, since the fermentation process preserves the food. It's possible that fermented beans would still be good a year later, but to be on the safe side, eat the beans with a month. During the first month of storage, keep an eye on the package to be sure that it doesn't build up more gasses and explode. You might need to "burp" the container that the beans are in by opening it a bit and then re-closing it.
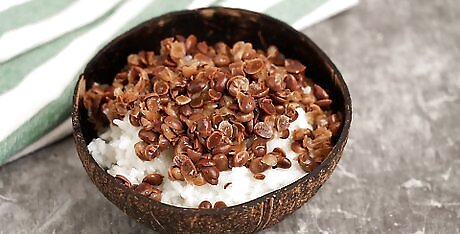
Eat the beans over rice. Fermented soybeans can be a main entrée when served with rice. This is the traditional way to use fermented beans in Japan, where they are called natto. Eat natto over hot rice with soy sauce.
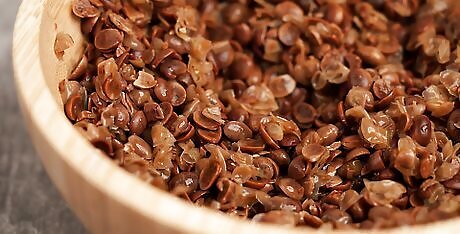
Enjoy your beans as a condiment. Especially if you have cooked them with a lot of seasoning, fermented beans are a great way to add tang and saltiness to many dishes. In China, fermented black beans are eaten as a condiment known as dou chi in Mandarin. You can braise them with meat or use them in sauces, soups or stir fries. Fermented black beans pair well with garlic and ginger, and they add an umami flavor to your dishes.







Comments
0 comment