
Using General Fixes
Consider your recent actions on the computer. Did you install a piece of software, plug in a new piece of hardware, download custom drivers, or change the settings? If so, the recent change you made is probably the reason for the Blue Screen of Death, so repairing it will depend on that change.
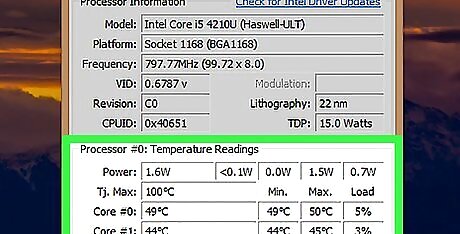
See if your computer is unusually hot. If you've been running your computer on high-performance settings for several hours—especially if the computer doesn't have adequate circulation or if you live in a particularly warm environment—the Blue Screen of Death can appear. If so, turn off your computer the first chance that you get and leave it off for a few hours.
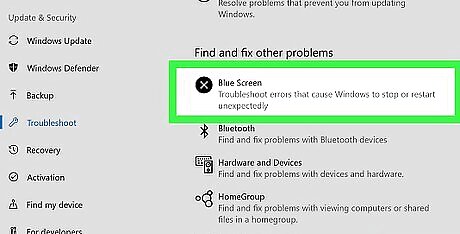
Run the Blue Screen troubleshooter. If this is the first time you've encountered a Blue Screen of Death on your computer, you can run your PC's Blue Screen troubleshooter to try to diagnose the issue: Open Start Windows Start. Click Settings Windows Settings. Click Update & Security. Click the Troubleshoot tab. Click Blue Screen. Click Run the troubleshooter. Review the resulting solutions and follow any on-screen instructions.
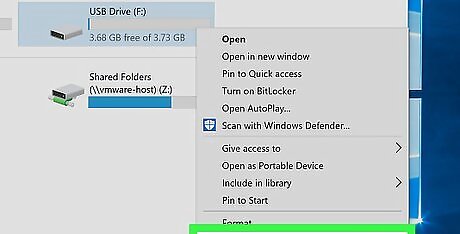
Remove any unnecessary hardware. Things like USB flash drives, Ethernet or HDMI cables, controllers, printer cables, SD cards, and so on can be removed from your computer without impacting the computer's performance. Furthermore, flaws in hardware items such as these can trigger a Blue Screen of Death and continue to trigger it until they are removed. You can typically keep your mouse and keyboard plugged into your computer, especially if they came with the computer itself when it was brand-new.
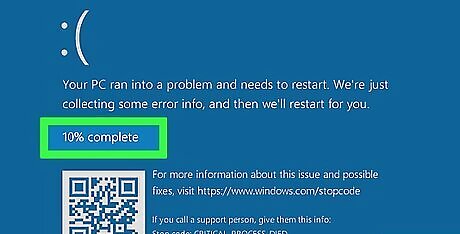
Wait for your computer to restart. Once the Blue Screen of Death appears, Windows will diagnose the problem, attempt to fix whatever the issue is, and then restart. If your computer restarts like usual and doesn't run into a Blue Screen error again, you can make some changes right from your desktop. If the BSOD appears again while your computer is attempting to restart, check its error code. If the error code is 0x000000EF, you should immediately skip ahead to the next part. If not, try rebooting in Safe Mode.
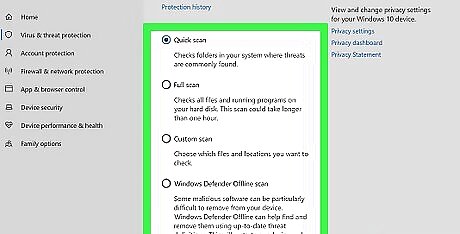
Run a virus scan. While rare, sometimes viruses can trick your computer into thinking that it's malfunctioning, which can in turn cause the BSOD crash. If the virus scan comes up with any malicious software, remove it immediately. If the virus scan sends software settings suggestions (e.g., battery life) to you during the scan, try implementing them. A flawed setting may cause the BSoD to appear.
Fixing the "Critical Process Died" Error

Understand what this error means. The "Critical Process Died" error refers to an instance in which an important hardware component (e.g., your hard drive) or a mandatory software attribute either didn't start up correctly or stopped suddenly. This error can be trivial, but if you see it happen multiple times in a row or you're unable to start your computer without running into the BSoD, it indicates a more serious issue.
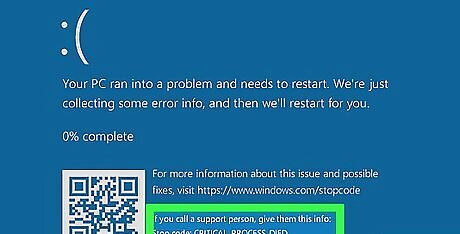
Make sure you've encountered the correct error. The "Critical Process Died" error returns the code 0x000000EF. If you see a different code, skip to the next part.

Determine whether this is the first time you're encountering this error. If you received this error once and then were able to use your computer normally, it may be that your computer had a minor problem when loading drivers. If you've received this error two or more times in a relatively short amount of time, however, you should proceed with attempting to fix the error. If you're unable to use your computer without receiving this error, you need to take your computer into a reputable repair service or shop—it may be that your hard drive or processor is failing, in which case there's nothing you can do from your end.

Open Start Windows Start. Click the Windows logo in the bottom-left corner of the screen. The Start menu will pop up.
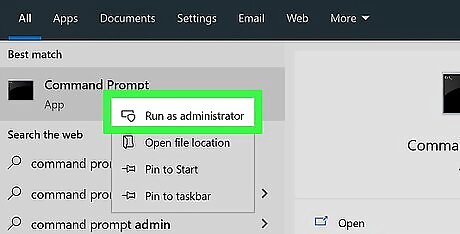
Open Command Prompt in administrator mode. Type in command prompt to search for Command Prompt, then right-click Windows cmd Command Prompt and click Run as administrator in the drop-down menu.
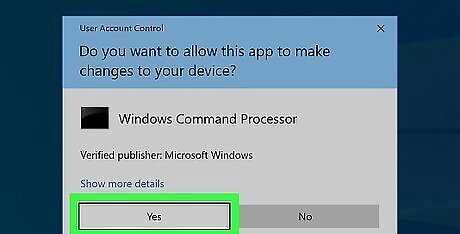
Click Yes when prompted. Doing so will open the Command Prompt window.
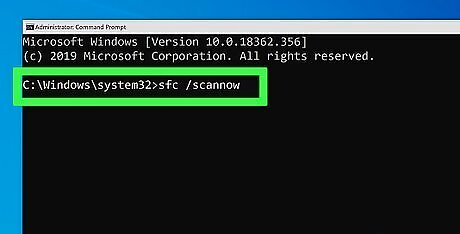
Enter the System File Checker command. Type in sfc /scannow and press ↵ Enter. Windows will begin scanning for issues.
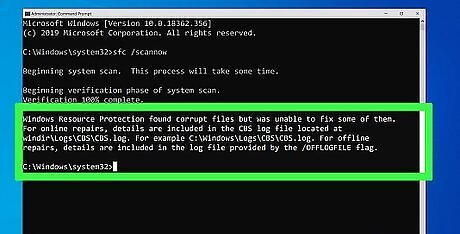
Wait for the scan to complete. Windows will attempt to fix any issues it encounters. Once the scan is complete, you can proceed.

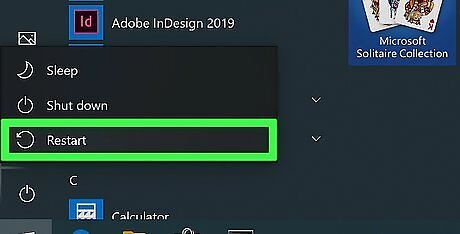
Restart your computer. Click Start Windows Start, click Power Windows Power, and click Restart in the pop-up menu.
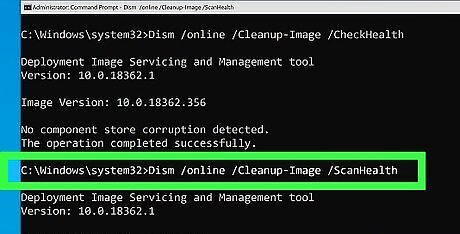
Try running the Deployment Image Servicing and Management (DISM) service. If you still receive the "Critical Process Died" error on occasion but can still access your computer, try doing the following: Re-open Command Prompt in administrator mode. Type in Dism /Online /Cleanup-Image /CheckHealth and press ↵ Enter. Type in Dism /Online /Cleanup-Image /ScanHealth and press ↵ Enter. Type in Dism /Online /Cleanup-Image /RestoreHealth and press ↵ Enter. Wait for any processes to finish running, then restart your computer.

Take your computer into a reputable repair shop. If the steps in this section haven't fixed the error or you're unable to access your computer without the BSOD appearing, you'll need to take your computer into a professional repair service. Since the "Critical Process Died" error often refers to hardware, your hard drive, processor, or RAM may be corrupted and in need of recovery.
Fixing a Registry Error

Understand what this error means. This means that there was a problem reading or writing files in the computer registry, and some applications may stop working properly.
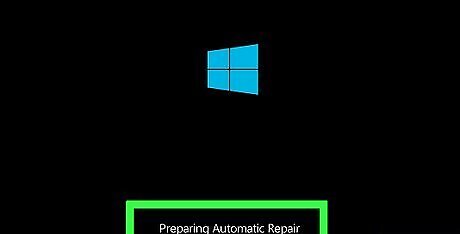
Wait for automatic repair to fix your computer. If the registry error occurred while updating, your computer may fail to boot normally. Let automatic repair fix the broken registry keys and try again.
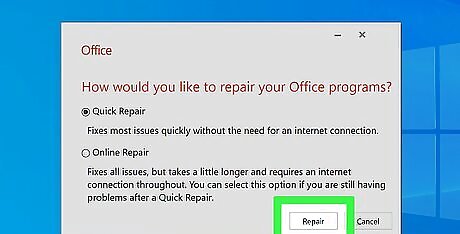
Reinstall any programs that fail to start. This error is severe enough to make your computer unresponsive when programs with missing registry keys are run. To do so, go to the app list in Settings, and click on "Repair" after clicking on "Modify".
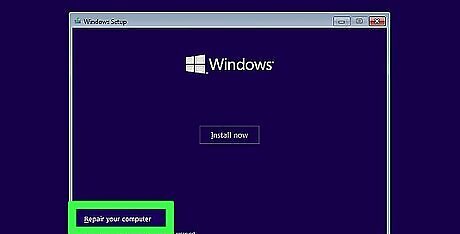
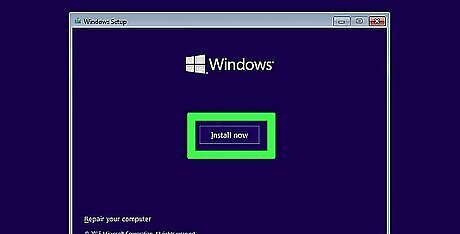
Repair Windows. In severe cases, Windows will not start. Use installation media to repair Windows. Plug in the Windows installation media, select your language, then click on "Repair your computer". For more information on creating installation media, see Reinstall Windows.
Reinstall Windows. This should be done if all else fails. Use a Windows installer or a network connection to restore factory settings. This will remove all of your data, including files, product keys, apps, and browsing history.
Restarting in Safe Mode

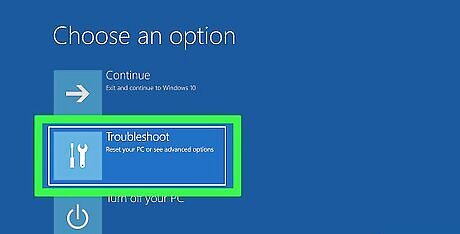
Wait for the "Choose an option" screen to appear. If your computer restarts, is unable to fix the problem, and then restarts twice more, you'll arrive at this screen. If you want to restart from the desktop instead, open Start Windows Start, click Power Windows Power, and hold down ⇧ Shift while clicking Restart. If you would rather just restore a previous version of Windows, skip to the "Restoring a Previous Version of Windows" section.

Click Troubleshoot. It's a symbol of a screwdriver and a wrench on this page.

Click Advanced options. You'll find this on the "Troubleshoot" page.

Click Startup Settings. It's a gear-shaped symbol on the right side of the page.
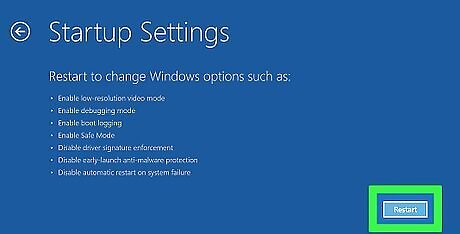
Click Restart. You'll find it in the lower-right side of the page.
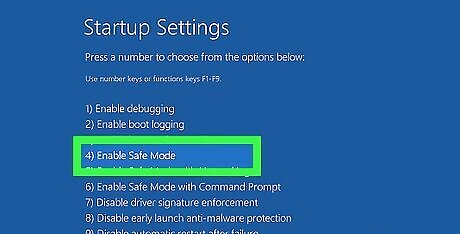
Press the 4 key to select Safe Mode. Do so on the blue "Startup Settings" page. This will cause your computer to reboot into Safe Mode, which will load only the programs and hardware needed to make Windows run.
Cleaning Setup Files

Open Start Windows Start. Click the Windows logo in the bottom-left corner of the screen.
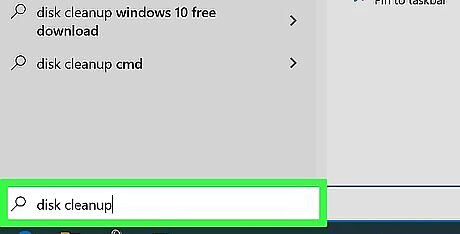
Type disk cleanup into Start. Doing so searches your computer for the Disk Cleanup utility.

Click Disk Cleanup. It's a flash drive-shaped icon at the top of the Start window.
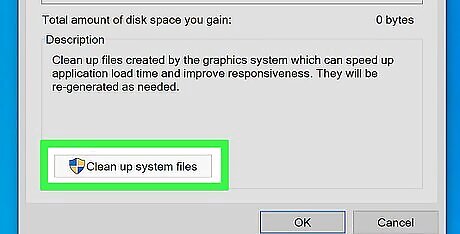
Click Clean up system files. You'll find this in the lower-left side of the window.
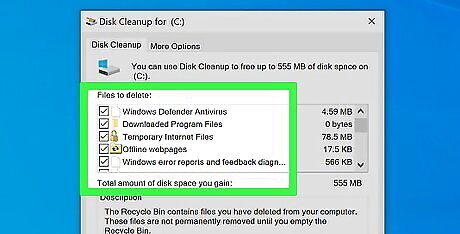
Check every box in the window. This will help get rid of all temporary files stored by your computer's system, which may solve the BSOD.
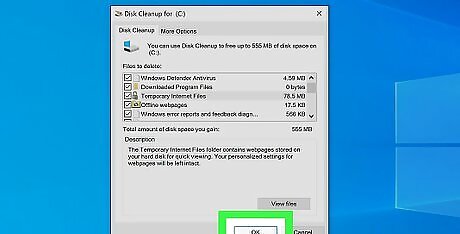
Click OK. It's at the bottom of the window. Doing so will prompt Disk Cleanup to delete the files. The deletion process may take a few minutes, especially if you've never deleted your computer's temporary files.
Updating Windows

Open Start Windows Start. Click the Windows logo in the bottom-left corner of the screen.

Open Settings Windows Settings. Click the gear-shaped icon in the bottom-left corner of the Start window.
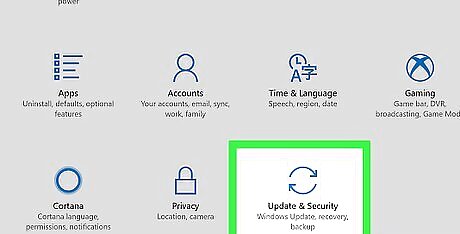
Click Windows Update = Windows Update & security. You'll find this in the lower-left side of the Settings window.

Click the Windows Update tab. It's in the top-left corner of the window.
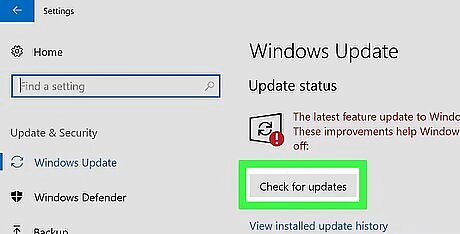
Click Check for updates. This button is at the top of the page.

Wait for the updates to install. Once the updates finish installing, Windows will most likely restart. Windows may restart several times, and you may have to activate Safe Mode again before proceeding.
Deleting Recently Added Apps

Open Start Windows Start. Click the Windows logo in the bottom-left corner of the screen.

Open Settings Windows Settings. Click the gear-shaped icon in the bottom-left corner of the Start window.

Click Apps. It's on the Settings page.

Click the Apps & features tab. You'll find this in the upper-left side of the window.

Find a recently installed app. Any app that you recently installed needs to be removed, since flawed or broken apps can easily cause the BSOD to appear.
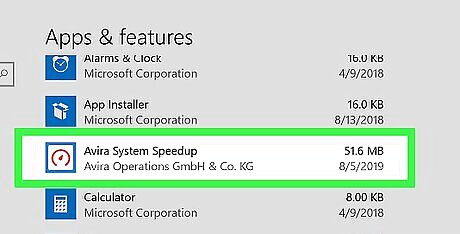
Click the app. Doing so will prompt a button to appear below the app.
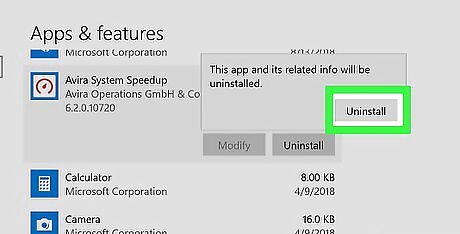
Click Uninstall. It's below the bottom-right corner of the app's window.
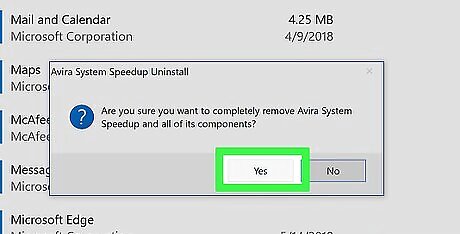
Click Uninstall when prompted. This is below the app. Doing so will remove the app from your computer, though you may need to follow a couple of on-screen prompts to finalize the removal. You'll repeat this process for each recently installed app here.
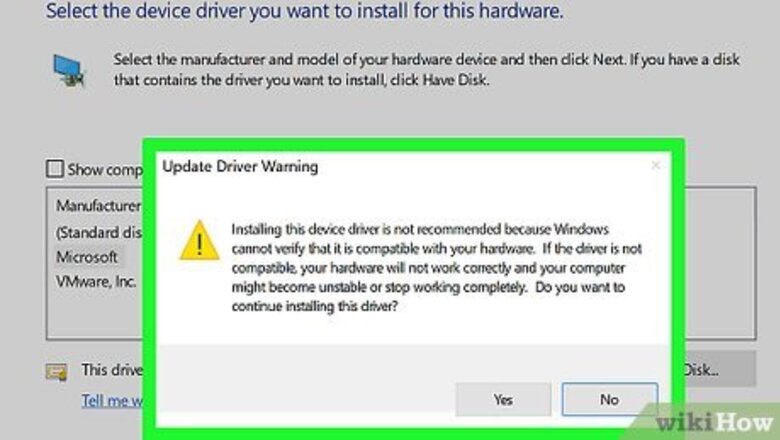
Updating Drivers

Open Start Windows Start. Click the Windows logo in the bottom-left corner of the screen.

Type device manager into Start. This searches for the Device Manager program.
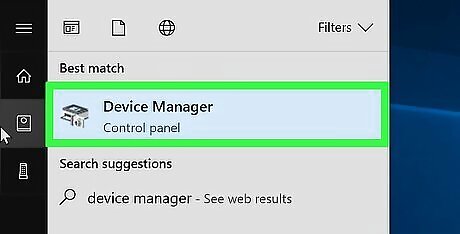
Click Windows Device Manager Device Manager. It's at the top of the Start window.
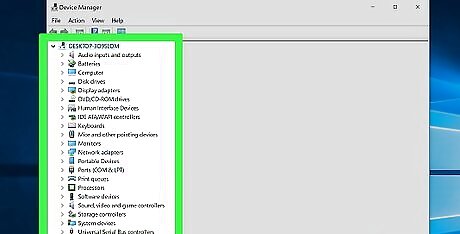
Double-click a category of hardware. This will expand the hardware's category and display any currently used items (e.g., flash drives, printers, etc.) that use that hardware function.
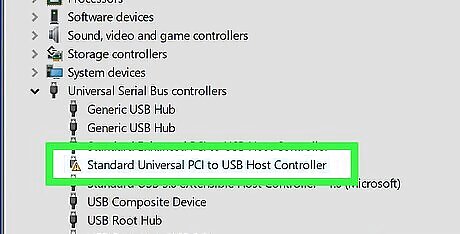
Select an item. Click on a piece of hardware that you recently installed in the menu below the hardware category. For example, if you recently installed a wireless keyboard for a laptop, you would select the wireless keyboard's name after double-clicking the Keyboards hardware category.
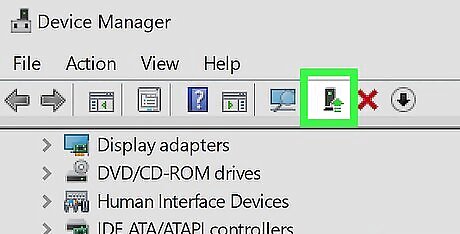
Click the "Update" button. It resembles a black box with a green upward-facing arrow at the top of the window.
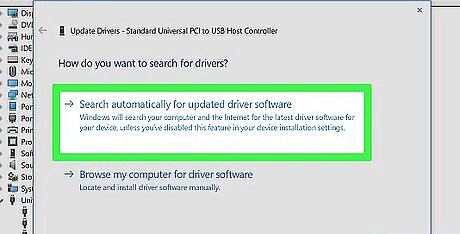
Click Search automatically for updated driver software. It's the top option in the pop-up window. Doing so will search for drivers and install them if necessary.
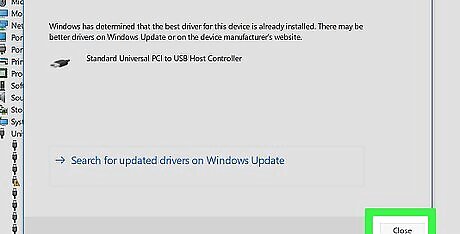
Click Close when prompted. It's at the bottom of the window.
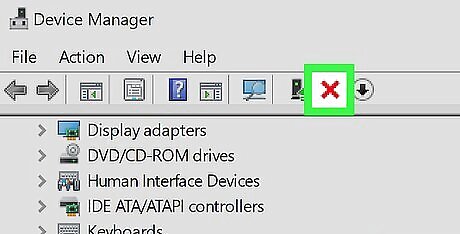
Remove the item. If there is no update available for the item, try deleting it from Device Manager to see if that resolves the BSOD. To delete an item, click the item to select it, then click the red X icon at the top of the window.
Restoring a Previous Version of Windows
Restart your computer to the "Startup Options" screen. Click Start Windows Start, click Power Windows Power, and hold down ⇧ Shift while clicking Restart. If you're already at this screen because your computer attempted and failed to restart several times, skip this step.
Click Troubleshoot. It's an image of a screwdriver and a wrench.
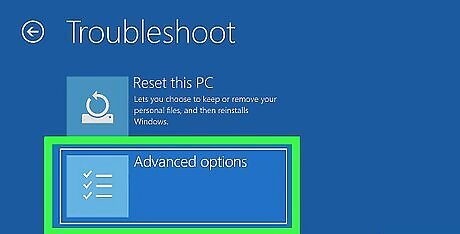
Click Advanced options. You'll find this on the "Troubleshoot" page.
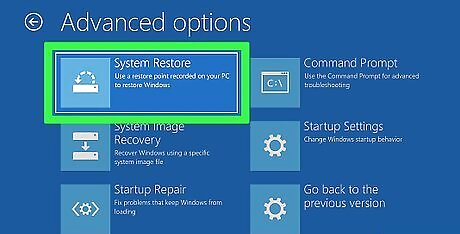
Click System Restore. It's on the left side of the "Advanced Options" page.

Wait for your computer to finish restarting. This may take several minutes. You may need to log into your computer before proceeding.
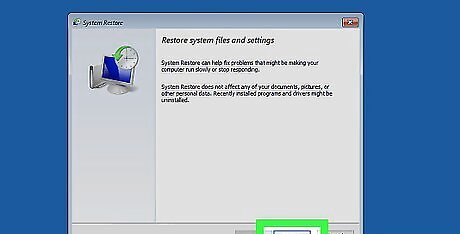
Click Next. It's at the bottom of the System Restore pop-up window.
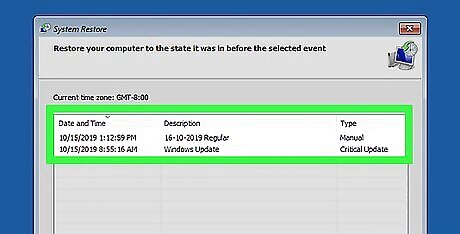
Select a restore point. Click a restore point that's set before today (e.g., before the Blue Screen of Death incident) to select it. System restore points are usually created when you update or install a significant piece of software or hardware. If you've never backed up your computer and you don't see a restore point here, try resetting Windows instead.
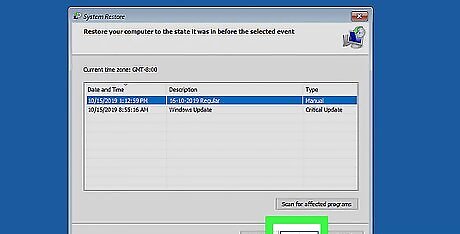
Click Next.
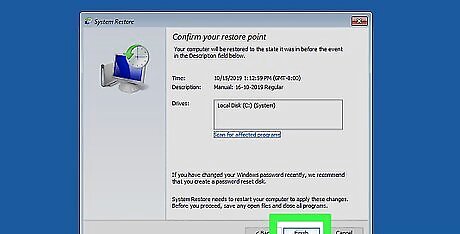
Click Finish. It's at the bottom of the window. Doing so will prompt your computer to begin restoring the selected backup.
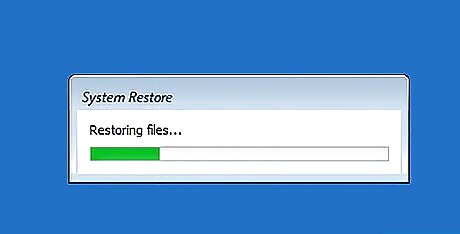
Wait for your computer to finish restoring. Once it does, you can resume using your computer as usual. If the Blue Screen of Death reappears, you may need to restore an earlier backup.
Resetting Windows

Open Start Windows Start. Click the Windows logo in the bottom-left corner of the screen.

Open Settings Windows Settings. Click the gear-shaped icon in the bottom-left corner of the Start window.

Click Windows Update = Windows Update & security. It's on the Settings page.
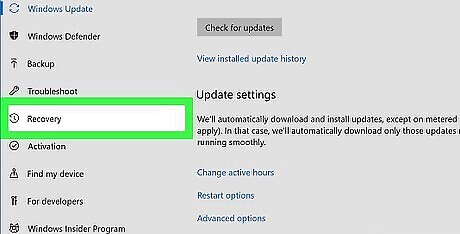
Click Recovery. This tab is in the left-hand column of options.
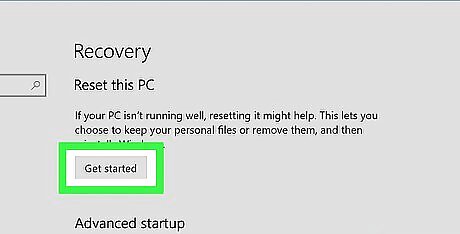
Click Get started. It's below the "Reset this PC" heading at the top of the window.
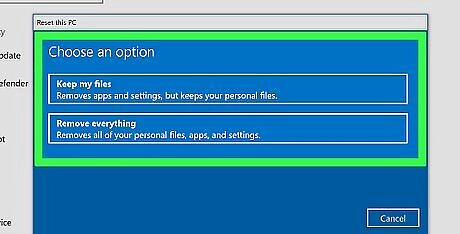
Select a reset option. Click one of the following options: Keep my files - Keeps your files and folders when resetting your PC. Remove everything - Completely clears your hard drive. Make sure that you have a backup of your documents and files stored elsewhere (e.g., an external hard drive) if you choose this option.

Click Next. It's on a warning about not being able to go back to Windows 7. If you chose Remove everything in the last window, you'll first click either Just remove my files or Remove files and clean the drive before this step.
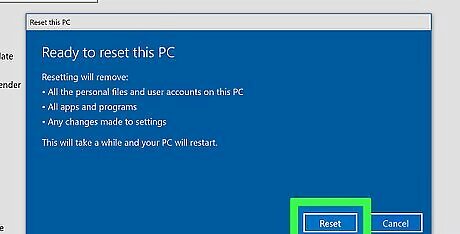
Click Reset. It's at the bottom of the window. Your computer will reset itself. This can take anywhere from a few minutes to a few hours.
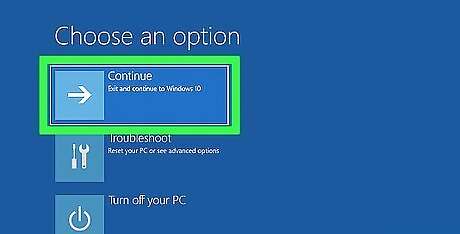
Click Continue when prompted. This will take you to the desktop, which should now be functioning normally. If you're still running into the BSOD at this point, it's time to take your computer into a professional repair service to have it checked.


Comments
0 comment