views
Kindle Readers
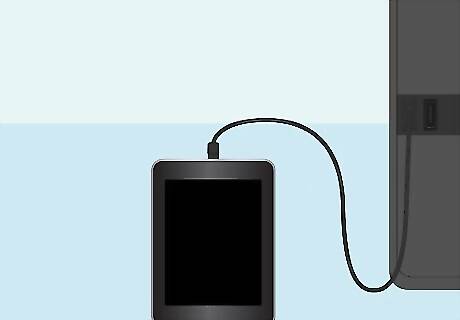
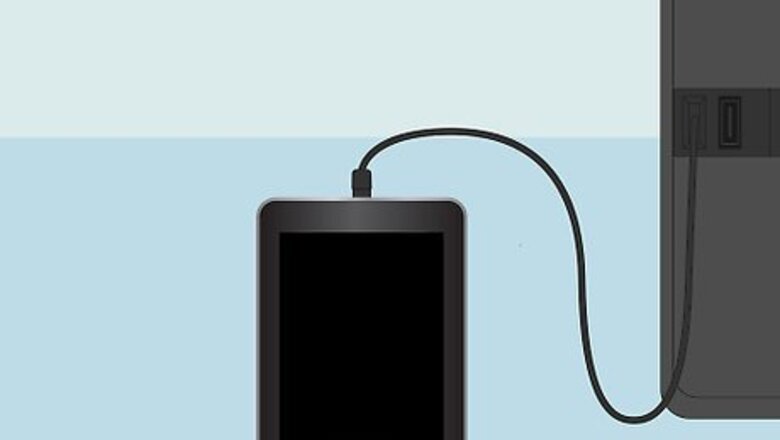
Connect your Kindle to your computer via USB. In order to transfer music files to your Kindle, you'll need to connect it to your computer. Your Kindle uses a Micro-USB cable, which is the same cable that many Android phones use for charging. This section covers Kindle e-readers, including the original Kindle line, Kindle Touch, and Kindle Paperwhite. If you are using a Kindle Fire or Fire HD tablet, see the next section.
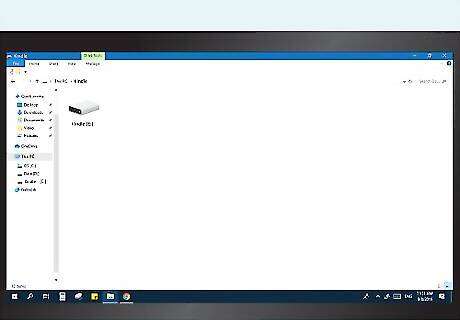
Open your Kindle on your computer. Once you've connected the Kindle, you can open it like a USB drive on your computer: Windows - Open the "Computer"/"My Computer" window and double-click the Kindle in the list of removable drives. Mac - Double-click the Kindle drive that appears on your desktop when you connect it.
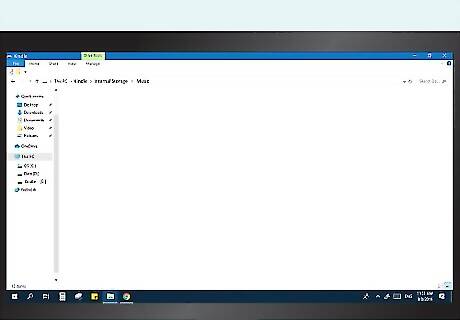
Open the "music" folder. Any MP3 files added to this folder can be played on your Kindle.
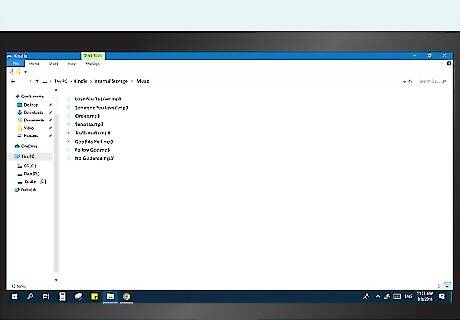
Add MP3 files. You can start dragging and dropping MP3 files into the "music" folder. You cannot use subfolders to organize the files, and the order that they play on your Kindle is the order that they are added to the folder. Only MP3-format files can be played. Be aware that early Kindle models have very limited storage space, and you may only be able to fit an album or two of music.
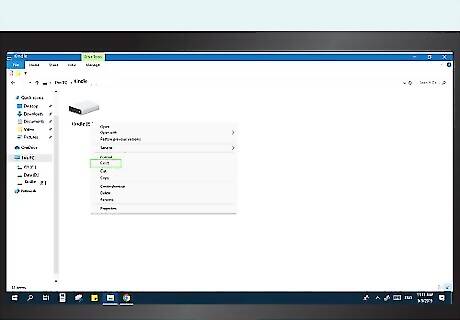
Disconnect your Kindle. After you are finished copying music files, you can disconnect your Kindle from your computer.
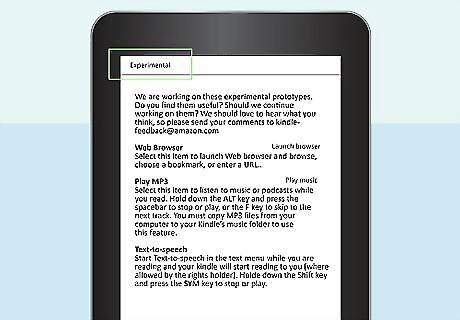
Open the "Experimental" section of your Kindle. The MP3 player is located in the Experimental section of your Kindle apps. You can access this by going to the Kindle home screen, pressing the Menu button, and selecting "Experimental" from the list.
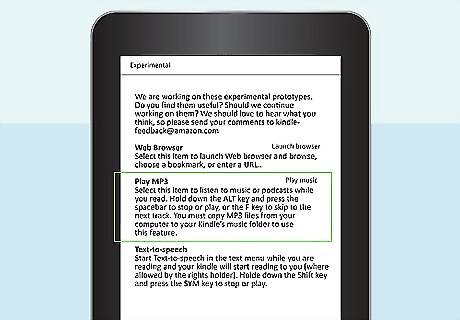
Start playing your music. Select "MP3 Player" or "Play music" to start listening to the tracks that you copied onto your Kindle. Make sure that your headphones are connected, as many Kindles do not have speakers. You can pause and resume by pressing Alt+Space, and skip to the next track by pressing Alt+F.
Kindle Fire Tablets
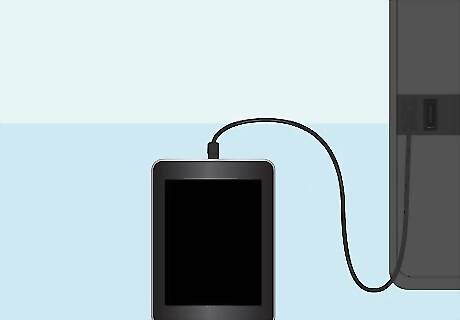
Connect your Fire tablet to your computer via USB. The easiest way to transfer music is by copying the files from your computer directly to the Kindle Fire. You can use any Micro-USB cable to connect it to your computer, which is the same cable most Android smartphones use. Windows XP users will need to have Windows Media Player 11 installed in order to detect the connected Kindle. You can use the Amazon Cloud to access your music files from the cloud instead of filling up your tablet's storage. See the next section for details.
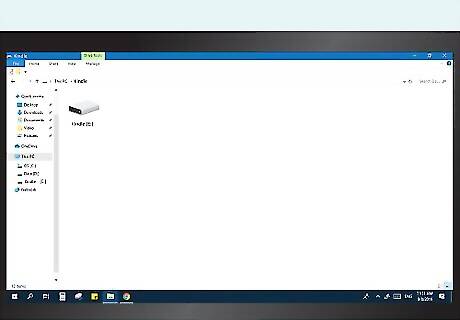
Open the Kindle tablet on your computer. The Kindle tablet will appear on your computer as a removable drive, much like a USB thumbdrive. Open it to see the files on the tablet. Windows - You'll be able to find the Kindle Fire in your "Computer"/"My Computer" in the "Devices and drives" section. Mac - The Kindle Fire will appear on your desktop when connected. Double-click the icon to open it like a drive.
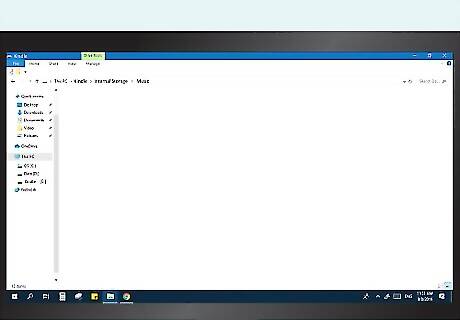
Open the "Music" folder. Any music already on the device will be here.
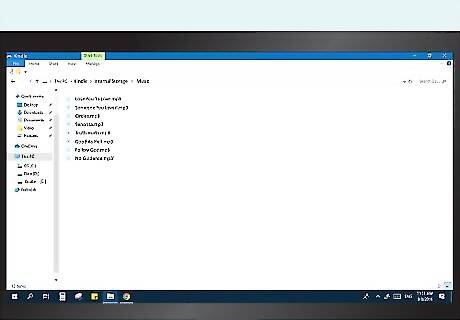
Copy your audio files. Unlike the Kindle e-readers, you can add your folders for better organization. The Fire tablets typically have much more storage than a Kindle e-reader as well. You can drag and drop files from your iTunes library window directly into the Music folder on the Kindle. The Fire tablet supports MP3, AAC, AC3, WAV, and OGG.
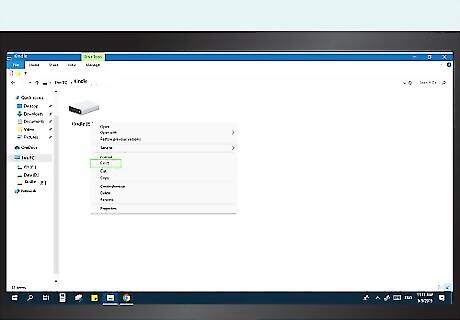
Disconnect your Kindle Fire. Once you have finished copying your music files, tap "Disconnect" in the Kindle Fire's Notification panel. You can then disconnect the USB cable.
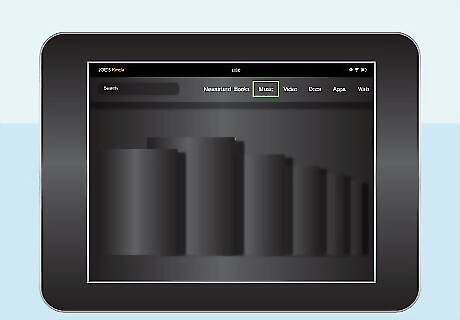
Open the Music player. You can open this by tapping "Music" on the Fire's Home screen.
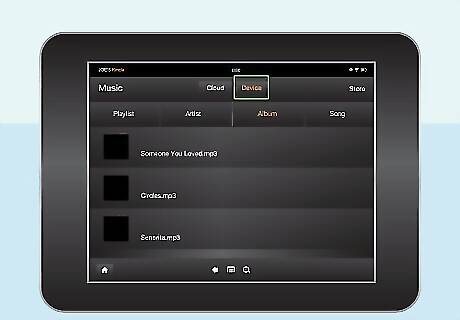
Tap the "Device" option at the top of the screen. This will switch the display to all of the songs that you have stored on the device.
Kindle Fire Tablets (Amazon Music)
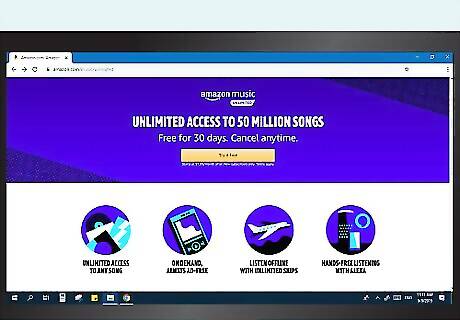
Understand the process. You can upload 250 songs for free to your Amazon Music account, or you can pay $24.99/year to upload up to 250,000 songs. This is separate from your Prime or Cloud Drive membership.
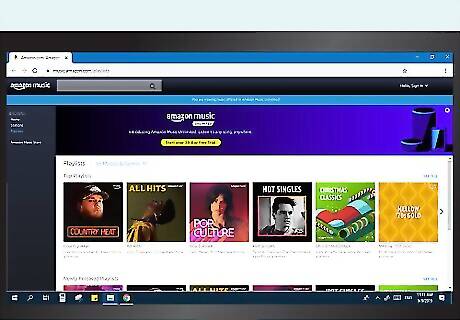
Visit your Amazon Music Library. You can quickly access this by logging into Amazon, and then selecting "Your Music Library" from the "Your Account" menu.
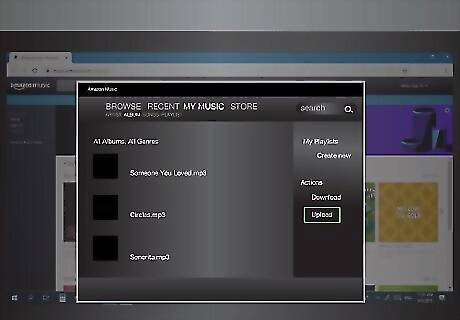
Click "Upload your music". You can find this at the bottom of the menu on the left side of the screen. This will launch the Music Uploader. If you are using Google Chrome, you'll need to take a few extra steps. Open the Settings menu for Chrome and click "Content settings" in the Privacy section. Find "Un-sandboxed plug-in access" and then click "Manage exceptions". Find the Amazon plugin and select "Allow".
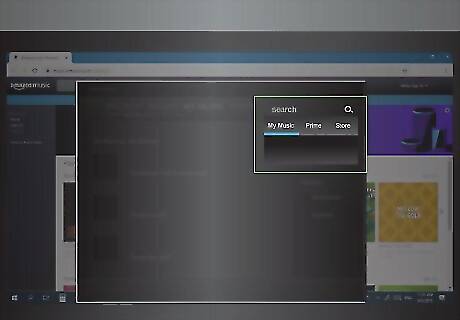
Scan for your music files. You can have the Music Uploader scan your computer for music files, or you can specify specific folders to look for files in.
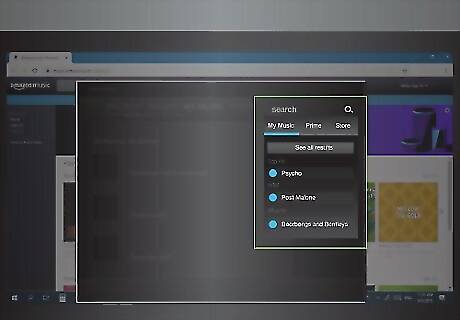
Choose and upload songs. After music files have been located, you can either import all of them or select the files you want to add. After starting the import, you may have to wait a while for all of the songs to be added. You can monitor the progress in the Music Uploader app.
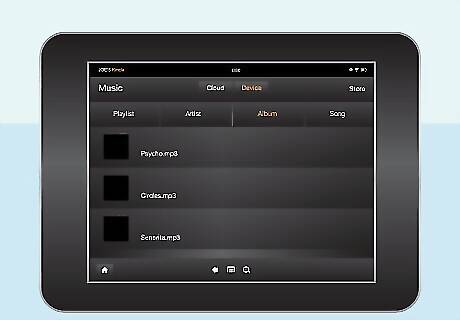
Stream the songs on your Kindle Fire. Open the Music app on your Kindle Fire tablet and select the "Cloud" tab. All of the songs uploaded to your Amazon Music Library, as well as any you've purchased from Amazon, will be available to listen to here. Just tap a song to start playing it.





Comments
0 comment