views
Preparing
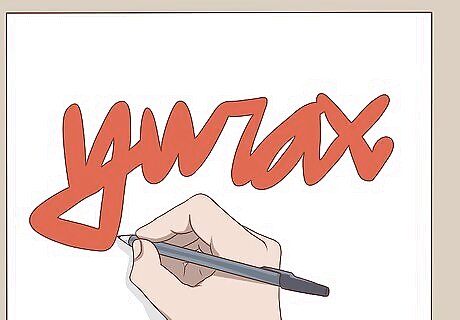
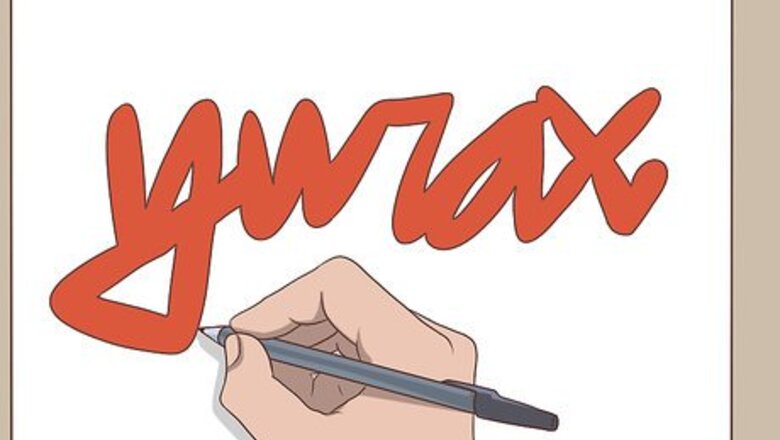
Find a graffiti signature you can use. Beware that among graffiti artists, "biting", which is having signatures similar to other graffiti artists, is highly frowned upon and can be dangerous. Instead, find or create something unique that is not similar to other graffiti artists' signatures, especially well-known graffiti artists that live in your area. Sketch your signature in big letters on an size A4 sheet of paper with a black or blue ballpoint pen.
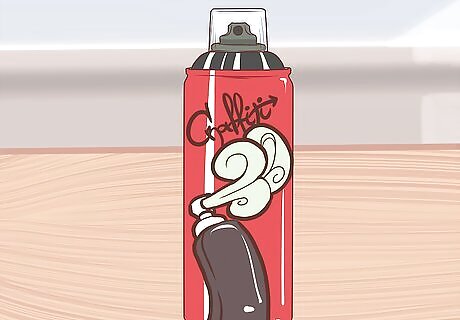
Buy spray cans from a brand that is designed for graffiti. One of the most reputable brands is Montana. Get both fat and skinny caps to use with your cans as well as thin rubber gloves that fit your hands well. Nitrile gloves like those used in hospitals will work well. If you want an even better result, buy normal wall paint from a regular paint store. Use this to paint a layer on the wall with a paint roller before spraying. You will also need a tray for the paint roller. Doing this will help cover up old graffiti on the wall so that it does not show through your "piece" (the name for the composition of letters graffiti artists make). It also will make the background look better and make your "piece" stand out more from the wall. Additionally, other "pieces" that have been made earlier will not distract from your "piece".
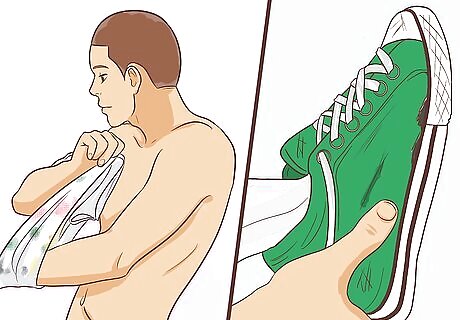
Wear old or run down clothes and shoes that you do not care if you ruin. There is a significant chance that you will get paint on your clothes and shoes. Wearing a hooded sweater and hat can help you avoid recognition. Bystanders may start taking pictures of you and others present or even filming you from behind while you paint on legal walls without asking; if these images are posted on social media, they can actually lead to legal problems for you later, and no one wants that.
Creating Your "Piece"
Bring your paint, equipment, and a digital camera in a plastic bag and go to a legal wall. Legal walls exist all around the world, and you can often find them by asking employees at the shop where you buy your spray paint or checking online.
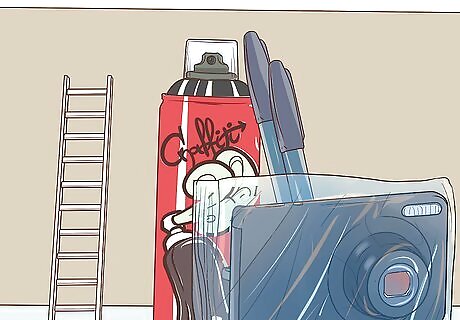
Start painting the wall with the wall paint or spray cans and paint roller. If you use an extension shaft for the paint roller, it will make this process much faster and easier. You do not want to wait hours before it dries, so do not use too much paint on the paint roller. Paint a layer large enough to cover the graffiti that is already on the wall completely. Make sure you paint long enough on both sides so that none of the letters become too big and go outside of the field you have painted.
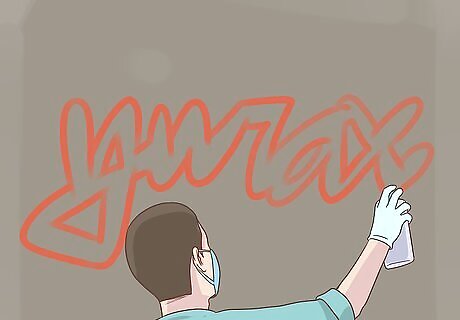
Start spraying with a light color in the way you want the letters to look. This is called "sketching" the letters. If you want to make a cartoon face or portrait somewhere around the "piece", start with that now and follow the same procedure as with the letters. It is important to use a light color because if you want to make adjustments later, a light color can be covered by darker colors. However, the reverse is not necessarily true, so you will see lines from the darker colors come through. You should only make empty letters first without any "fill in" (painting inside the letters). You should also make the shadow or 3D effect on the letters with the same color. Imagine that light is shining on the letters from a certain direction and make the shadow on the opposite side. It is vitally important that you give the shadow the same thickness on all of the letters.
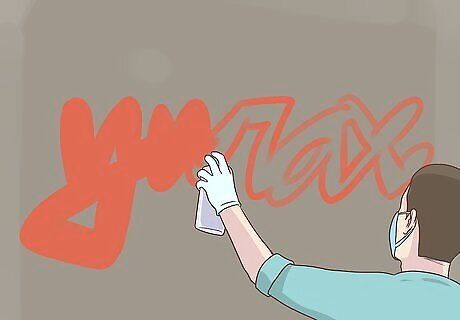
Fill in the letters with the colors you want. Try making patterns and symbols in different colors inside the letters. For the main colors you can use a fat cap, which makes it come a lot of paint from the can, but for the patterns, and especially if you want to make a fading effect, it is better with a skinny cap. This can be anything. It is important that you get finished with the "fill in", before starting with the outline, because you will quickly end up spraying over the outline with the "fill in" colors, because e.g. the wind blows the paint around.
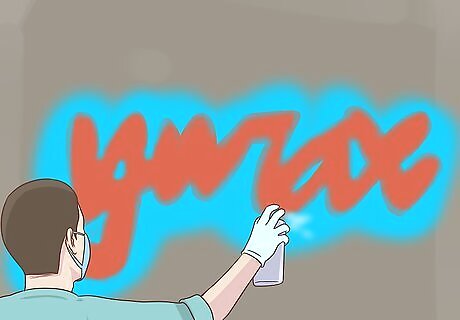
Make the background. Here you also make e.g. patterns and symbols. A smart thing is to choose colors that are colder than the ones you used inside your "piece". Because this will make the background look like it is further away than the letters, which will stick out.
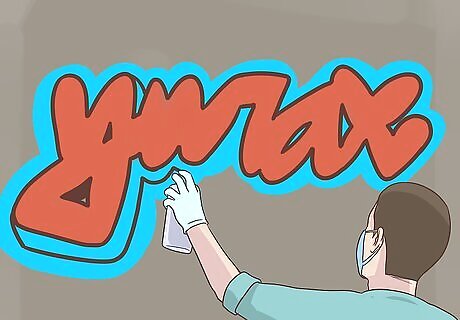
Paint the outline on the letters and shadow (or 3D effect). Use a color that stands out a lot from the colors you have used in the background and inside the letters. Often a dark color is the best, like black, but not always. This is important to make it easy to see the difference between background and "fill in". This is one of the most important steps, because black is hard to cover up, so if you make mistakes when spraying the outline, it will quickly make the "piece" look bad. Take small lines at a time, not whole letters. But from point to point where the letter's shape changes direction. If there are complicated lines, take a "practice swing" to simulate the movement you have to do with the can before starting to spray the line.
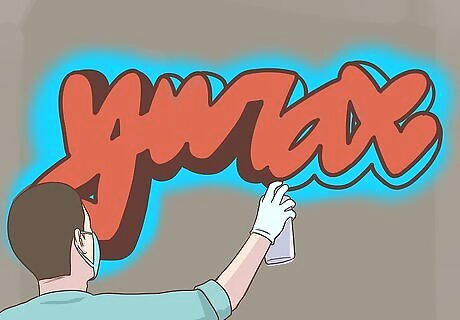
Paint the "skyline". This is a line that goes outside the letters and the shadow, that separates the background from the letters. This makes the "piece" much better at once. If you spray over the outline while making the "skyline", just use the color you used for the outline to fix it. But remember to save enough of the outline color until you are finished, to fix the most important things.
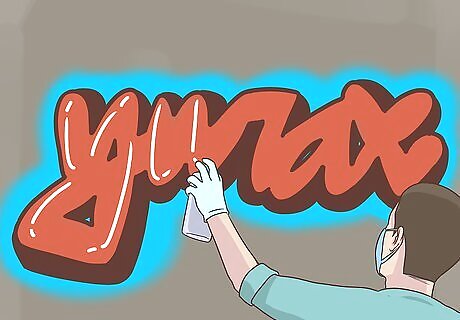
Add effects to the "piece" if desired. This is what separates the really great "pieces" from the not so great. Now you can add something called "shining". Which is a line that is white or yellow that you put where the light would shine on the letters. And that is supposed to be on the exact opposite side of the shadow. So where you have shadow, you are not supposed to have "shining" and vice versa. If you make a 3D effect instead, then a "shining" is wrong to make, because if there is no shadow, there is no "shining". It is just like when you draw a person, one place there is shadow and another place there is light. You can also make something called an "inline", this is almost the same as an outline, but it is complicated to make and will definitely ruin your "piece" if you do not do it properly. Something the "shining" will also do because these effects are advanced. The "inline" is a line that goes on the inside of your outline in all the letters. This can be very cool, but it is not in all "pieces" this effect is suitable.
Finishing Up and Documenting
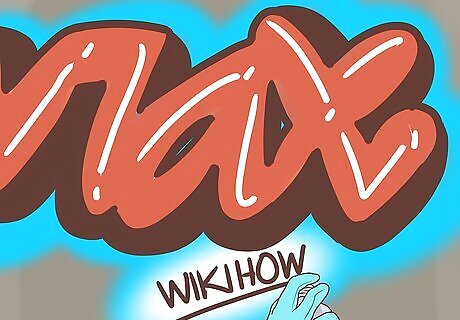
Complete any additional (and optional) elements. It is very common to write the year that you made the "piece", and it is also very nice to know when looking in old photo albums. To write the place you made it is also a possibility. Because if you start making a lot of graffiti you are not going to remember when and where you made every "piece". Then you write your signature beside the "piece". The best thing to do is to take a skinny cap and write it on the right side of the "piece" low down under it. Because a huge signature draws a lot of attention, and you do not want the signature to grab the viewer's attention from the big letters. After this you can also dedicate your "piece" to someone, and write 4: which means for e.g. "My buddies". You can also write a greeting to someone with Yo. E.g. Yo: Eric and King D. You have to know the people you are greeting; you can not greet to or dedicate your "piece" to, for example, a big graffiti artist you do not know because that is like "saying" that you know him or that he or she said it was okay for you to do it. If you have something smart to say that is short or know a good line from e.g. a rap song you can also write it.
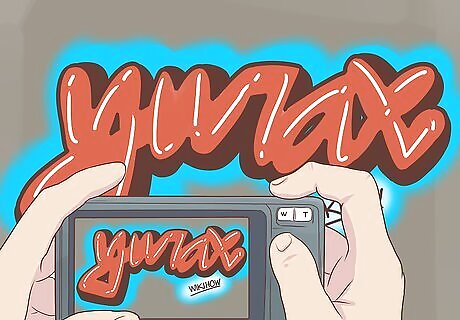
Take several pictures of your "piece" from different angles and lengths with your digital camera. If you can not go a very long distance from the "piece", because some other thing like another wall is blocking you from doing it, the best angle is from the side close up to the "piece". Because then you can get all of it in one picture. The best thing is to use a tripod for your camera, so you get a steady and balanced shot. If you do not take a picture at once, remember that at legal walls your "piece" can get painted over at once. Think of the composition when taking the picture, try to get the "piece" as much in the middle of the picture as you can, and make sure that the "piece" is perfectly horizontal in the lense.





Comments
0 comment