views
Connecting the Saxophone and Strap
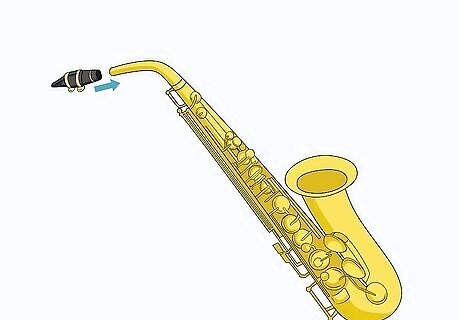
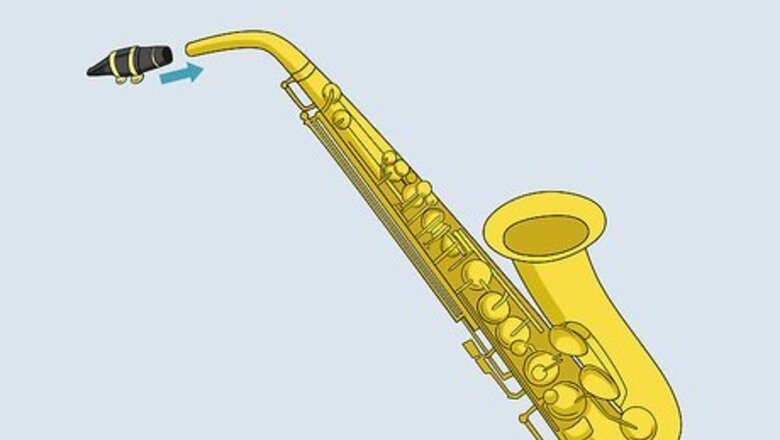
Assemble the saxophone mouthpiece and body. Before attaching the strap, put all of the other pieces together. Slide the reed into the mouthpiece and lock it in place by turning the screws clockwise. Then, put the mouthpiece on top of the neck’s cork before sliding the neck into the body. Put the bell on the other end of the body. Check your instrument to ensure everything is in place and that the reed makes sound when you blow on it. Assemble the saxophone first so you are able to access the strap hook on its back. It’s important for holding your instrument correctly.
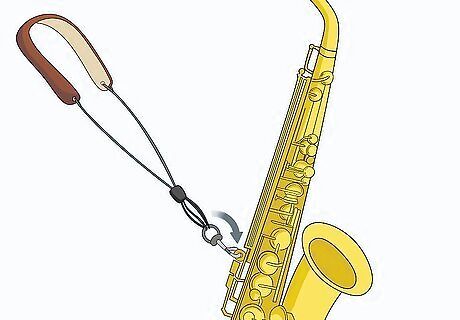
Clip a neck strap onto the back of the saxophone. A saxophone strap is like a necklace with a hook at the end that is very helpful for supporting the instrument’s weight while you’re holding it. To use one, slip the strap over your head, then look for the ring sticking out from the back of your saxophone. It will either be black or the same color as the instrument. Always wear a strap if you have one available. Although some experienced players don’t use a strap, it makes holding a sax much easier when you’re just starting out. Select a padded strap with a clip that locks around the clip ring on the back of your instrument. If the clip doesn’t close all the way, you could end up dropping your sax. If straps aren’t comfortable enough for you, try getting a harness instead. Slide the harness onto your shoulders, then clip the saxophone to it. Harnesses provide additional support and stability compared to straps.
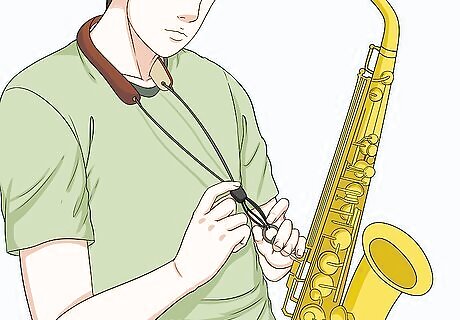
Adjust the strap so the hook falls in the middle of your chest. Make sure the strap feels comfortable and properly supports the saxophone against your body. You can pull on the end of the strap to tighten it or push it back through its clip to loosen it. Change its length so the sax is close to your body and tilted toward your right leg. When you sit down, it should be near your thigh. The strap often won’t be perfectly adjusted at first and that is okay. To get a better idea of how the strap fits, take a seat and hold your instrument in front of you. Make additional adjustments as needed so you are able to hold and play it comfortably.
Positioning Your Hands on the Sax
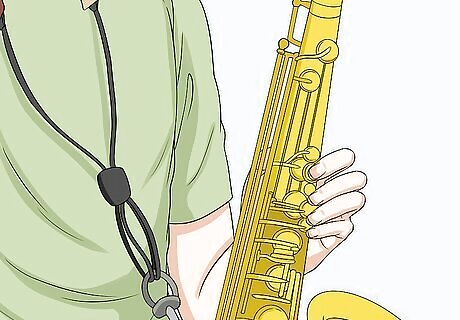
Place your left hand on the top set of keys. Fit your index finger over the second big keypad on the right side of the saxophone. Then, rest your middle and ring fingers over the next big pads. Use your pinkie finger to control the smaller key underneath them. Whether you’re right-handed or left-handed, your left hand is always supposed to control the top set of keys. Unlike a lot of other instruments, there are no right or left-handed saxophones. They are all designed to be held the same way! The first key stack has a smaller key that will be between your index finger and middle finger. Reach for it with your middle finger when you need it.
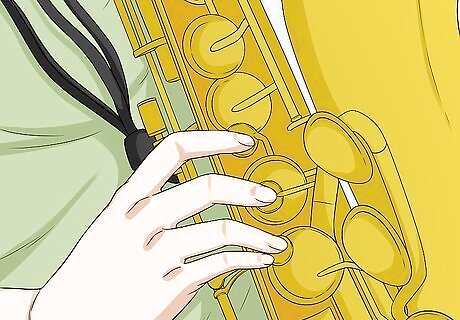
Position your right hand on the lower set of keys. The second set of keys will be underneath the first ones, close to the bottom part of the saxophone. Position 1 finger over each key, starting with your index finger on the uppermost key. Let your pinkie finger control the pair of smaller keys at the end of the stack. Make sure you feel comfortable handling the keys and reaching them without straining.
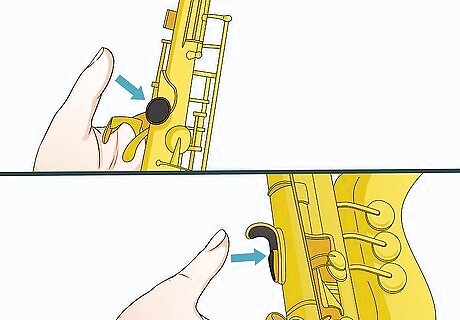
Place your thumbs on the pads behind the sax. When you look down at the back part of your sax, you will see a couple of hook-like pieces hanging from it. There will be 1 behind each set of keys. Tuck the thumb of your left hand into the upper pad. Then, place your right thumb under the lower pad. The pads are either black or brass-colored. It depends on your instrument. The black pads are a little easier to spot at first, but, no matter what color they are, they work the same way. The pads are meant to keep your thumbs in place so you don’t lose your grip while you play. To keep a firm grasp on your sax, slide your thumbs all the way in and point them upward.
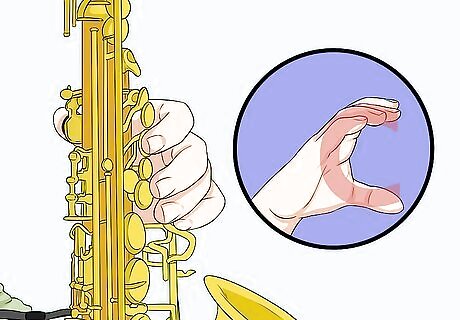
Curl your fingers so only the tips press against the keys. In this position, your hands form C-shapes. Only the tips of your fingers touch the pads. Brace the sax with the rest of each hand. By holding the sax this way, you can move your fingers at a quicker pace while playing. If you have ever seen a Lego character, your hands will be curled the same way. Guitar players also use a similar technique to reach the strings on their instrument. You could also play by keeping your fingers straight with your finger pads on the keys. Some people find that playing style to be more comfortable, but it also tends to be slower. For a better result, you could switch back to a curled finger style when you need to speed up.
Finding the Perfect Posture
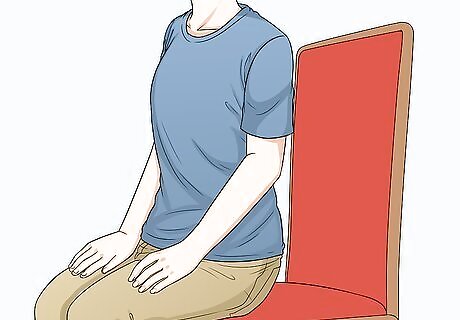
Sit at least halfway forward on a chair. Although it’s tempting, don’t lean against the backrest. It will end up affecting your playing ability. Sit closer to the edge of the chair so you are able to take deep breaths. Make sure you can also move your hands comfortably without bumping into anything. Pick a sturdy chair without arms or anything else that will get in the way while you’re playing. A big part of playing is being able to move and breathe with ease, so your positioning counts!
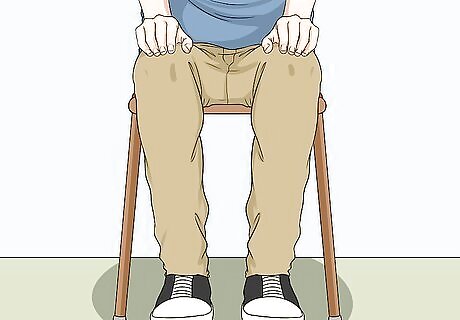
Plant your feet on the floor so you have room to hold the saxophone. Keep your feet ahead of you, planted squarely on the ground. Get comfortable, but don’t lean too far back. Once you’re stable, make sure you have plenty of space around your legs to support the saxophone but also hold it steady while playing. Use your lap as a platform to support the sax’s weight. Keep your lap level so you don’t have to worry about your legs getting in the way while you’re playing.
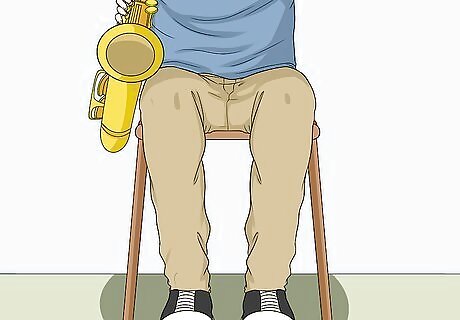
Move the saxophone to a comfortable position next to your legs. Most instructors recommend holding the saxophone to your right thigh. Adjust the strap as needed to lower it. Position the bottom part of the sax between your hip and knee. Despite what instructors might say, many people choose to hold a saxophone between their legs. Taller people have an easier time holding their instrument this way, but you might find it more comfortable no matter what your height is. No matter how you choose to hold a saxophone, make sure you feel comfortable and have plenty of room to generate an air flow. As long as you aren’t leaning forward to play, you most likely won’t have a problem.
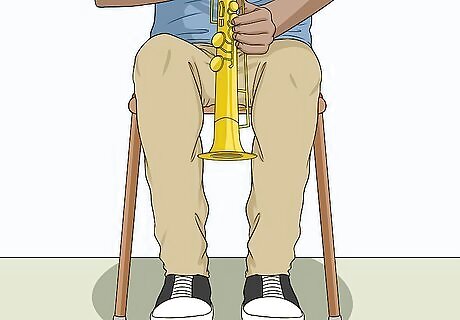
Place a soprano saxophone between your legs if you are playing one. A soprano saxophone looks like a flute or a similar instrument. Since it’s a little different than other types of saxophones, it is meant to be held between your legs. Hold it in front of you with the open end pointing down toward your feet. Soprano saxophones are small and high-pitched, making them a little more difficult to play than other types. Beside the positioning, handle them the same way as any other saxophone. The other common saxophone types are alto, tenor, and baritone. Each one is bigger than the last one and produces a lower pitch.
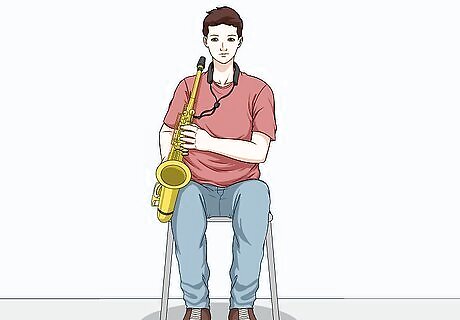
Sit up straight in the chair before you start playing. Once you have your saxophone well-positioned, straighten out your posture. Straighten your back and neck so they are parallel with the chair back behind you. Keep your shoulders aligned with the rest of your body. Make sure you’re able to hold the sax in front of you without turning your shoulders toward it. You may need to adjust the strap or the sax’s positioning before you start playing. Take your time to ensure you feel comfortable. When you sit upright, you give yourself plenty of room to move and breathe while balancing the sax against your leg. Be careful to avoid hunching over or turning to the side while playing.


Comments
0 comment