views
Removing Unwanted Downloads
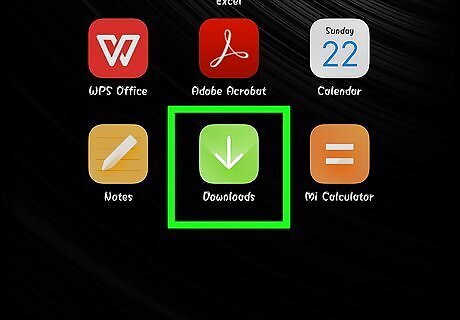
Tap the “Downloads” app. The “Downloads” app is located in the app drawer of your Android.
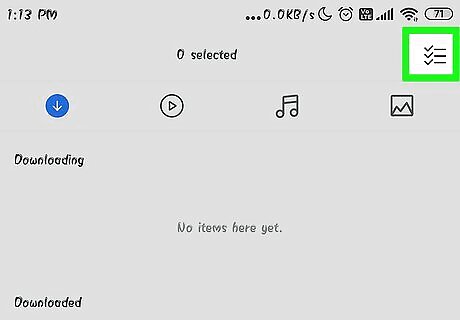
Tap the Menu icon. The Menu icon appears in the upper right hand corner of the screen.
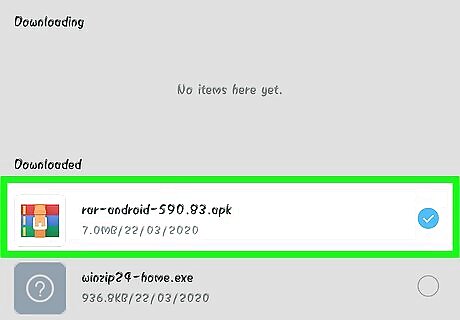
Tap and hold a download. Select unwanted downloads by tapping and holding for a few seconds.
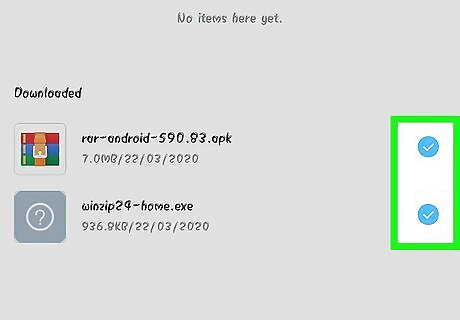
Repeat the process as needed.
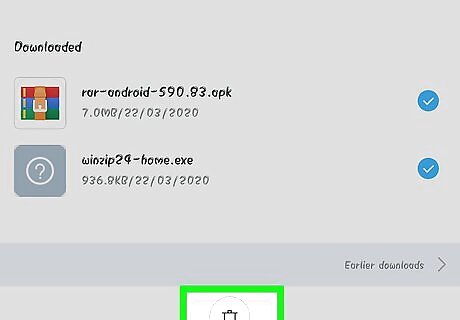
Tap the Trash icon to delete. Unwanted downloads will be permanently removed and you'll have more internal memory.
Disabling Bloatware
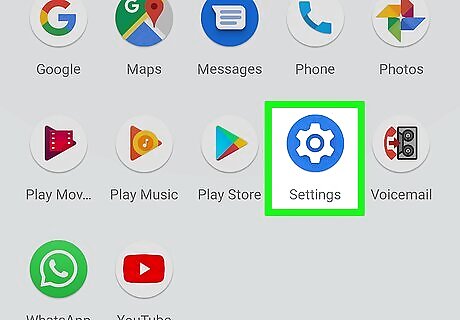
Tap the “Settings” icon. The Settings icon is located in your app drawer.
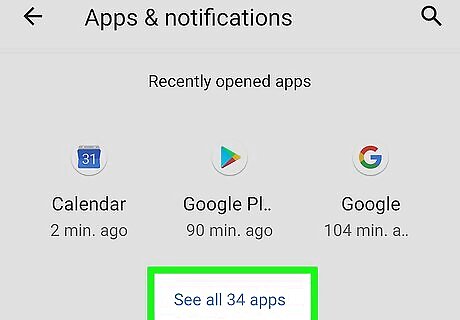
Swipe the “All” tab. Swipe over the “All” tab listed in the top center of the screen for a complete list of all the applications on your Android.
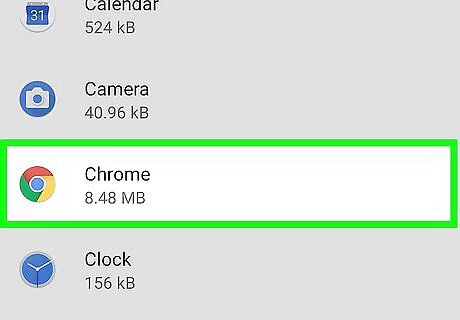
Tap the app to disable.
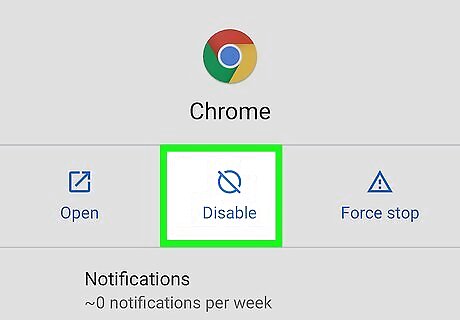
Tap the “Disable” tab. A prompt will appear stating that other applications may be affected, however this is okay since you are not completely removing the app.
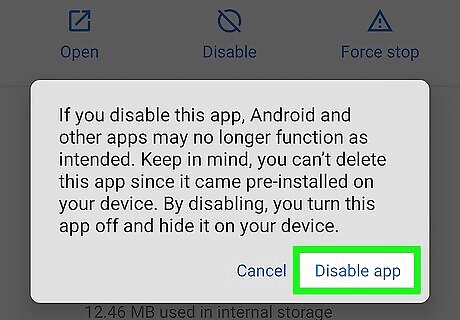
Tap “Ok”.
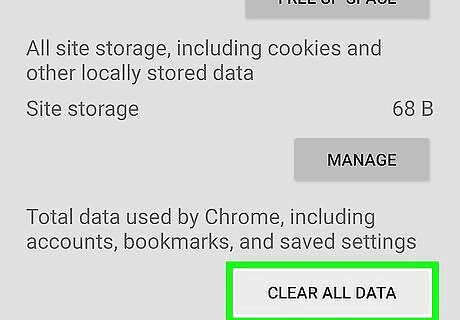
Tap the “Clear Data” tab. This is located in the App Info section.
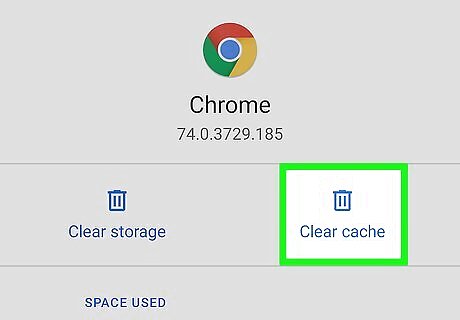
Tap the “Clear Cache” tab. This is located in the App info section. Now you have removed unnecessary software, freed up some space and increased your internal memory.
Removing Cached Data for Android Apps
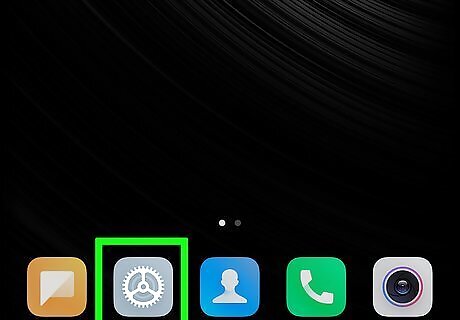
Tap the “Settings” icon. The “Settings" icon is located in the app drawer of your Android.
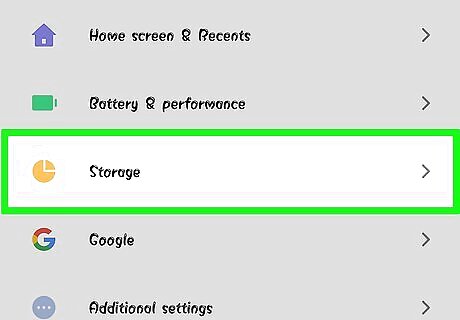
Tap on “Storage”.
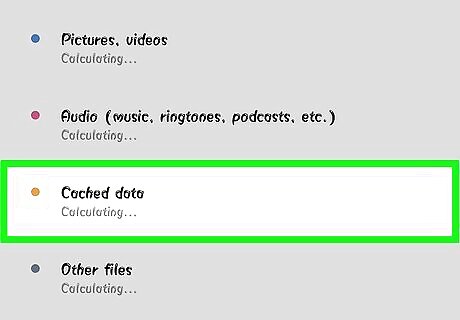
Tap on “Cached data”.
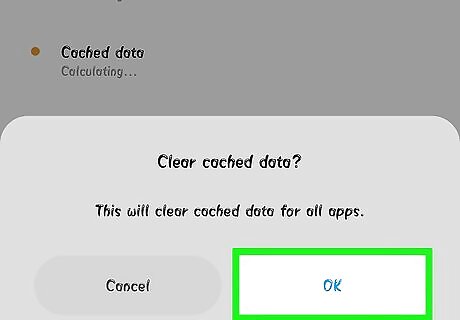
Tap “OK” to clear cached data for all apps. You now have successfully removed cookies and pages will begin to load faster.
Deleting Photos and Videos
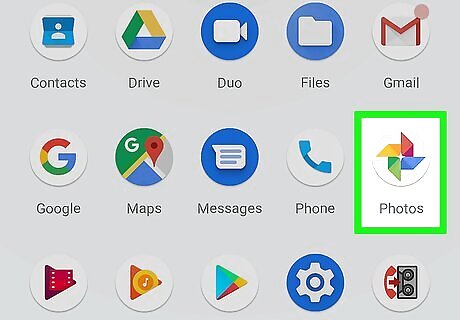
Tap the Google Photos app. The app is located in the app drawer on your Android.
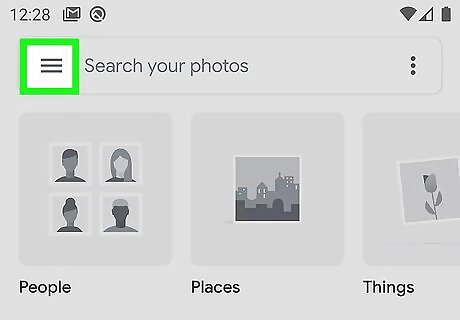
Tap the Menu.
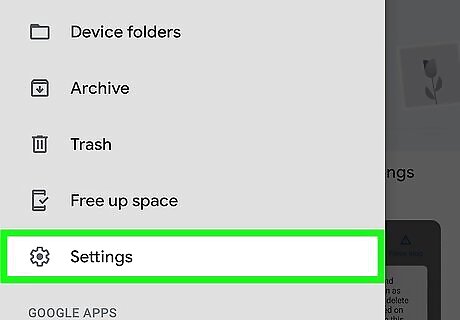
Tap the “Settings” tab.
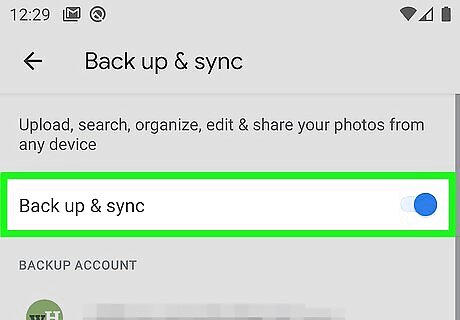
Tap “Back up & Sync”. Photos that are not backed up will appear with an icon of a cloud with a strike through it.
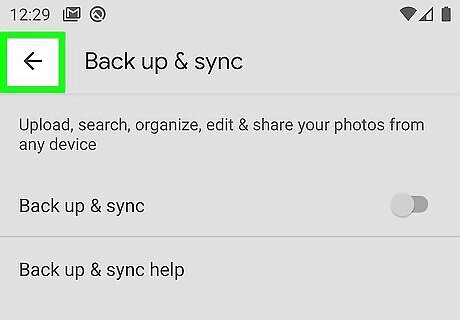
Tap the return arrow. Tap the arrow at the upper left hand of the screen to return to the main screen.
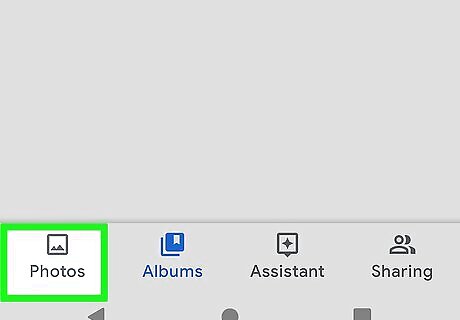
Tap the Photo icon. The Photo icon is found at the bottom of the screen.
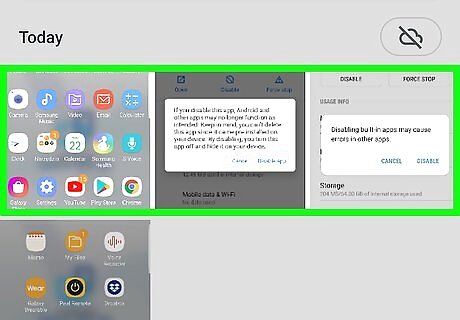
Touch and hold a photo. Touch and hold down all the videos or photos you wish to remove. A check mark will appear once the photo has been selected.
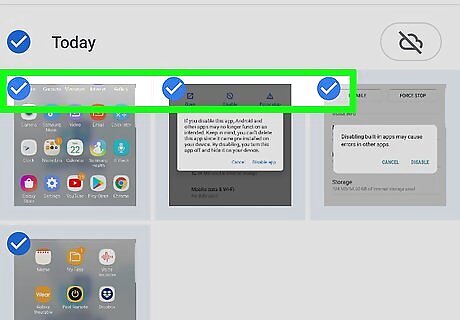
Repeat the process as needed.
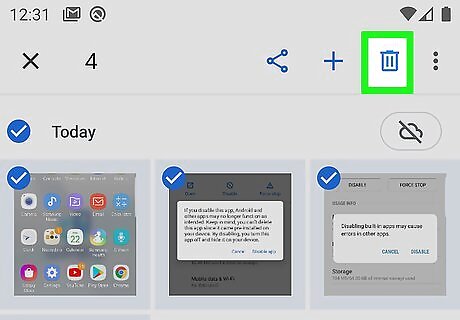
Tap the “Trash” icon. The Trash icon is found at the upper right hand side of the screen.
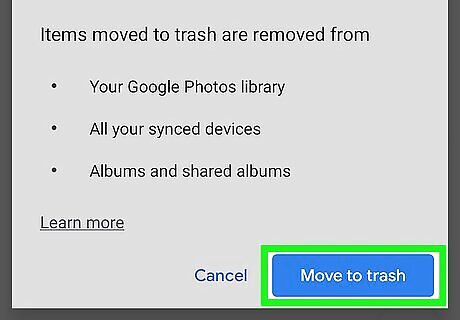
Tap “Delete”. A prompt will appear asking you to confirm you want to delete your selected photos. Tap “Delete” to permanently remove photos or videos from your Google Photos app.
Install and run GOM Saver
Download the GOM Saver app from the Google Play Store.
Launch GOM Saver, default mode will be set.
You can see how much memory you can save by running the video or image compression.
You can delete the original file or cloud back it up.
The compressed image or video will be left on your phone.
Average saving is about 50% of the original file amount. (Example: 5 gigs of photos will be 2.5 gig)
Transferring Data to a SD Card
Download the Link2SD app. Download the app from the Google Play Store.
Turn off your phone. You must use volume keys to navigate and the power/home button to select, as touch does not work in recovery mode.
Tap the Link2SD app. The application is located in your app drawer.
Tap the “Advanced” option. This appears in the drop down list of options.
Tap the “Partition sdcard" option. This appears in the Advanced menu’s drop down list of options.
Tap the ext size. This size should be smaller than your memory card size.
Tap the swap size. The swap size should be zero.
Wait a few moments.
Select "+++++go back+++++".
Select “reboot system now”.
Start phone.
Install the Link2SD app. This is located in the app drawer of your phone
Tap the Link2SD app.
Click “Allow” Superuser permissions.
Select "Ext2". This option will appear in a pop-up.
Select “Ok” to reboot.
Tap the Link2SD app.
Tap the “Filter” icon. This appears at the top of the screen.
Tap the “On Internal” option.
Tap the “Option” icon.
Tap the “Multi-select” option.
Tap the “Option” icon.
Tap the “Create link” option
Tap “Link application file”.
Tap “Link dalvik cache file”.
Tap “Link library files”.
Tap “Ok”.
Wait a few moments.
Tap “Ok”. You have successfully moved your apps and other data to your SD card.









Comments
0 comment