views
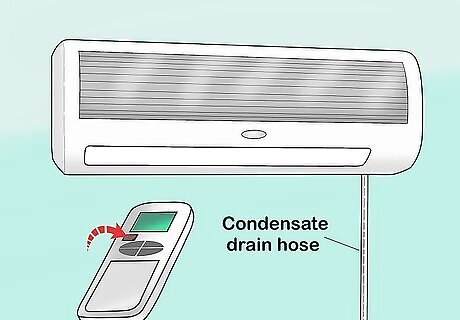
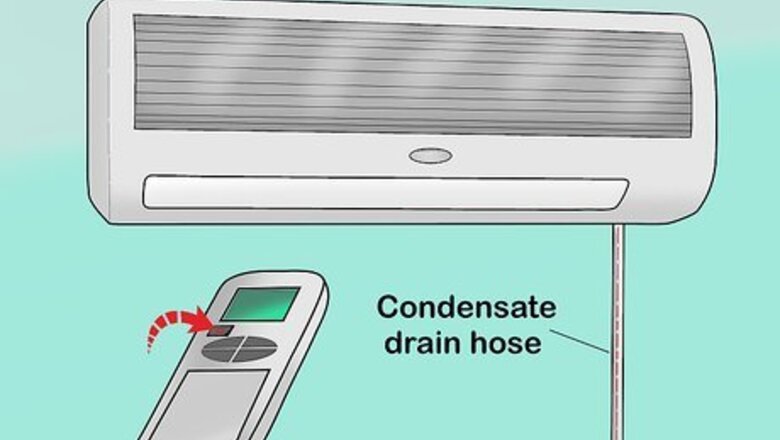
Before installing the pump, let the air conditioner run a few cycles so that some condensate collects and to remove any oils that are left in the system.
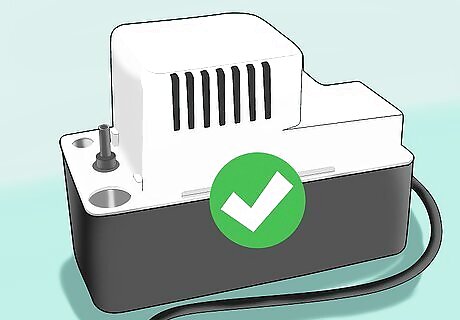
Make sure that all of the packaging is removed from the pump, and that all venting slots are clear from debris.
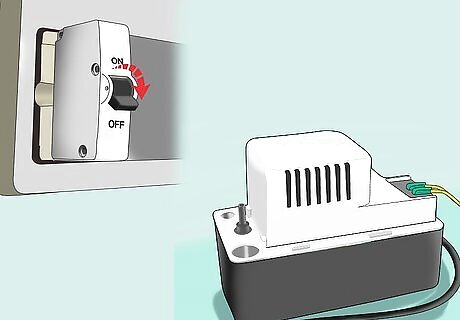
Set up the electrical connections. It is always important to make sure that you turn then power off at the fuse box before installing any electrical components of appliances.
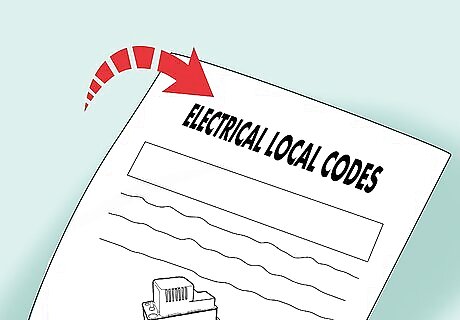
Check the local codes to make sure you are hooking up your wires correctly.
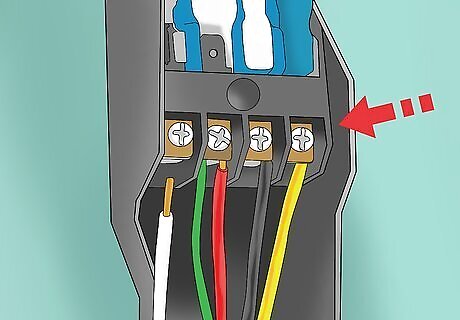
Hook up the power cord to the specified voltage.
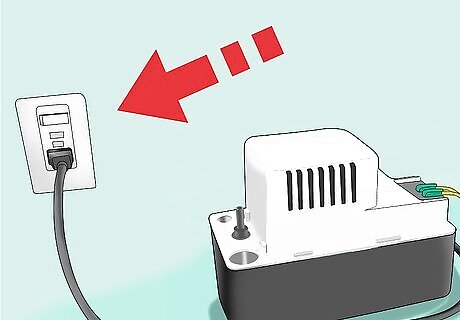
Make sure it is connected to a constant power source.
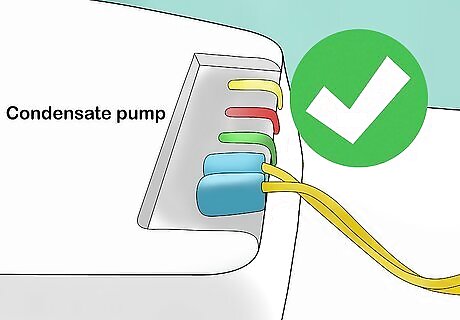
Check the pump for a safety switch and wire it accordingly. After all of the electrical is done, move to the next step.
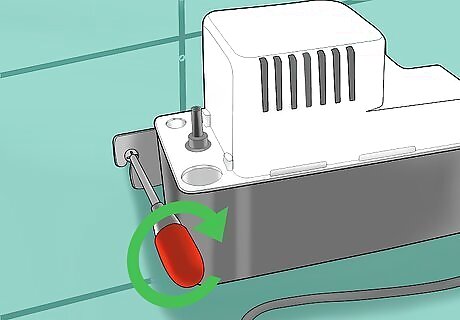
Connect the pump to the wall by using screws. The pump should have slots built onto the unit that will allow it to be mounted.
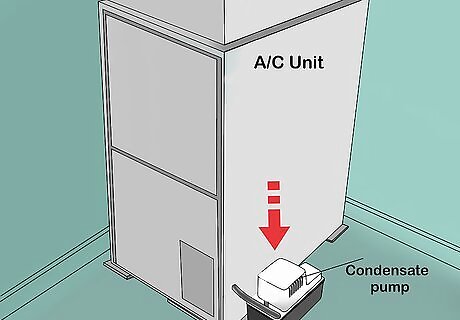
Make sure that the pump is close to the air conditioning unit, installed below the coil drain, and that the pump unit is level. If the pump isn’t level, it will not function properly. It is also important to make sure that the unit will not spray or splash when it is running. Once the pump is mounted correctly, you are ready to pipe the unit.
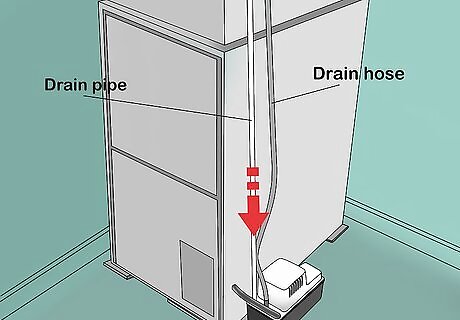
Use some sort of flexible tubing, if possible, as the drain pipe for the pump. This pipe should be installed so that gravity will do the work when the pump is draining the system. The inlet pipe should be on an angle where it enters the tank and should not interfere with the operation of the float valve that the pump uses. It may also be a good idea to install a check valve somewhere on the discharge line to avoid backflow of the discharge water so it can’t be sucked back into the a/c unit. The discharge line should run into a line that goes to the city’s waste, once again to avoid contamination of fresh water.
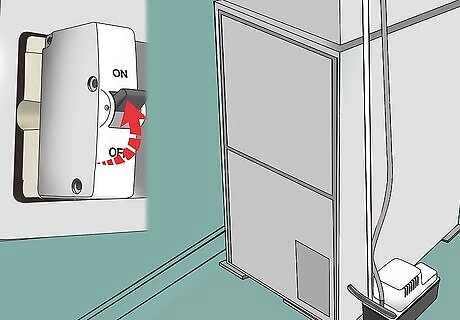
Once the pump has been installed, turn the power back on and run the a/c unit. Watch the pump and make sure that it is working correctly. Ensure that the electrical units are working correctly without sparking and that the piping is not leaking in any area.





Comments
0 comment