views
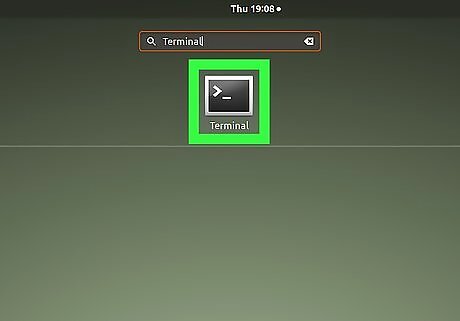
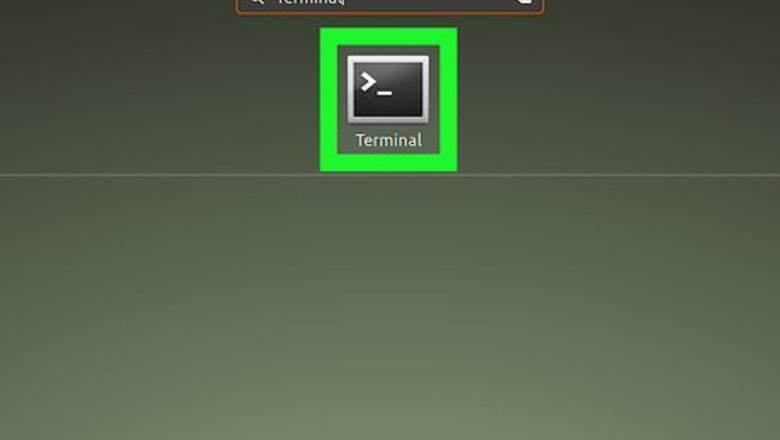
Open the Terminal (Command Prompt) window on your Linux machine. You can use the Terminal window to easily download and install the Apache server on your computer. Depending on your Linux version: Click the icon on the top-left to open the Dash, type "Terminal," and hit ⏎ Return or ↵ Enter. Press the Ctrl+Alt+T keyboard shortcut. Click the Applications tab on the menu bar, select Accessories, and click Terminal.
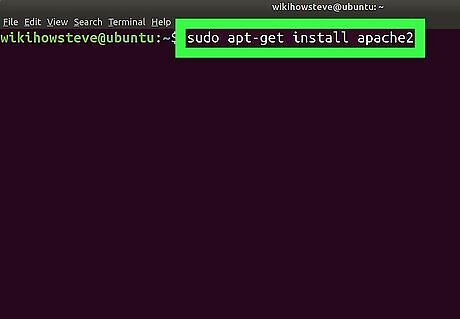
Type sudo apt-get install apache2 in Terminal. This command will download and install the Apache server on your Linux machine. This command will work in Ubuntu and other Debian Linux versions. For Fedora / RHEL / Cent OS and Red Hat Enterprise Linux, type yum install httpd.
Press ↵ Enter or ⏎ Return on your keyboard. This will run the command, and prompt you to enter your user/root password.
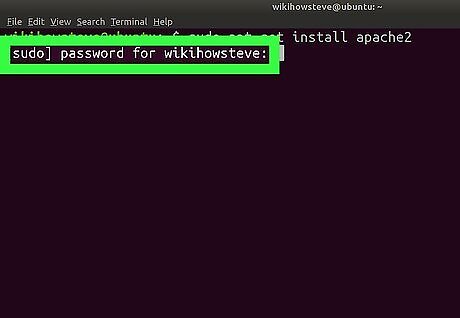
Enter your user/root password. This will confirm your action, and start downloading Apache on your computer. Press ↵ Enter or ⏎ Return to confirm your password.
Press Y to continue. When you're prompted to install the required extra packages, type "Y" and press ↵ Enter or ⏎ Return to proceed. This will install all the required packages, and start your Apache server on your computer. You will see a message saying "Starting web server apache2" in Terminal when your installation is finished.

Open your internet browser. You can use any internet browser to check if your Apache server is successfully installed.
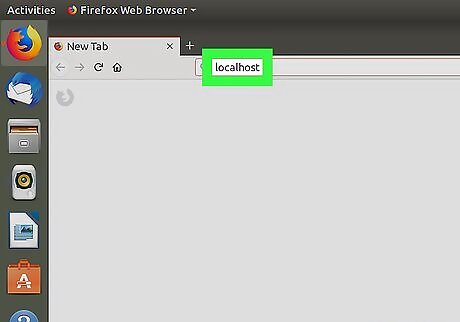
Type localhost in your browser's address bar. Your Apache server should automatically start running on your localhost when it's finished installing.
Press ↵ Enter or ⏎ Return on your keyboard. The localhost page should open up to the Apache2 Default Page. If you see the Apache2 Default Page, your Apache server is up and running on this computer. If your Apache server isn't running, you'll see a message saying "Unable to connect."




Comments
0 comment