views
Preparing to Install
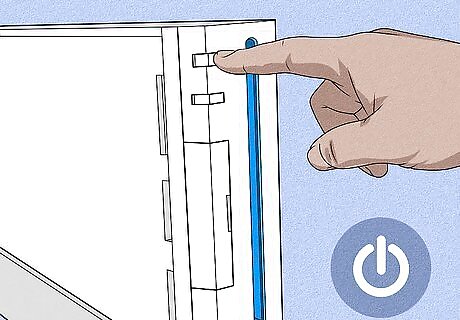
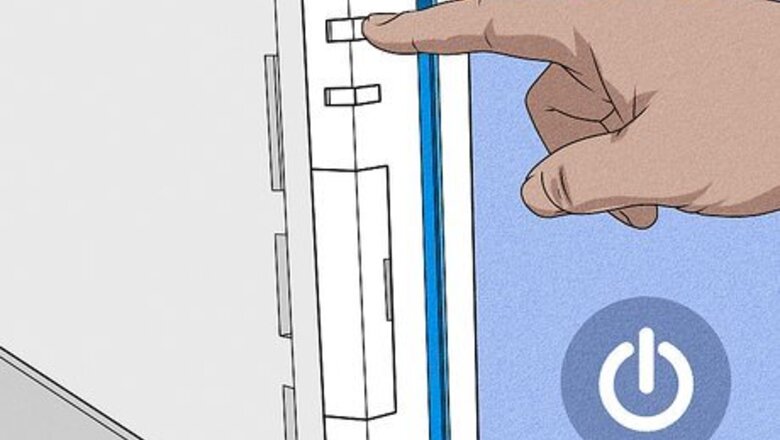
Turn on your Wii. To do so, either press the power button at the top of the front of the console, or press the Wii remote's power button. Make sure your Wii remote is turned on and synced as well.
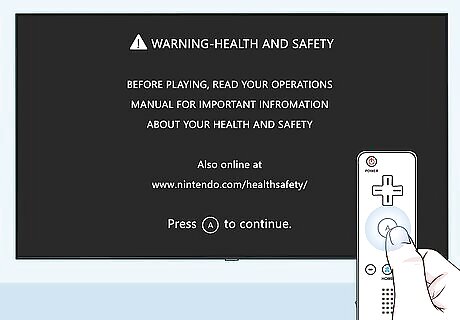
Press A when prompted. Doing so will take you to the Wii Menu.
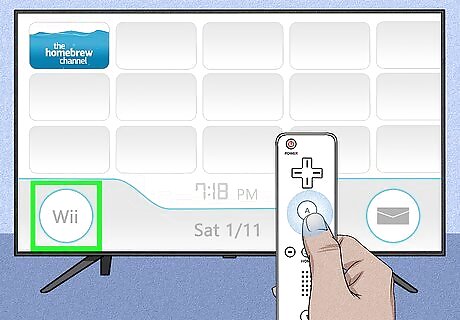
Select the Wii button. It's in the bottom-left corner of the screen.
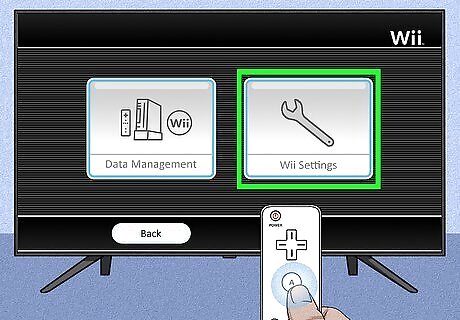
Select Wii Settings and press A. This button is on the right side of the screen.
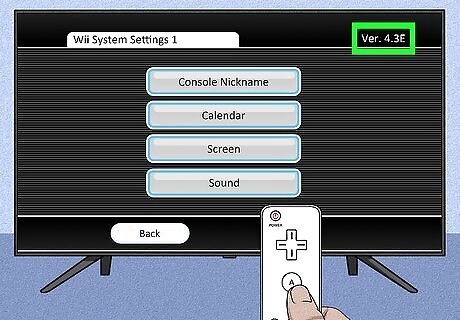
Write down the version number. You'll see it in the top-right corner of the screen. The version number here should say either 4.3U, 4.3E, 4.3J, or 4.3K depending on your region. If your Wii Menu's version is not 4.3, and you haven't installed homebrew before, you will need to update your Wii system to version 4.3 before continuing. If you don't see a version at all, check to make sure that your television is displaying the full image. If it is, and you still don't see anything, you are on Wii Menu 1.0, and will need to update your Wii system to version 4.3 before continuing.
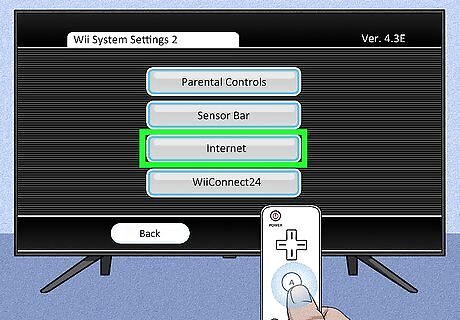
Scroll right, then select Internet and press A. It's on the second tab of the Wii Settings page.
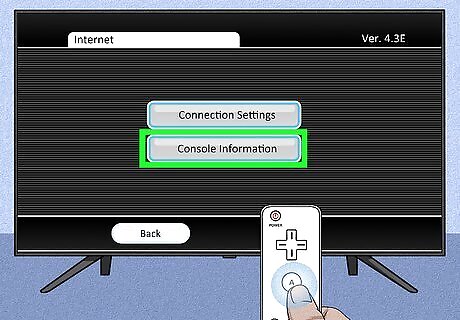
Select Console Information and press A. This option is in the middle of the page.
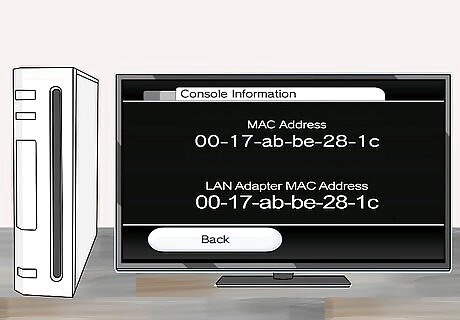
Write down your Wii's MAC address. It's the twelve-digit series of numbers and letters on this page. You'll need this address to download LetterBomb and the HackMii Installer.
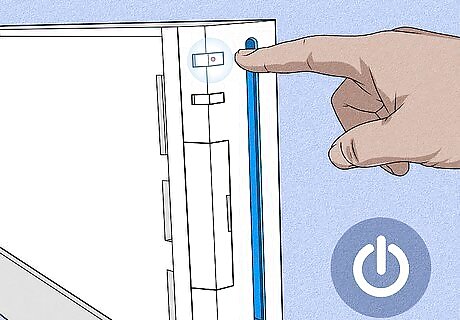
Turn off your Wii. You'll do so by pressing and holding the Wii's power button until the light on it turns red.
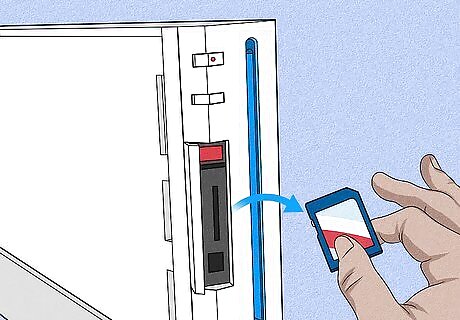
Remove your Wii's SD card. The SD card is the thin, flat card inside of the compartment that's left of the disc slot. Gently pulling on it will remove it from your Wii.
Switch to your computer. Now that you have the information required to install The Homebrew Channel on your Wii, it's time to download LetterBomb.
Downloading LetterBomb
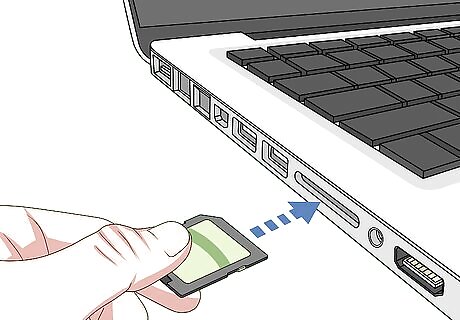
Insert the SD card into your computer. It will fit into your computer's SD card slot, which is a thin, inch-long slot that's most likely on the side of your computer (or in front of the CPU box for a desktop). A window with the SD card's contents should pop up. The SD card should be 2GB or less.Burn Wii Games to Disc Step 3 Version 4.jpg The angled side should go into the slot, and the SD card's logo should be facing up. If your computer doesn't have an SD card slot, you can purchase a USB flash drive adapter into which you can insert an SD card.
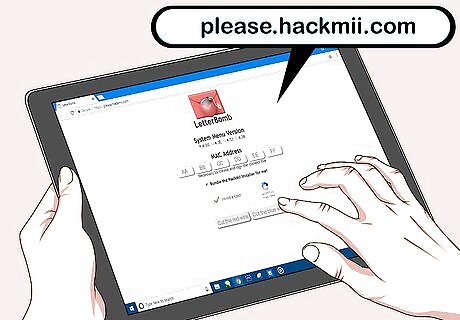
Go to HackMii's LetterBomb page. It's located at https://please.hackmii.com/, which, despite its name, is a safe site to visit.
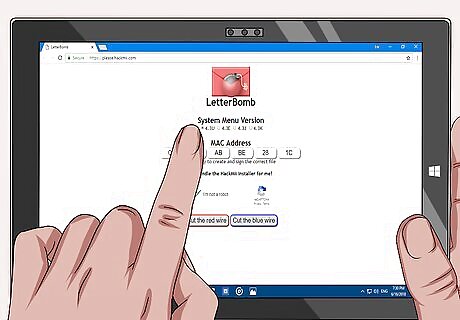
Select your Wii's version. You'll do so beneath the "System Menu Version" heading near the top of the page.
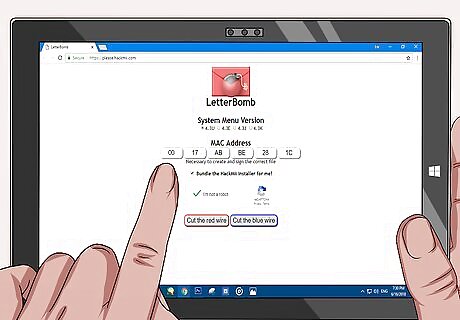
Enter your Wii's MAC address. It goes in the boxes beneath the "MAC Address" heading in the middle of the page. You'll also want to make sure the "Bundle the HackMii Installer for me!" option below the MAC address area is checked.
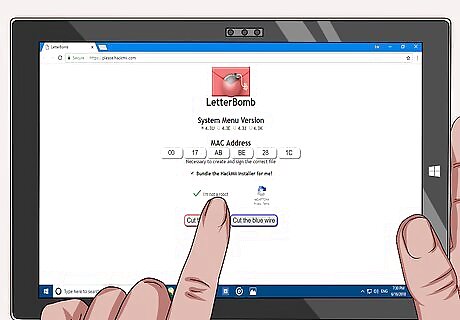
Click the "I'm not a robot" box. This step ensures that you aren't simply spamming the site with requests.
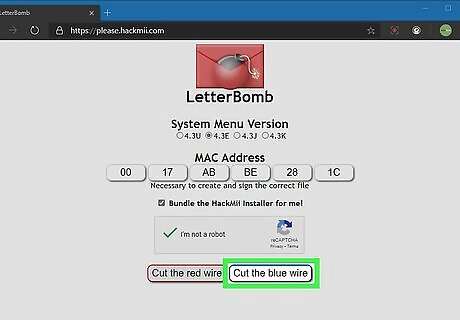
Click either Cut the red wire or Cut the blue wire. It doesn't matter which option you click; either one will prompt the Homebrew setup to begin downloading.
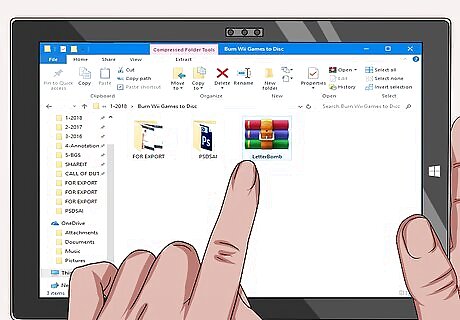
Open the "LetterBomb" folder. If you're on a Mac, doing so will display its contents. On a Windows computer, you'll have to click Extract when prompted, then open the regular "LetterBomb" folder.
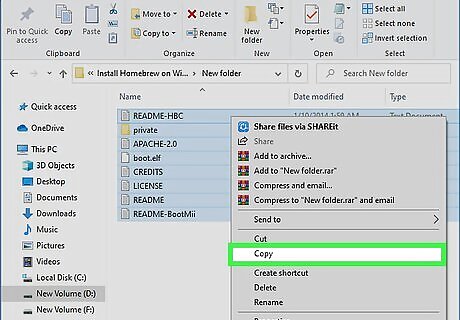
Copy the LetterBomb contents. To do so, click and drag your mouse across the files and folders in the LetterBomb folder to select them, then right-click a file and click Copy. On Mac, you'll use two fingers to click instead of right-clicking. Alternatively, click on one file in the folder, press Ctrl+A (Windows) or ⌘ Command+A (Mac) to select all of the files, and press Ctrl+C (Windows) or ⌘ Command+C (Mac) to copy the files.
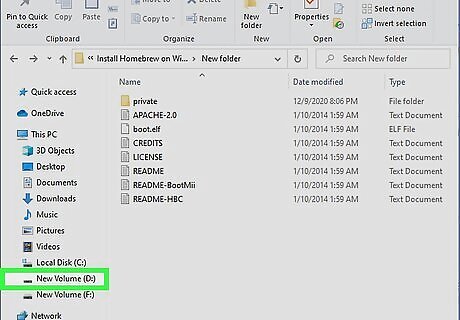
Click your SD card's name. It will be in the pane on the left side of the LetterBomb window.
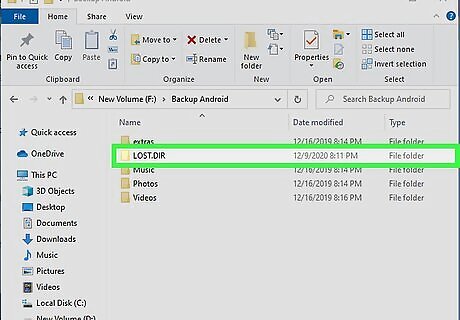
Double-click the SD card's directory folder. It should be labeled "LOST.DIR". This will likely be the only folder in the SD card; if not, just look for a folder that ends in ".DIR". You may first have to unhide folders on your computer to view the "LOST.DIR" folder.
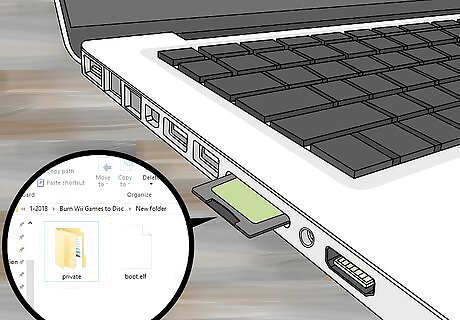
Paste the copied files into the SD card. You'll do this by right-clicking (or two-finger clicking) the SD card's blank page, then clicking Paste in the drop-down menu. Alternatively, press Ctrl+V (Windows) or ⌘ Command+V (Mac).
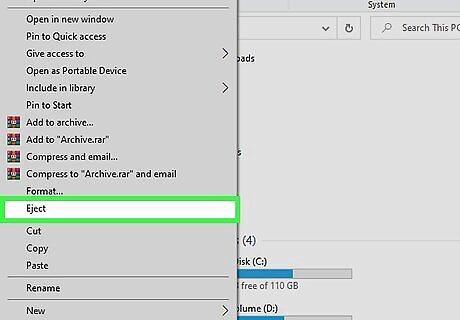
Eject the SD card. While you technically can just pull the card out of your computer, you should first eject the SD card to ensure that you don't lose any files. To do so: Windows - Right-click your SD card's name in the left-hand pane, then click Eject. Mac - Click the upward-facing arrow to the right of your SD card's name in the left-hand pane.
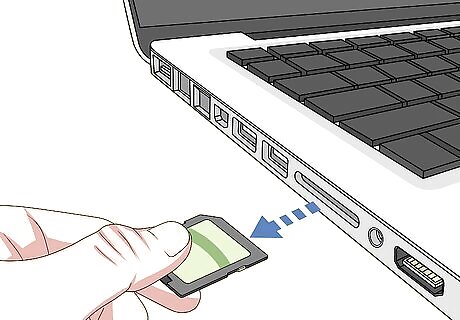
Remove the SD card from your computer. You can now prepare to install The Homebrew Channel on your Wii.
Installing The Homebrew Channel
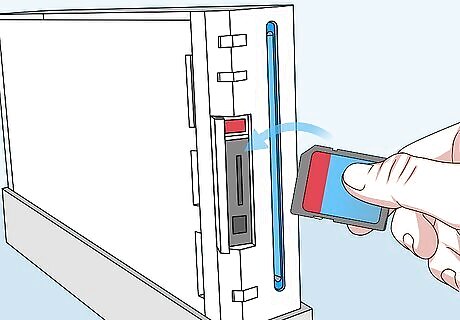
Place the SD card back in your Wii. The label side of the card should face the disc slot.
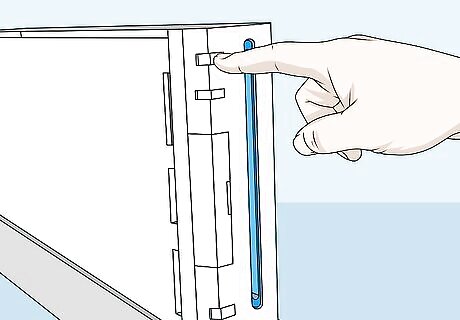
Turn on your Wii. Press your Wii's power button to do so.
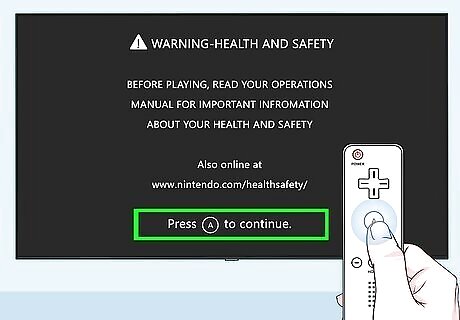
Press A when prompted. Doing so will take you to the Wii Menu.
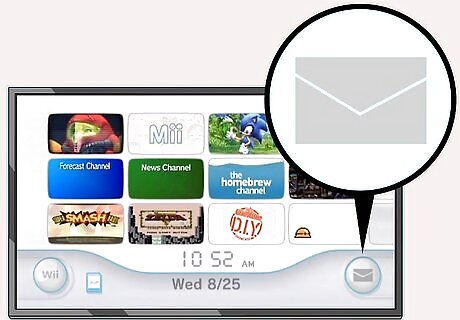
Select the Wii Message Board icon and press A. It's the envelope-shaped button in the bottom-right corner of the screen.
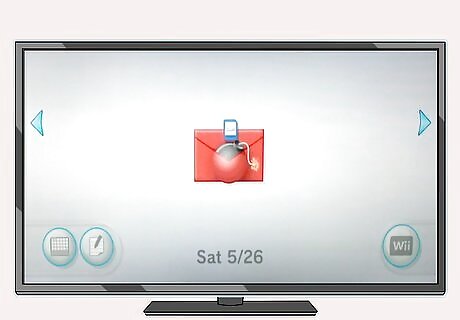
Look for a red envelope. Depending on your timezone, you'll see this icon either in the current date's folder, tomorrow's date, or yesterday's date. You can scroll left or right with the on-screen arrows or the - and + buttons to check each of these folders. The red envelope icon may take a few seconds to show up.
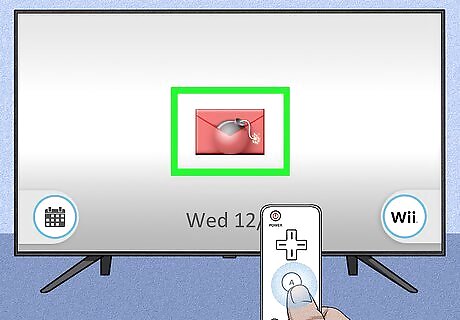
Select the red envelope and press A. You should see this icon in the middle of the screen. A black screen displaying white text will pop up, which is much like the Windows Command Prompt or PowerShell.
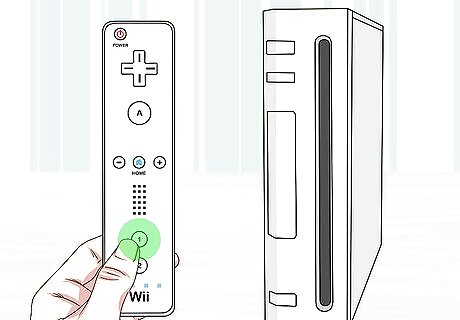
Press 1 when prompted. Doing so will take you to the HackMii Installer page.
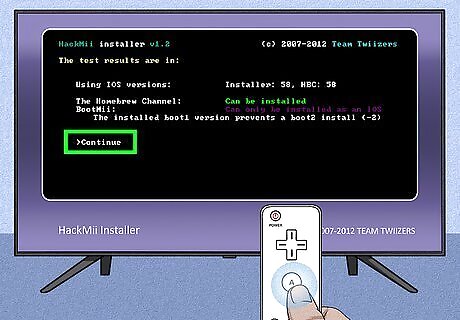
Select Continue and press A. It's at the bottom of the HackMii Installer page.
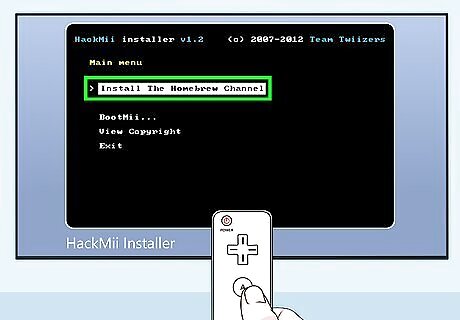
Select Install The Homebrew Channel and press A. This option is at the top of the page. Doing so will prompt The Homebrew Channel to begin installing to your Wii. You'll use the D-pad to select this option since the sensor bar won't work on this menu.
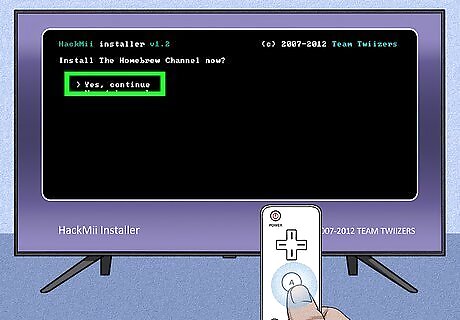
Select Yes, continue and press A. It's at the top of the page. Doing so will prompt The Homebrew Channel to begin installing on your Wii.
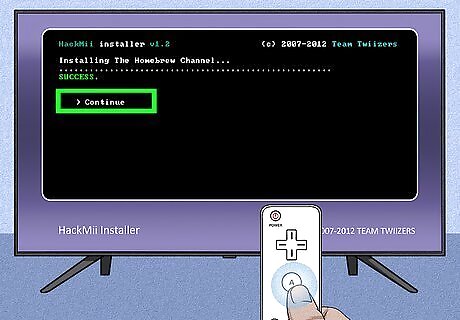
Select Continue and press A. This option will appear once The Homebrew Channel finishes installing.
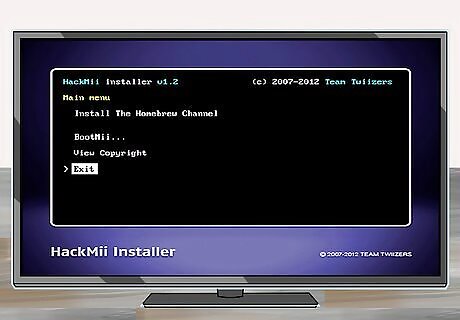
Select Exit and press A. It's at the bottom of the page. Your Wii will restart, and once it finishes rebooting, you'll be in The Homebrew Channel. You can return to the Wii's main page by pressing the Home button, selecting Exit to System Menu, and pressing A. You'll see The Homebrew Channel listed on the Wii Menu. You can open The Homebrew Channel by selecting The Homebrew Channel, pressing A, selecting Start and then pressing A.





Comments
0 comment