
Finding Your Router's Address on Windows

Click the Windows Start button Windows Start. Click the Windows logo in the bottom-left corner of the screen. This opens the Windows Start menu
Click the Settings icon Windows Settings. Click the gear-shaped icon in the lower-left corner of the Start menu.
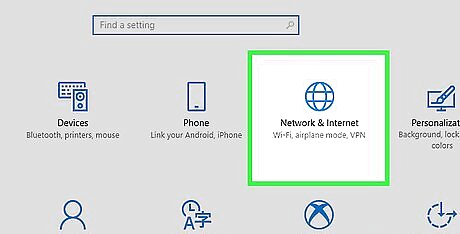
Click Network & Internet Windows Network. It's in the Settings menu. It has an icon that resembles a globe. Doing so opens the Network & Internet menu's Status page.
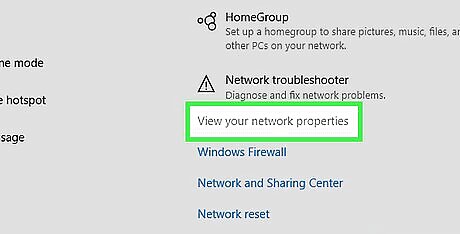
Click the View view your hardware and connection properties link. You'll find this near the bottom of the Status page. This displays the properties for all of your network connections.
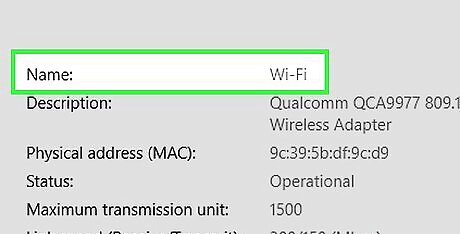
Look for a "Wi-Fi" connection. Look at each connection and check if it says "Wi-Fi" next to name. This is the Wi-Fi connection you are using. If you are using a wired connection, check the "Ethernet" connections instead. If you are not sure if the connection you are checking is the right one, scroll down and check that it says "Connected to Internet" next to "Connectivity (IPv4/IPv6):"
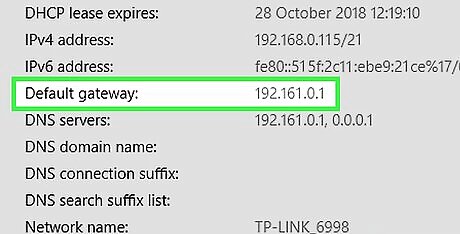
Check the "Default gateway" address. This is near the bottom of the "Wi-Fi" section, just right of the "Default gateway:" heading.
Finding Your Router's Address on Mac
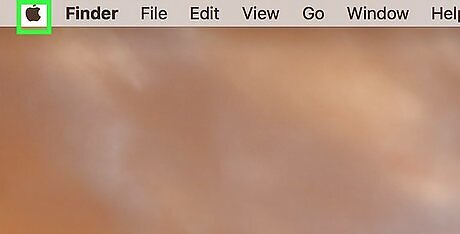
Open the Apple menu Mac Apple. Click the Apple logo in the top-left corner of the screen. A drop-down menu will appear.
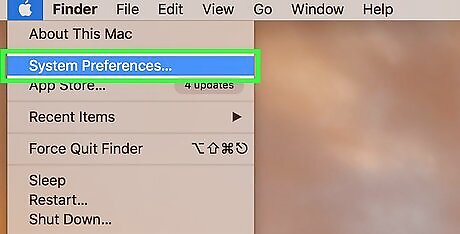
Click System Preferences…. It's near the top of the drop-down menu. The System Preferences window will open.
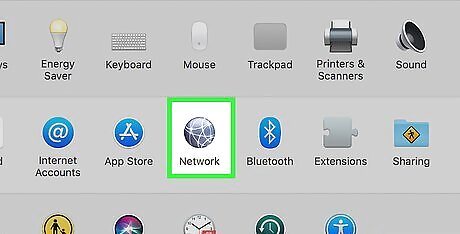
Click Network. You'll find this option on the right side of the System Preferences window.
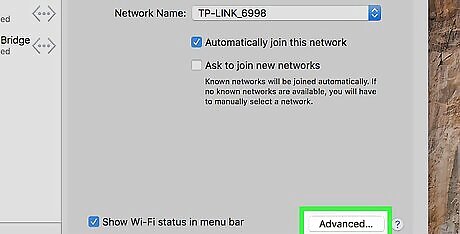
Click Advanced…. It's in the lower-right corner of the window. A new window will pop up.
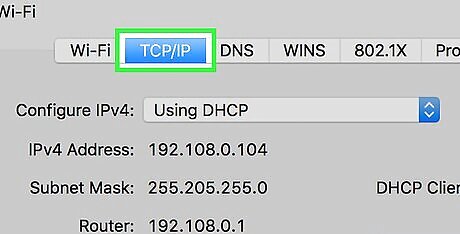
Click the TCP/IP tab. This is at the top of the pop-up window.
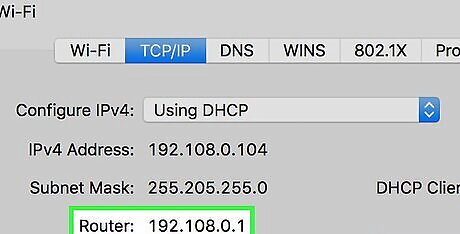
Look at the "Router" address. It's to the right of the "Router" heading near the top of the window.
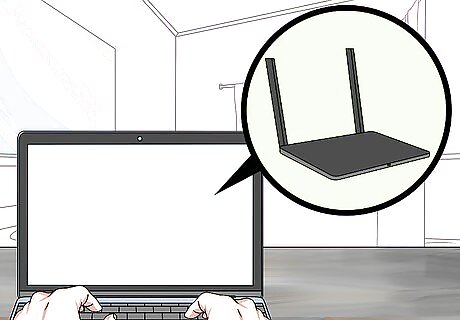
Logging into Your Router
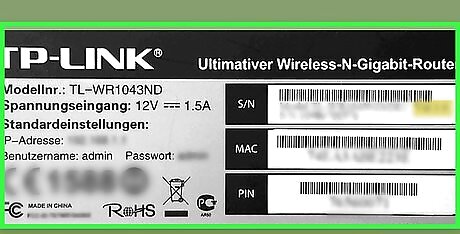
Find your router's login information. Your router generally has a sticker that contains the default username and password used to login to your router. It is usually found on the back or bottom of the unit. For most models, the default username is "admin" and the default password is "password". If your router is a very old model, the default password may be "1234". If you are using a ReadyNAS or ReadyDATA product that has RAIDiator firmware, the default password is "netgear1". If your router uses Infrant firmware, the default password is "infrant1".
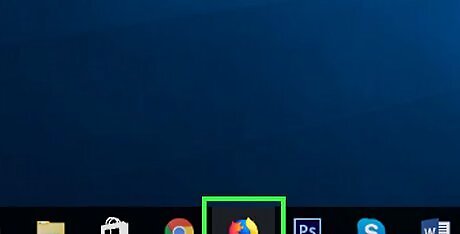
Open a web browser. Click or double-click your preferred browser's app icon. You can use any major web browser including Google Chrome, Microsoft Edge, Firefox, Safari, and more.
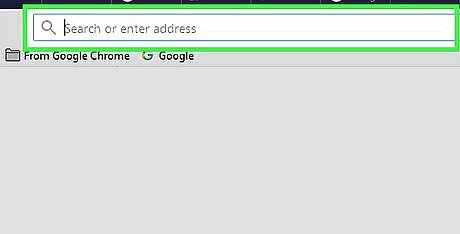
Type your router's address in the address bar and press {{keypress|Enter)}. The address bar is at the top of the web browser where you enter a web address. Enter your router's address will open the router's login page. If this doesn't take you to the router's page, you can try some common troubleshooting steps.
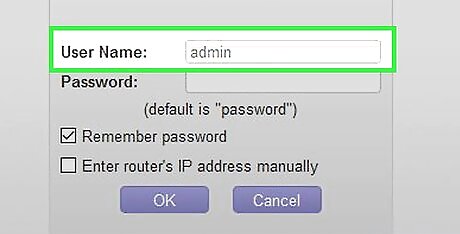
Enter admin in the "User Name" text field. Click the "User Name" or "Username" text box and type the default username, which is "admin" for all models.. If your router's sticker has a different username listed, use that username instead. Usernames are case-sensitive.
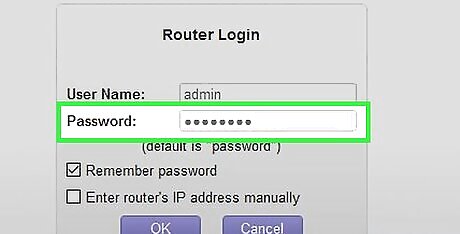
Enter your router's password. You'll enter this in the "Password" text box. For most routers, the default username is "password". If you have set a password or your router's sticker has a different password listed, use that password instead.
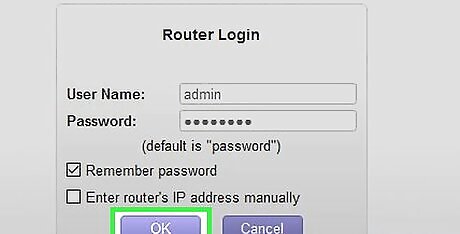
Click Log In. It's below the "Password" text field. Doing so will log you in to your router. You can also press Enter to log in.
Wait for your router's page to load. This will usually take up to a minute. Once your router's page loads, you're free to view and adjust your router's settings as needed.
Using the Nighthawk App
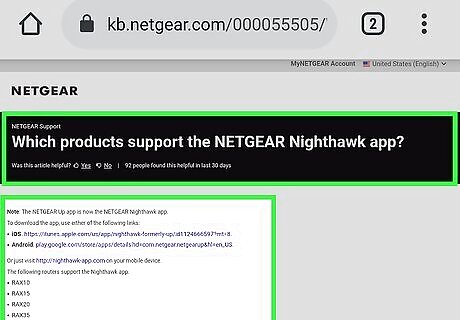
Check to make sure your router is supported by the Nighthawk app. The Nighthawk apps allows you to set up your internet, check your network status, pause the internet, run an internet speed test, set up parental controls, monitor internet traffic, update your router's firmware, and more using your smartphone. The following Netgear routers support the Nighthawk app: RAX10, RAX15, RAX20, RAX35, RAX40, RAX45, RAX48, RAX50, RAX75, RAX80, RAX120, RAX200 AC2100, AC2400, AC2600 R6020, R6080, R6120, R6220, R6250, R6250v2, R6260, R6230, R6330, R6350, R6400, R6400v2, R6700, R6700v2, R6700v3, R6800, R6850, R6900, R6900P, R6900v2, R7000, R7000P, R7000S, R7250, R7350, R7400, R7450, R7500v2, R7800, R7850, R7900, R7900P, R7960P, R8000, R8000P, R8300, R8500, R8900,R9000, RS400 XR300, XR450, XR500, XR700, XR1000
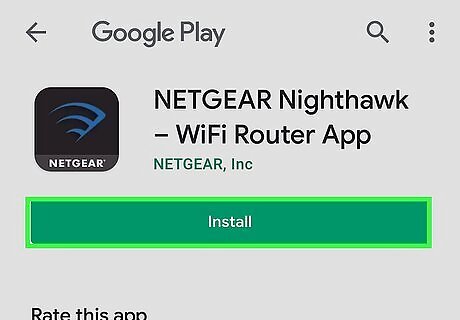
Download the Nighthawk mobile app. The Nighthawk mobile app is available for both Android, and iPhone. It has an icon that resembles three blue arcs with a line to the right. Use the following steps to download and install the Nighthawk app: Open the Google Play Store on Android, or App Store on iPhone. Tap the search tab (iPhone only). Type "Nighthawk" in the search bar. Tap Nighthawk in the search results. Tap Get or Install next to the Nighthawk app.

Open the Nighthawk app. Tap the Nighthawk app on your home screen or Apps menu to open Nighthawk. You can also tap Open in the Google Play Store or App Store once the Nighthawk app is finished installing.
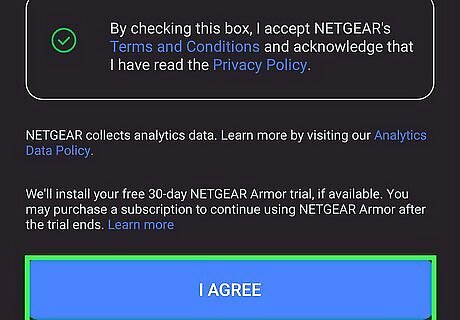
Agree to the Terms and Conditions and Privacy Policy. To agree to the Terms and Conditions, tap the radio option that says "By checking this box, I accept NETGEAR's Terms and Conditions and acknowledge that I have read the Privacy Policy." You can tap the blue text in the box to read the Terms and Conditions or Privacy Policy. Tap I agree at the bottom of the page to continue.
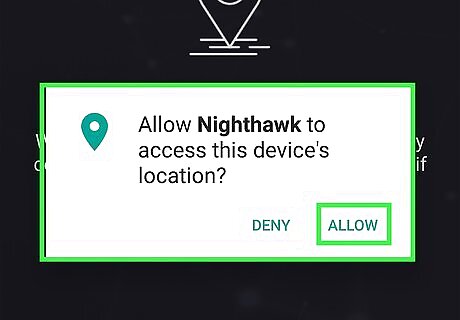
Tap Allow to allow the Nighthawk app to use your Location Services. In order to use the WiFI Auto Connect feature, the Nighthawk app needs to be able to access your phones Location Services. Tap Allow to allow the app to access your Location Services. If you don't want to allow the Nighthawk app to access your Location Services, you can tap Don't Allow. You will not be able to access all app features.
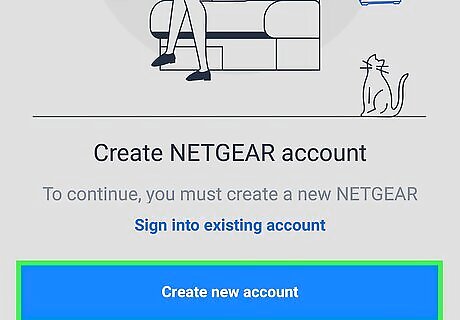
Log in or create a Netgear account. If already have an existing Netgear account, tap Sign into existing account and enter the email address and password associated with your Netgear account. If you do not have a Netgear account, tap Create new account. Fill out the form and tap Continue. You will need to provide your first and last name, a valid email address, as well as enter a password twice to confirm your password. Tap Continue when you are ready. Once you are logged into the Nighthawk app with your Netgear account, you can manage your router using the app.
Troubleshooting Common Problems
Make sure that you're connected to your Netgear router's network. You can only access the router's login page if you are connected to the same network as the router. If you are not receiving internet from your router, or are receiving internet from a different source, such as a mobile hotspot or 4G, you cannot access your router's login page.
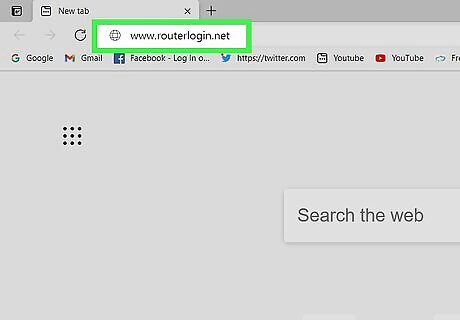
Try using www.routerlogin.net, www.routerlogin.com, or www.orbilogin.net to access your router's page. Your router may be set to login using these URL's instead of it's default IP address.
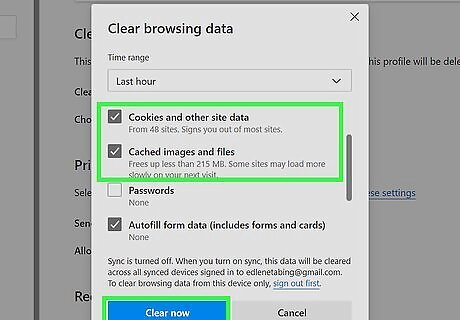
Clear your browser's cache and cookies. A lot of common internet problems can be solved by clearing your cache.


Comments
0 comment