
Making or preparing the contents of the village
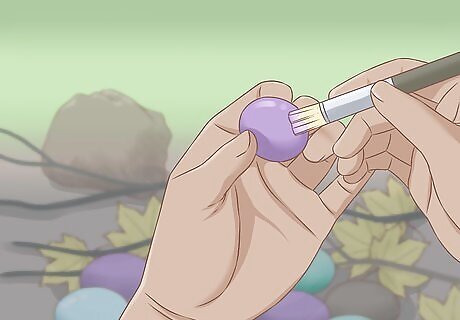
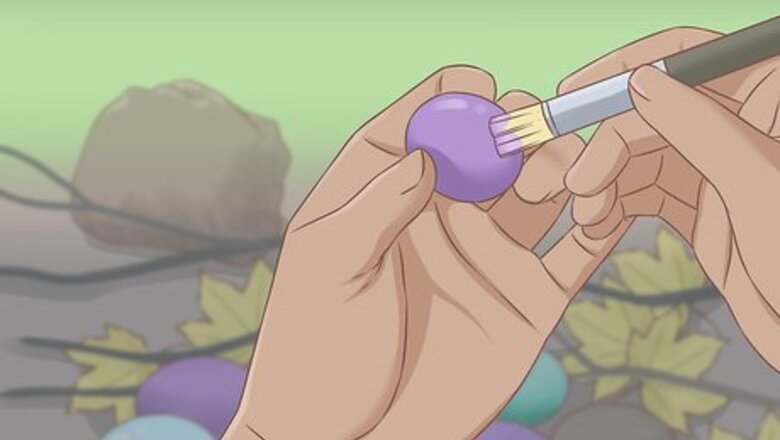
Make fairy dwellings and village items. If you're making the items rather than buying them all, it's useful to have an idea about how you'll do this. The best approach is to be very creative and to innovate as you go. The more you experiment with items you have from nature and your craft supplies, the more fun you'll have and the more unique the end result will be. Some suggestions to help you experiment include: Borrow a book or two on making miniature houses, especially ones with a focus on using items from nature. This will give you a lot of inspiration for using different sorts of materials. Modify as much as you like––there is no need to follow the instructions exactly. Use natural materials such as twigs, branches, rocks, pebbles, leaves, seedpods, nuts, straw, seeds, wood, etc. to make the dwellings, pathways and other features. The more natural the village looks, the more realistic it will be.
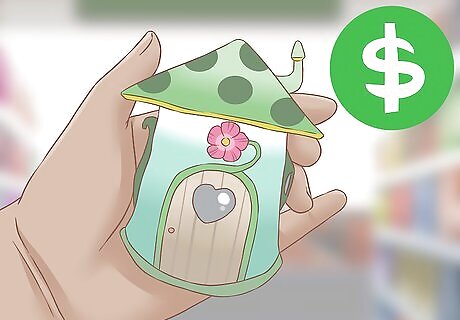
Purchase items. If you don't mind mixing things up, the fairy garden village can benefit from having a mixture of purchased and handmade items. Or, simply stick to the purchased items if preferred. Things you can purchase include miniature fairy houses, ceramic fairies, ceramic pieces such as a well, a swing or a tower and dollhouse items of all sorts. The main thing is to only use items that can withstand being outdoors and getting weathered. Some suggestions for locating items include: Visit charity, thrift and used goods stores. Many miniature items can be found in such places for a bargain price, and you can have lots of fun rummaging about for the best pieces. Check out hobby or toy stores, including ones online. Look for fairy designed items and for dollhouse things. See what crafters have to offer on sites such as Etsy, eBay and their own personal online stores. You might find some lovely items for sale that are just perfect for your fairy garden village.
Putting the Fairy Garden Village Together
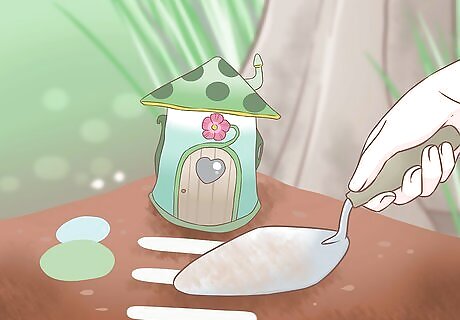
Assemble the fairy garden village. Follow your design ideas and begin putting the dwellings, other buildings, feature items and pathways in place. If what you planned on paper doesn't look as good when placed in the garden, continue to make adjustments until you're happy. Often the way that plants are growing, the level of the soil or the limitations of the site chosen will form part of how you assemble the items as a whole, so go with the flow and add things in the way that looks best. This step is a great time to include your children in adding the items to the garden. In this case, just let them make the choices about where the little items will go––remember that their view of the world is much lower and more intimate than yours and they'll find this a very special and fun activity to do.
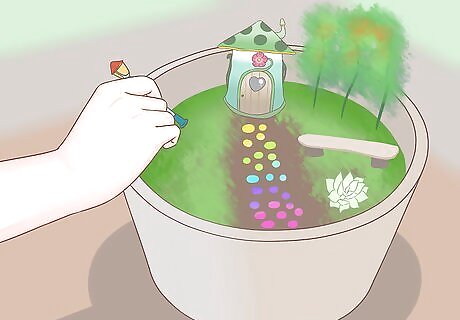
If using ceramic or other outdoor-suitable miniature fairies, arrange them in the village after it has been built. It will be easier to see where they fit in best once the buildings, pathways and other features are already in their places.
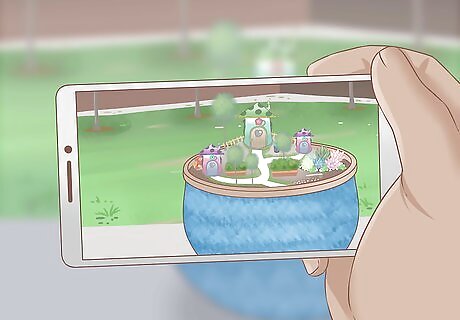
Stand back and admire the crafting of your fairy garden village. Take a photo and post it online for others to see. Then let the fairies get on with their business. If you're really lucky, you might spot one moving from the corner of your eye...


Comments
0 comment