
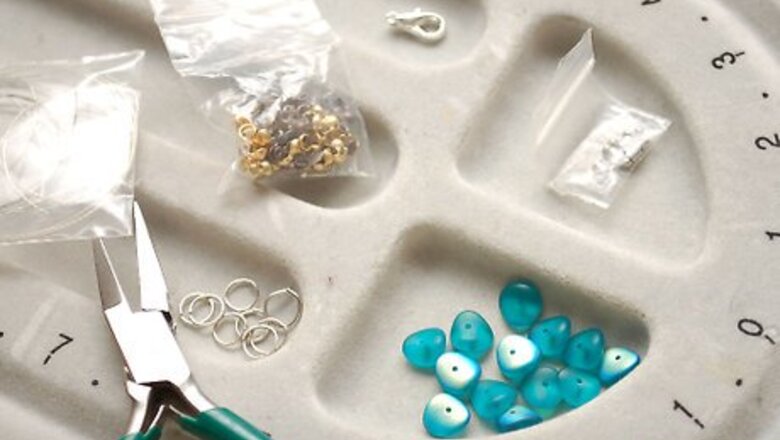
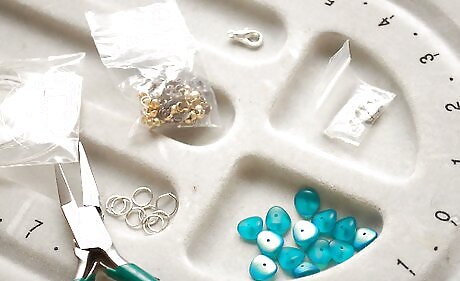
Gather the materials listed in the "Things You'll Need" section.

Attach the clasp to one end of the string. Slide a crimp bead and the clasp onto the string. Push the short end of the string through the crimp bead to form a loop. Pull it tight. Using flathead or crimping pliers, crimp the bead so the clasp is secure. Cut the excess string using wire cutters.
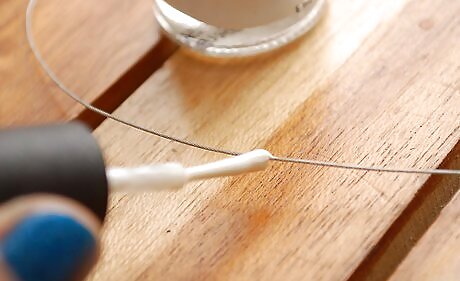
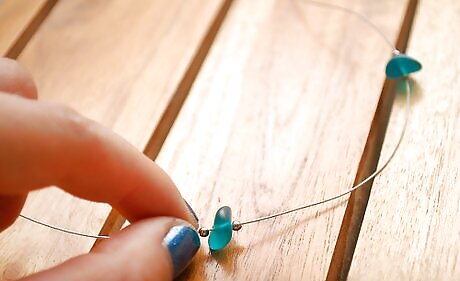
Decide how much space you want between your beads. To mark the location of the beads, use White-Out or a similar correction fluid to make small marks on the string.

Put one crimp bead on the string where you want a glass bead. Flatten the crimp bead with your pliers.
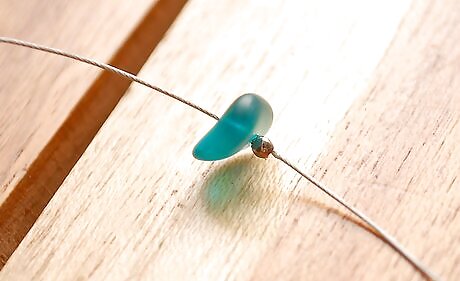
Slide on the glass bead.
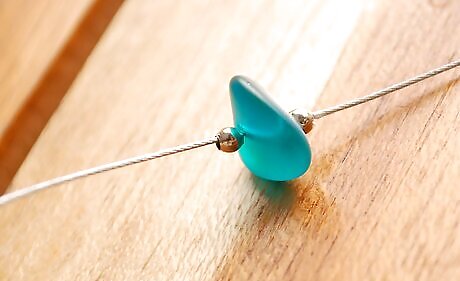
Put on another crimp bead. Make sure the glass bead is secure between the two crimp beads, and then flatten it with your pliers.
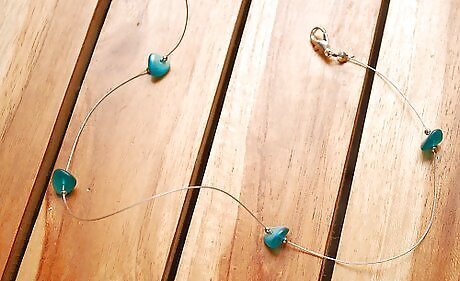
Continue to attach beads until you have finished the necklace. Leave about two inches of string at the end to attach the other part of the clasp.
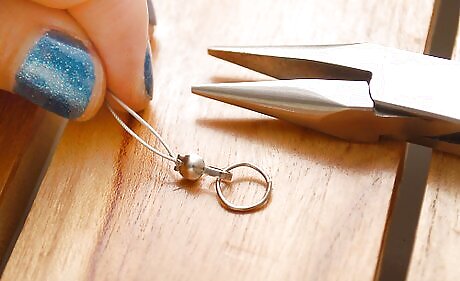
Repeat step two with the jump ring. This is what you will attach the clasp to in order to close the necklace.
If you used White-Out to mark the beads' location, scratch it off with your nail once it dries.
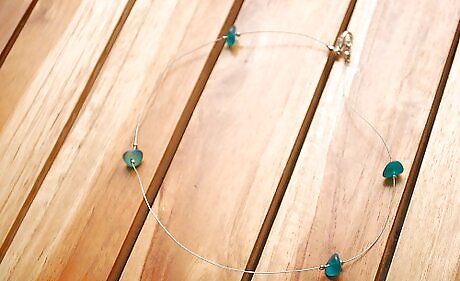
Finished.


Comments
0 comment