views
Making a Disappearing Handkerchief Box
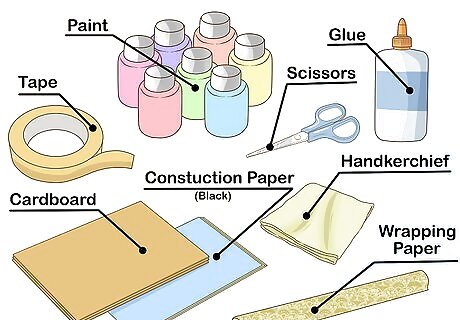
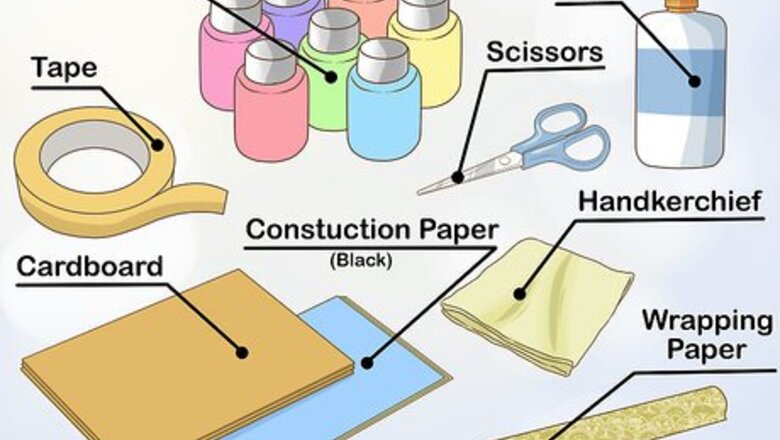
Gather the necessary materials. To make a disappearing handkerchief box, you’ll need to gather several household items: Thin cardboard or posterboard Tape Scissors Handkerchief Paint, wrapping paper, and other decorative items Glue Black construction paper or black paint
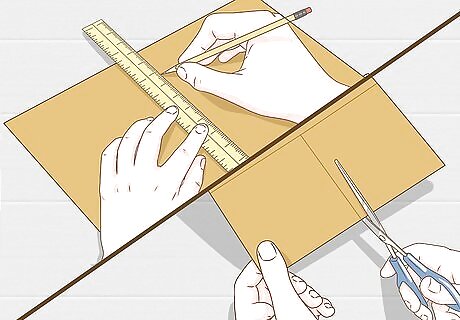
Measure and cut out squares from the cardboard. Use a ruler and pencil to mark out your squares, and cut them out using a pair of sharp, sturdy scissors. You can make your magic box any size that you want, but you’ll need six squares of the same size no matter what their size. For a manageable small box, measure 4”-6” squares.
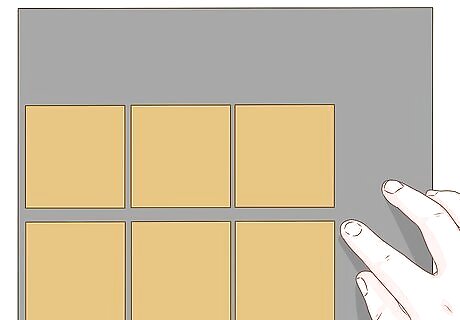
Make one side of the squares black. You can do this by gluing the cardboard squares onto the black construction paper or by painting one side with black paint. For one square, glue black paper to or paint both sides. Paper may be preferable, as it is the same color and texture throughout. You also don't have to worry about smearing the paint. If you glue your squares to construction paper, allow the glue to dry. Then cut them out and trim the excess paper from the edges.
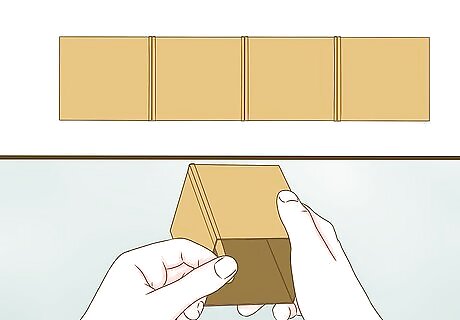
Tape the edges of four squares together. Place four squares on your work surface with the black side down. Tape their edges together, then bring the last two sides together to form a box. Place a strip of tape on the outside of that edge too. Don’t use the double-sided square for this step.
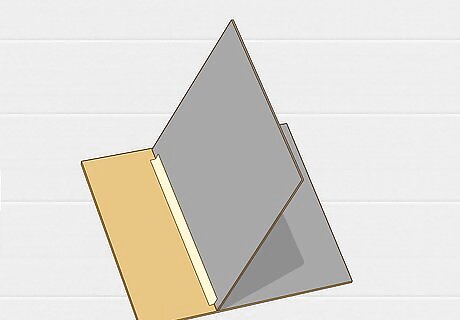
Form the secret compartment. Place the remaining single-sided cardboard square on your work surface with the black side face up. Place one edge of the double-sided square about ⅓ of the way from one edge of the square. Secure with tape on that side to form a hinge.
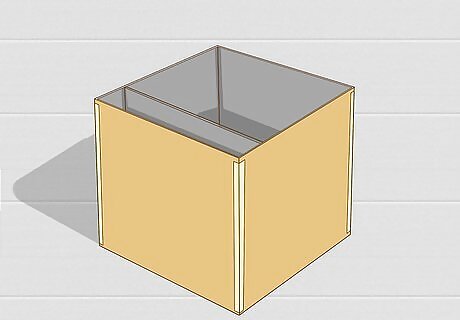
Put the box together. Slide the four-sided box you made in Step 4 over the secret compartment piece. The double-sided square should create a flap inside the box and should be able to move freely back and forth. Secure at the bottom with tape. If the flap isn’t able to move, trim the edges just a little bit. Don’t trim too much, or you’ll ruin the illusion.
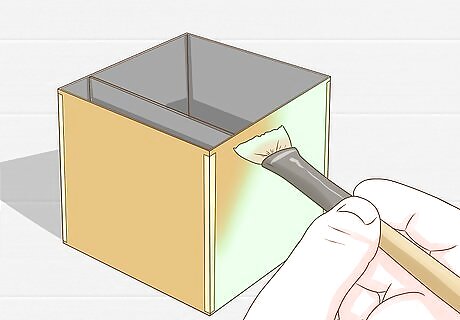
Decorate the outside of the box. Use paint, wrapping paper, and/or stickers to decorate the outside of the box. Make it as colorful as you can; the vivid colors and patterns will help distract your audience as you perform the trick.
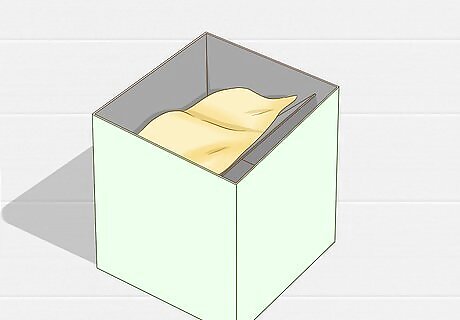
Prepare the box for your trick. Push the flap forward to open the secret compartment, and place a handkerchief inside. Then, push the flap back into place. Hold the box by the side where the flap connects so the compartment stays closed.
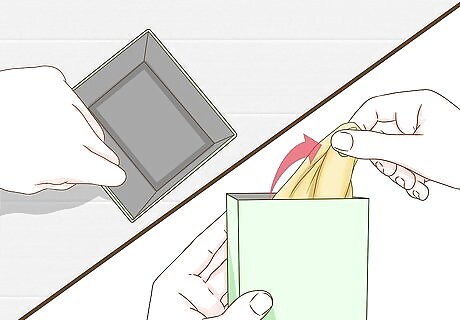
Perform the trick. Show your audience the “empty” box while you hold the secret compartment closed with your hand. Then, reach into the box, behind the flap, and pull out the handkerchief. Voila!
Making a Magic Coin Matchbox
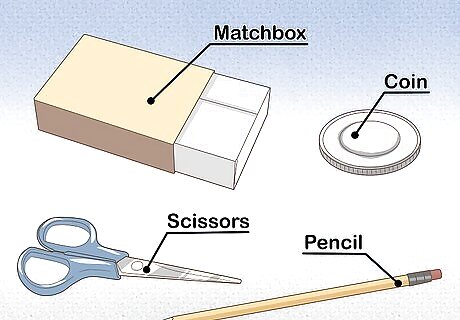
Gather the required materials. All you need for this box is a matchbox (not a matchbook), some small scissors, a pencil, and a small coin such as a penny.
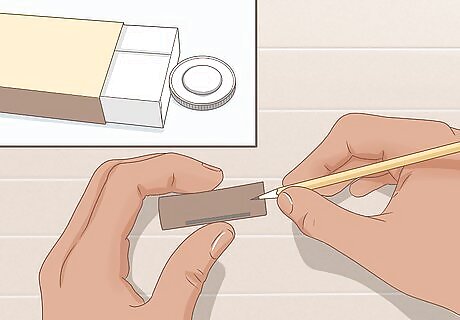
Mark the size needed for the coin flap. Put the coin up against one short side of the matchbox “drawer” and mark its edges on the box with the pencil. This will help you make sure that the flap is just large enough for the coin to slip through.
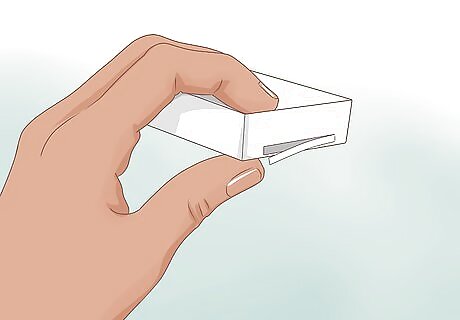
Cut out the flap. Use the scissors to make three cuts at the bottom of the drawer to form a flap. Leave one side intact to serve as a hinge.
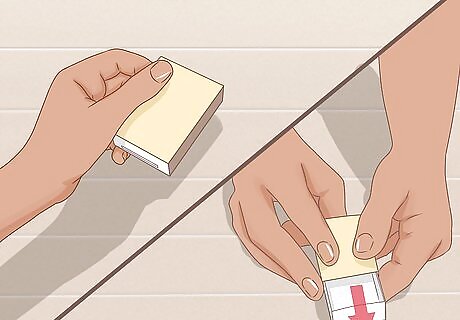
Prepare for the trick. Hold the matchbox with the flap side facing you so that your audience can’t see it. Show the coin and the box to your audience. Make a big deal about the box being empty. Shake it to prove there’s nothing inside.
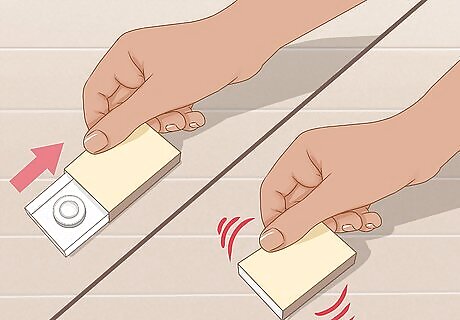
Open the box and drop the coin inside. Close the drawer and shake the box, letting your audience hear the coin rattle around inside.
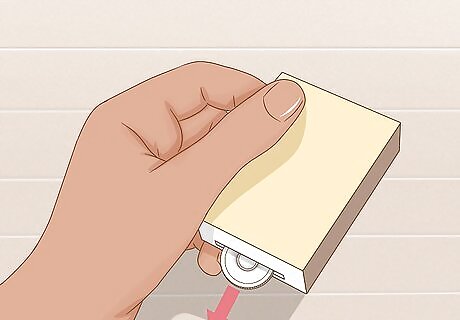
Slip the coin out through the flap. Be careful not to let the audience see this part! Practice the trick in private until you can get the coin out through the flap without any sign of what you’re doing.
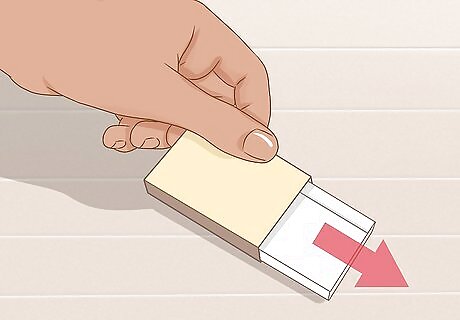
Take the empty box with your free hand and show it to the audience. Slide out the drawer and dramatically proclaim that the box is empty. Ta-da!
Making a Disappearing Card Box
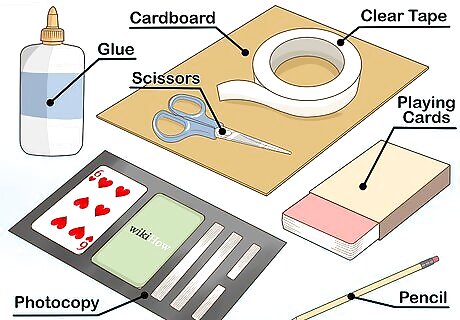
Gather the necessary materials. To make a disappearing card box, you’ll need the following materials: A real deck of playing cards Thin cardboard or posterboard Clear tape Glue A pen or pencil Scissors or a craft knife Color photocopies: 1 of the front of a playing card, 1 of the back of a playing card, 2 of the long edges of the card deck, and 1 of the short edge of the card deck
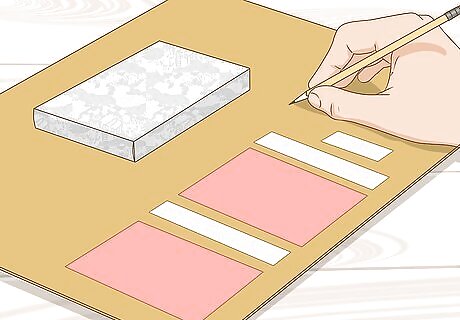
Trace the sides of the "real" card box onto the cardboard. For this trick, you will create a box insert that looks a deck of cards -- a "fake" deck. The fake deck will be inserted into the real card box. Place the bottom edge (the short narrow side) of the card box onto the cardboard and trace around it. Place the box on its long narrow side and trace around it. Repeat this process a second time. Place a playing card on the cardboard and trace around it. Repeat this process a second time. You should now have one short rectangle, two longer rectangles, and two rectangles the size of playing cards traced onto the cardboard. Use a craft knife or scissors to cut out the rectangles.
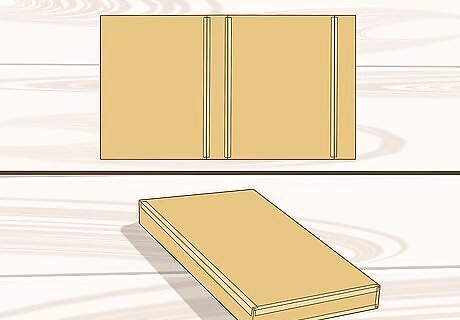
Tape the sides of the fake deck together. Alternate the playing-card-sized rectangles (A) and long thin rectangles (B) like this: A B A B. Tape them together. Next, bring the untaped edges of the fake deck together to form a box shape. Tape those edges together. Tape the short rectangle to the bottom edge of this box.
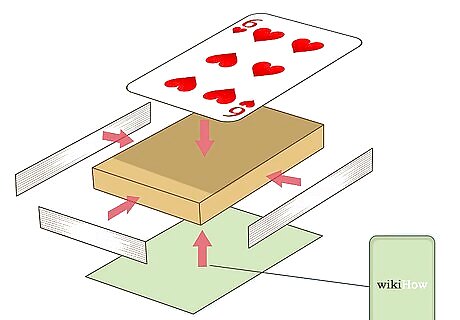
Cut out and glue the photocopies to the fake deck. This is where you create the illusion of the “deck” that you’ll make disappear. It's actually an empty box that you'll insert into the real box. Glue the photocopy of the front of the playing card (the "face," such as the Jack of Diamonds) to the front of the fake deck. Glue the photocopy of the back of the playing card (it usually has some sort of pattern) to the back of the fake deck. Glue the photocopies of the deck edges (the ridged edges of the cards when they’re held as a stack) to the sides of the fake deck. You should now have a box that’s open at the top and looks like the front and back of a playing card, but much thicker.
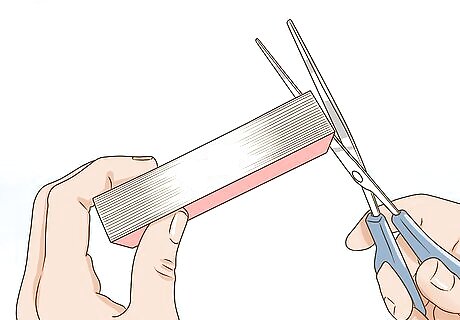
Trim any ragged edges. For this trick to work, the fake deck needs to look as realistic as possible, so trim any ragged edges from where you glued on the photocopies.
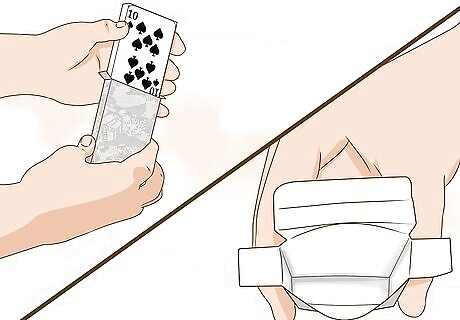
Perform the trick. You'll perform this trick by making your audience believe that the fake deck you just made is a real deck of cards. Because the fake deck is actually an empty box you insert into the real box, when you open the real card box after putting in the fake deck, it will look empty! Place one or two real playing cards on top of the fake deck. Hold the fake deck vertically, keeping the open top facing upwards. Cover the open top with your fingers. Show the audience the “deck,” keeping the real cards fanned out in front of the fake deck. Slide the fake deck into the real box, keeping the open top facing upwards. Do some tapping and say a few magic words. Be very showy about it Then, open the real box to reveal that it's "empty"!










Comments
0 comment