views
Creating a Bracelet with a Loom
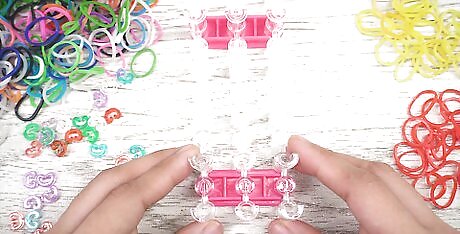
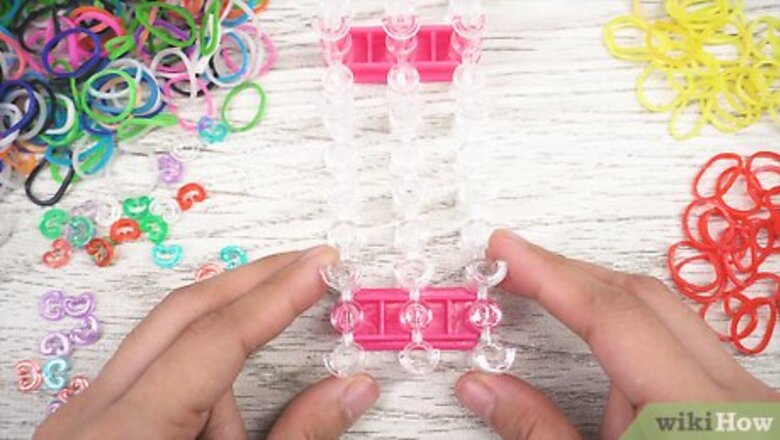
Place your loom down with the red arrow facing away from you. After placing down your loom, the curved sides of the pins should be facing you. The pins are used to hold your bands in place as you attach them. Purchase a loom kit from a crafts store or online supplier.
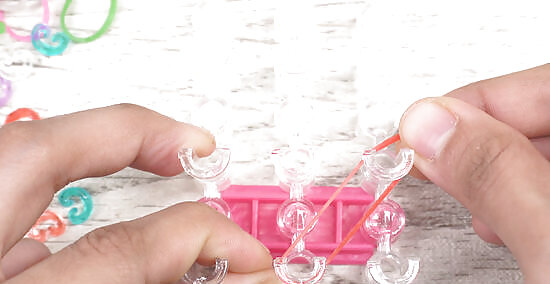
Wrap a red band from the first middle pin to the outside pin. Place the band around the middle pin closest to you. Now, stretch it outward to the right outside pin closest to you. Afterward, push the band down so it's firmly wrapped around each pin. Check that your band creates a diagonal line pointing to the upper-right.
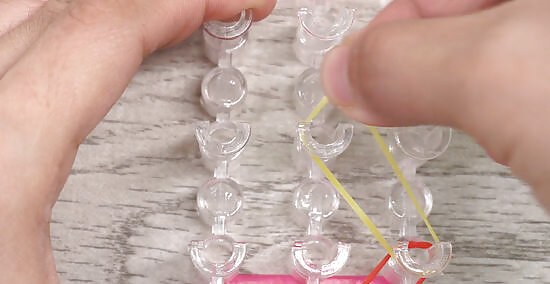
Connect a yellow band from the right outside pin to the closest middle pin. Wrap the band around the right outside pin closest to you, which is the one with the last red band connected to it. Now, pull it over the middle pin to the left that's closest to it. Press the band down after connecting the 2 pins.
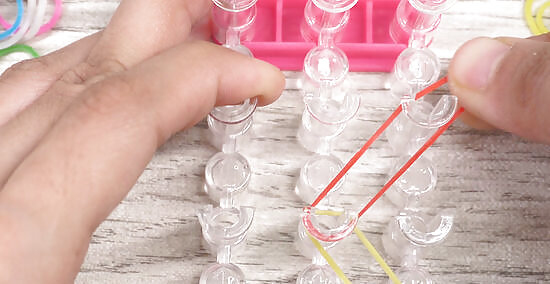
Stretch a red band from the middle pin to the closest right outside pin. Connect a red band to the middle pin that you just wrapped the yellow band around. Now, pull it to the closest outside pin on the right. Check that you have 2 parallel red bands pointing to the right.
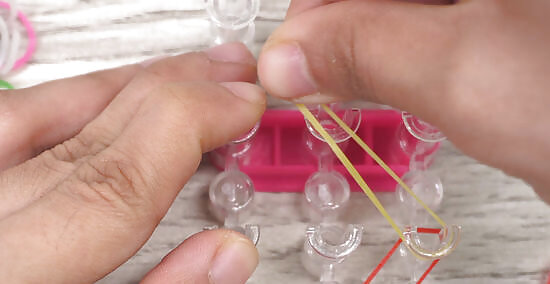
Connect the right outside pin to the closest middle pin with a yellow band. Wrap a yellow band around the right outside pin that you just connected the last red band to. Afterward, pull it over the closest middle pin on the left. Press the yellow band down after you're done.

Continue attaching your bands in a zigzag pattern while alternating colors. Take care not to twist the bands as you place them on the pins. Afterward, you should have a vertical row of 13 red colored bands pointing to the upper right and 12 yellow colored bands pointing to the upper left. Check that all of the bands are pressed down and untwisted.
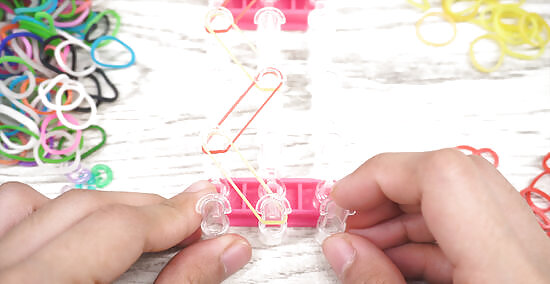
Turn the loom so that the red arrow points toward you. After turning the loom, the pattern of red and yellow bands should remain the same—the former pointing to the upper right and the latter to the upper left. But now the bands should be covering the 2 leftmost rows of vertical pins. Press down any rubber bands that aren't firmly wrapped around the pins.
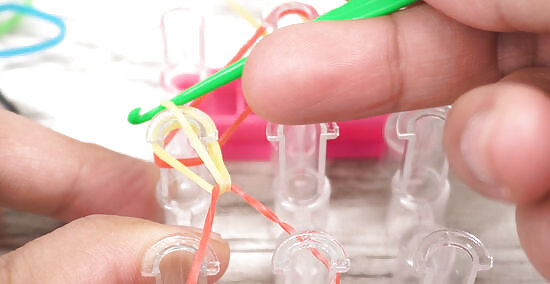
Loop the yellow band on the middle pin over the closest pin on the left. Start from the middle pin, which is the one closest to you with both a red and yellow band on it. Now, use the back of your hook to pull the red band back toward you. Afterward, grab the yellow band with your hook and pull it over the red band and around the closest pin to the left. Notice how the yellow band forms a teardrop shape. Always hold the hook with the open side facing away from you and use the flat part to pull the bands back as you loop them.
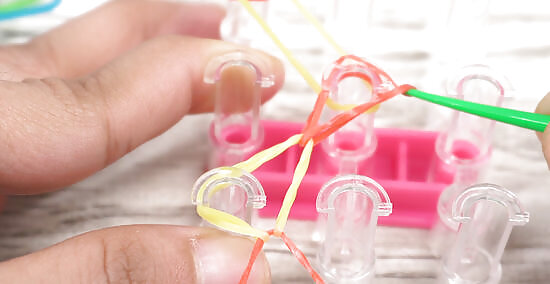
Loop the red band on the left pin over the closet middle pin to the right. Place your hook in the channel of the pin you just looped the yellow band over. Press the yellow and red band back toward you using the flat part of the hook. Now, grab the red band with the hook, lift it up and over the yellow band, and loop it over the closest middle pin to the right. Tilt the hook forward and lift it up after wrapping the red band to release it.
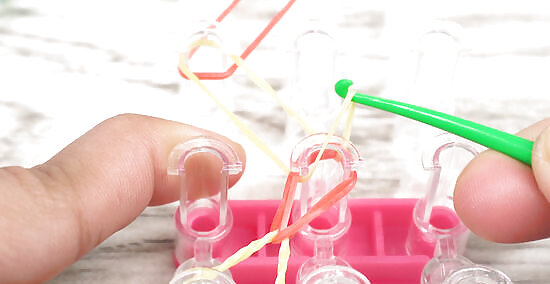
Continue looping your bands until you've done them all. Repeat the looping process to connect all of your bands. Always grab the bottom band of the pin, lift it up and over the last band you wrapped, and wrap it over the closest diagonal pin in the appropriate direction. Be sure that all of the yellow loops are on the left and all of the red loops are on the right.
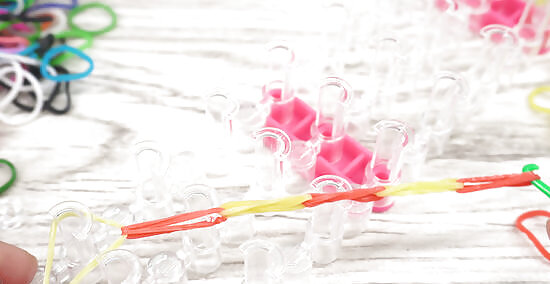
Remove the bracelet from the loom and connect each free end with a c-clip. Slide your hook down through the channel of the last pin, which should be the topmost center pin. Now, pull the band out to the closest pin on the right and wrap it around it. Attach your c-clip to the top-right of the elastic with the open side facing toward you. Afterward, lift your bracelet from the loom. Finally, connect each free end of your band with the c-clip. Repeat this process for as many bracelets as you want!
Making a Bracelet with Your Fingers
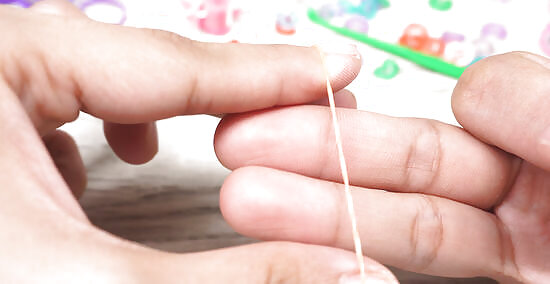
Wrap an orange band around your ring and middle fingers. Hold your dominant hand in front of you with your ring and middle fingers extended horizontally. Now, wrap your band around them both so that it runs vertically between them. If you're using your right hand, your fingers should be pointing left. If you're using your left hand, they should be pointing right. Use whatever rubber band colors you like, but be sure to keep track of them throughout the weaving process!
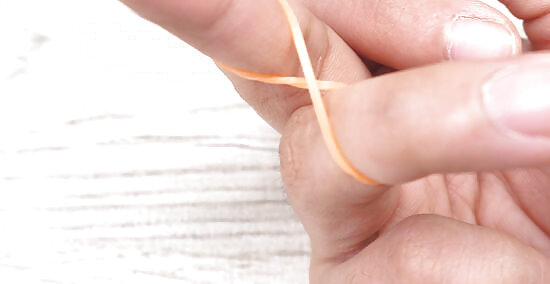
Twist 1 side of the band to make an 8. Place the index finger of your non-dominant hand against the band closest to you and push it outward. Now, twist it 180 degrees and place it back onto your finger. After turning the band, you should have an 8-shaped band with each loop of the 8 attached to your ring and middle fingers.
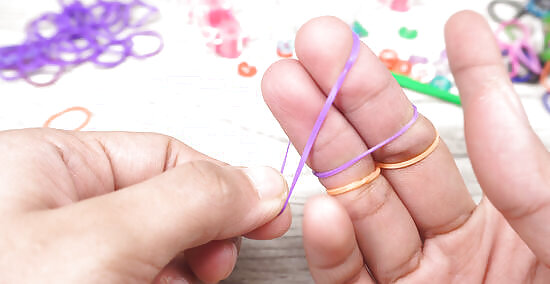
Wrap 2 purple bands around your ring and middle fingers. If you'd like, switch purple to another color. Extend the middle and ring fingers of your dominant hand horizontally and wrap the bands around them to connect your fingers vertically. Check that your 2 purple bands are closest to the tips of your fingers and the orange is closest to your hand.
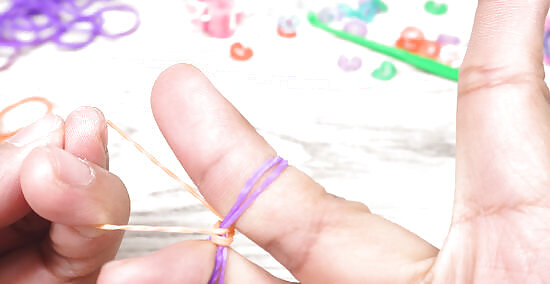
Pull the loops of the 8-shaped orange band over the 2 purple bands. Start by placing your finger into the bottom loop of the orange band with your index finger and pull it outward to make it bigger. Now, pull it over your ring finger and wrap it around the 2 purple bands. Repeat the same with the top loop: pull it over your middle finger and wrap it around the 2 purple bands. Check that you have 1 orange band wrapped around 2 purple bands.
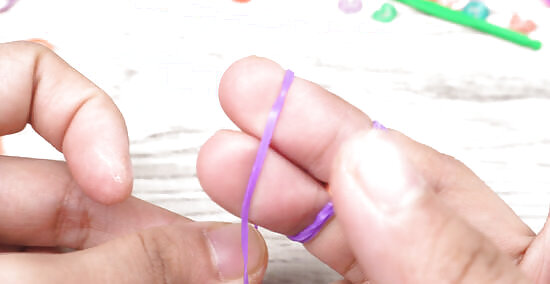
Wrap another purple band along the tips of your fingers. Make sure the purple band connects your ring and middle fingers horizontally. Keep this band closest to the tips of your ring and middle fingers. Don't twist this elastic into an 8-shaped pattern.
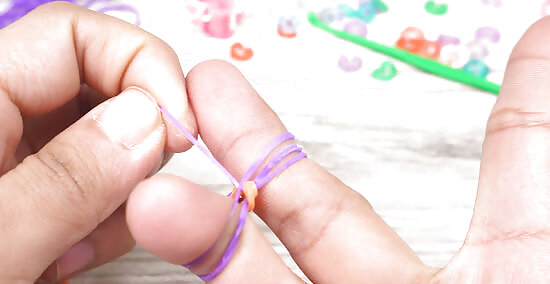
Pull the loops of the bottom band over bands above it. Start by grabbing the lowest loop of the band closest to your hand, pull it over your ring finger, and wrap it around all the other bands. Now, pull the topmost loop over your middle finger and over the other bands. Check that you have 2 looped bands between your ring and middle fingers—1 orange and 1 purple.
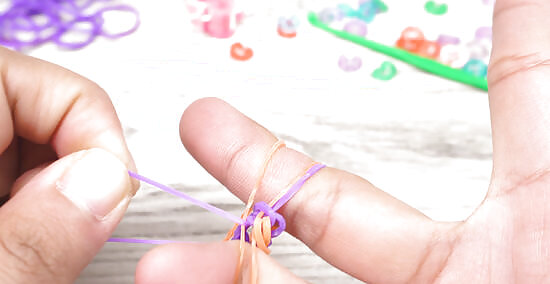
Continue this process until you have the right length bracelet. You should have 3 elastics of 1 color around your fingers at any given time—use this to determine what the next color should be. For example, at this point, you should have 3 purple bands and 1 orange band, so the next 2 elastics should be orange. Keep pulling each loop of the band lowest on your fingers—closest to your hand—over your middle and ring fingers and wrapping the band over the other bands above it. Periodically pull your bands down your fingers and closer to your hand as your progress.
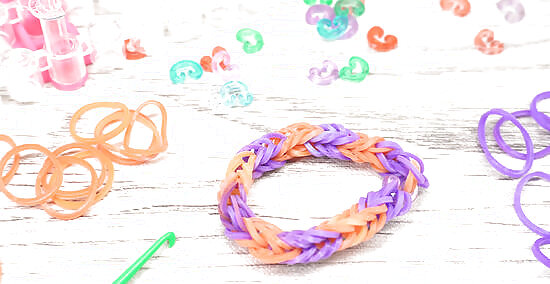
Connect the free ends of your band with a c-clip. Wrap a c-clip around one free end of your band. Now, wrap it around the remaining free end and press it together. You can also bend a paperclip around the free ends to connect them or tie each end together with a small piece of string.


Comments
0 comment