
Attatching Felt Elf Ears to a Hat or Headband
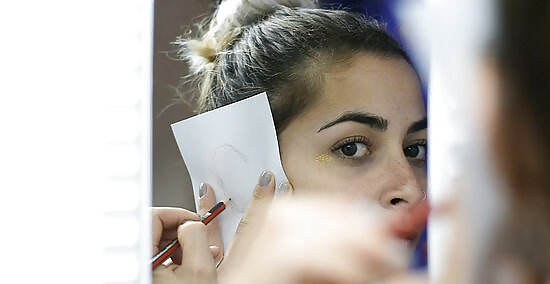
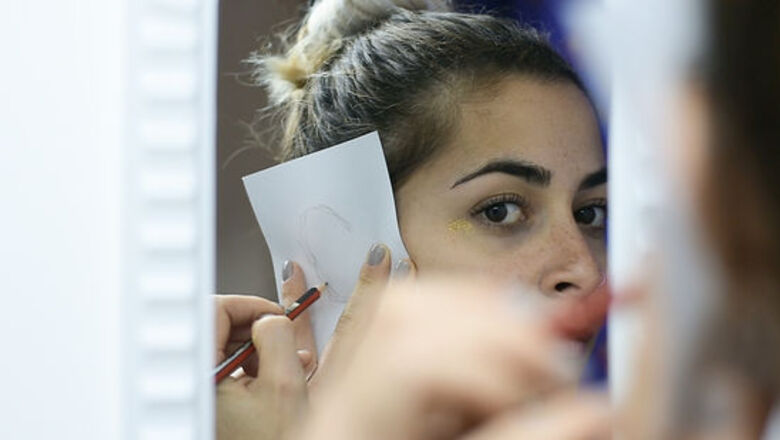
Hold a piece of paper over your ear and trace the general shape with a pencil. While looking in a mirror, hold a piece of paper against your ear. With your free hand, lightly outline the general shape of your ear onto the paper. Don’t worry about the sketch being perfect as you will just be using it as a guide for sizing your template. Ask a friend or family member to help you trace the shape of your ear to make the process easier.
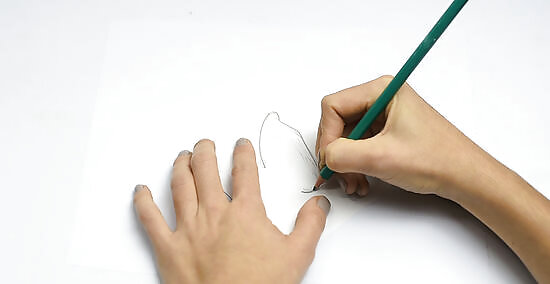
Draw an elf ear around the outline of your ear and cut it out. Use a pencil and a piece of paper to sketch the general shape that you want your elf ears to be. The key is to create a pointy, almost triangular point, on the top of the ear. Make the points of the ears long and tapered, or short and stout. Then, use scissors to carefully cut out the elf ear so you can use it as a template. Alternatively, conduct a general image search online for an elf ear template, and then print one that matches the style and shape you have in mind. Just make sure to size the width and length of the image to the outline of your ear. Otherwise, it may not cover your ear.

Trace the template onto a piece of felt 4 times and cut them out. Choose a felt color that is close to your skin tone. Lay your template along the edge of one side of the piece of felt to reduce waste, and trace it with a pencil or fabric marker. Lift the template and move it to the next section of felt, and repeat the process 3 more times. Then, carefully cut out the 4 shapes. These will be the layers for the elf ears. Be careful not to create a thick line if you are using a fabric marker, as it might bleed through the felt. You can purchase felt at a local craft store or online with major retailers. Instead of felt you can also use colored construction paper or even a thin piece of crafting foam. Both of which can be purchased at a local craft store or online with major retailers. If you are unable to find a material that is close to your skin tone, consider tracing the shape onto a plain, white piece of paper, and using colored pencils or crayons to color it to match your skin tone.
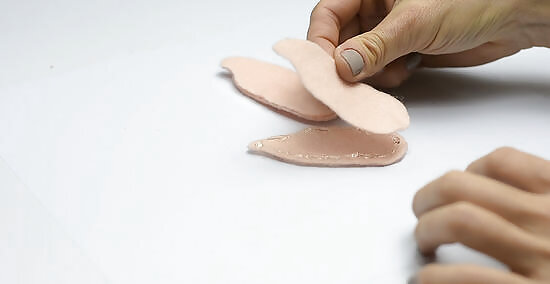
Secure 2 of the felt cutouts together by piping hot glue around the edges. Outline 1 of the felt cutouts with hot glue. Then, rest a second felt cutout on top of the first. Line up the shape and edges of the 2 felt cutouts, and then press down to secure. Allow the hot glue to dry for 1-2 minutes. The layered felt will make the ears more sturdy. Repeat this process for the other 2 felt pieces. Just make sure to layer the pieces so you wind up with a left and a right ear if the elf ear shapes are not symmetrical. To make the ears bendy, lay small pieces of thin, jewelry wire along the edge of the ear before piping on the hot glue. When assembled, you will be able to bend the wire within the ear to shape it. Alternatively, leave the bottom edge unglued and open if you want to slip the felt ears over your own ears.
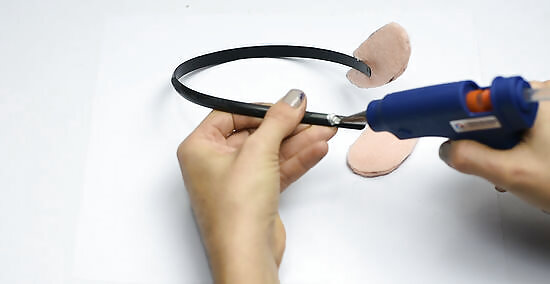
Use hot glue to attach the ears to a festive hat or a simple headband to wear. Make sure the ears are evenly positioned on the sides of the hat or headband and then place a dab of glue on each spot. Press the ears to the blobs of hot glue, and allow it to dry for 1-2 minutes before wearing it.
Transforming Your Ear Shape with Tape
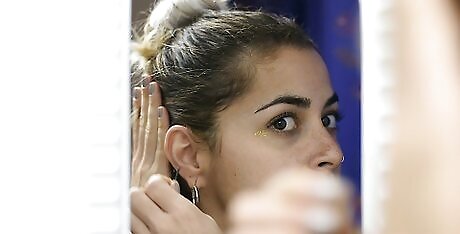
Clip or tie back any hair around your ears to keep it from sticking to the tape. While looking a mirror, use hair clips or hair ties to move and secure your hair away from both of your ears. You will be applying tape to your ears, so you do not want strands of your hair to stick to the adhesive. If you have short hair, consider putting on a skullcap to protect the short pieces of hair around your ears.
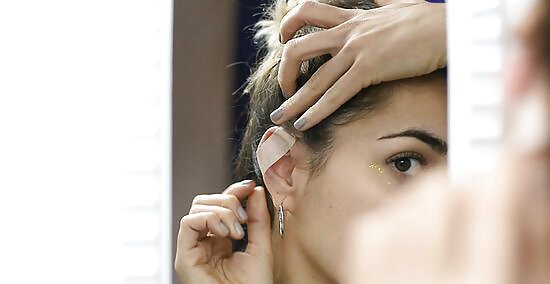
Place a piece of tape that is 2–3 in (5.1–7.6 cm) across the top of your ear. Use either clear or masking tape to do this. Begin by placing the tape at the cross-section where the top of your ear attaches to the side of your head. Bring the piece of tape horizontally across the front of your ear from that point, and secure it just slightly behind your ear. Tear away excess tape as needed. Be careful not to bend or contort the shape of your ear to avoid cutting off the blood flow through your ear. Refrain from using tape that is wide and has a strong adhesive, like packaging tape, as this will be difficult to apply and will be hard to remove. Similarly, avoid using painter’s tape to do this, as the adhesive may not withstand the oils produced by your skin.
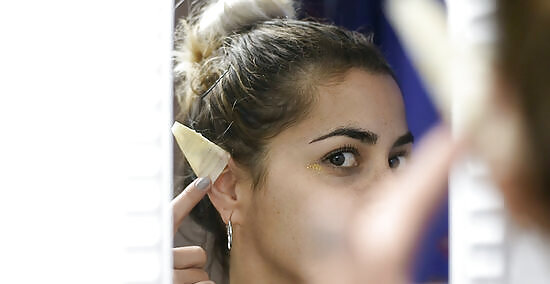
Add 4-5 more tape layers, moving each piece higher to form a point. Place additional layers of tape, each a little higher than the last, across the top of your ear. After few layers, the tape will look like mummy wrappings across your ear. Once the layers start cresting beyond your ear a bit, pinch the excess tape to form a point. Continue building layers of tape until the top of your ear is concealed, and you are satisfied with the shape of the point. Repeat this taping process for your other ear. Try to shape the point of the ear similar to the first one you created.
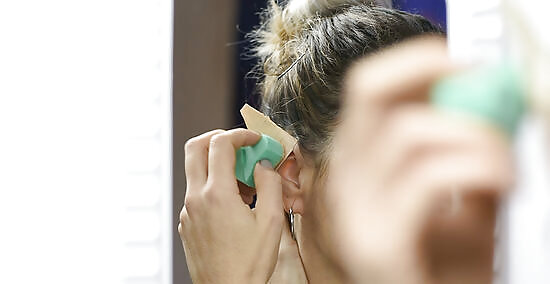
Apply concealer and eyeshadow to the tape so it matches your skin tone. Use a makeup sponge, a small paintbrush, or even your finger to coat the tape with a shade of concealer that closely matches your skin tone. Dab the product on until all of the tape is evenly coated. Allow the concealer to set, and then soften the look of the concealer by dusting on an eyeshadow that is a similar color. Repeat this concealing process for your other taped ear. Put some of the concealer and eyeshadow over the skin on your ear to blend of the edges of the tape if needed. Instead of concealer, you can also use a liquid foundation that matches your skin tone.

Unclip your hair or remove your skullcap, and enjoy the look of your elf ears. Arrange your hair as you normally would. If you have long hair, leave a piece of hair in front of your ear and tuck the rest behind your ear. This will help show off your elf ears better. When you are finished wearing your elf ears, simply clip back your hair to get it out of the way if needed, and then slowly pull the tape off and discard it.
Making Custom Latex Elf Ears
Form a triangle out of modeling clay that is the width of the top of your ear. Make the triangle about ⁄4 inch (0.64 cm) thick. Look into a mirror and hold the triangle up to your ear as you are shaping it. The width of the triangle should conceal the uppermost part of your ear, leaving the top point of the triangle to rest above your ear. Continue molding the clay until you reach a desired shape and size. Make the triangle equilateral for a subtly pointed ear or create an elongated triangle for a more dramatic elf ear. If you make your triangle too thick, then your finished mold will be too large for your ear. Similarly, if you make the triangle too thin, it might snap when you go to remove your mold. You can purchase modeling clay at your local craft or department store, or online with major retailers.

Outline the curved shape of the top of your ear into your clay triangle. While looking in a mirror, hold the triangle up to your ear. Use the eraser end of a wooden pencil to outline the shape of the top of your ear into the clay like a stencil. The point on the triangle will almost act as the point of the elf ear resting on your curved stenciled line. Do not press so hard on the clay that you misshape or break the triangle. Just apply enough pressure to create a visible outline on the clay. This outline will be the boundary for where you apply the liquid latex to create the elf ear prosthetics. Repeat this process for the other side of the triangle, making sure that the shape of the traced lines match.
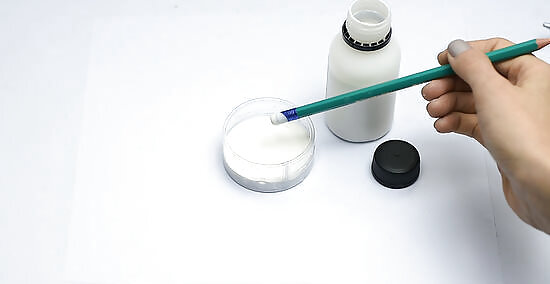
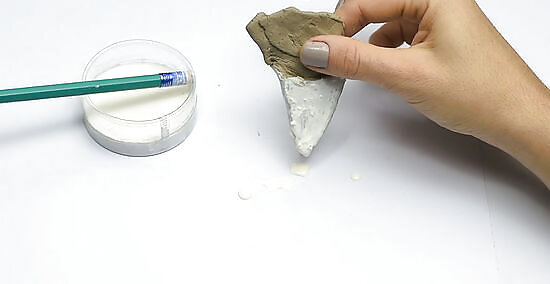
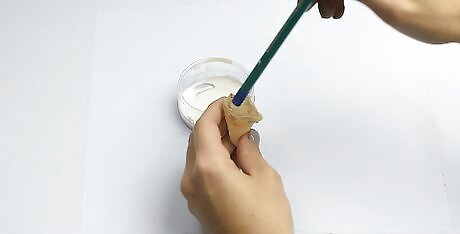
Dip the eraser on your pencil into some liquid latex to coat it. Pour approximately ⁄4 cup (59 mL) of liquid latex into a disposable plastic bowl. Stir it with the eraser on your wooden pencil if needed. Then, simply coat the eraser with the liquid latex. You can purchase liquid latex at a local craft store or online with major retailers.
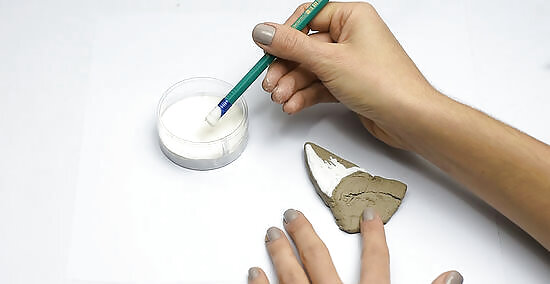
Dab the coated eraser onto the clay, working on the outside of the traced area. Use the eraser on your wooden pencil to apply the liquid latex to the clay triangle. Only apply the latex to the outside of the outline you traced onto the triangle. Smooth out the liquid latex with the eraser as you apply it to remove any visible bubbles or lumps. Continue to coat the clay triangle until all sides of the area outside of the outline are covered. This will create a base coat of liquid latex for your elf ear. You can use a small brush to apply the liquid latex, but the brush will be ruined after doing so.
Let the liquid latex air-dry for 1-2 minutes before applying additional coats. Hold the clay triangle upside-down for 1-2 minutes so the base coat of liquid latex can dry. Holding the triangle upside-down will force any excess latex to run to the point of the ear, and create a more realistic look. Alternatively, speed up the process by blow-drying the coat of liquid latex. Use the low speed on the cool setting and hold the hair-dryer at least 6 in (15 cm) away from the latex. Otherwise, the air pressure will put ripples into your prosthetic ear.
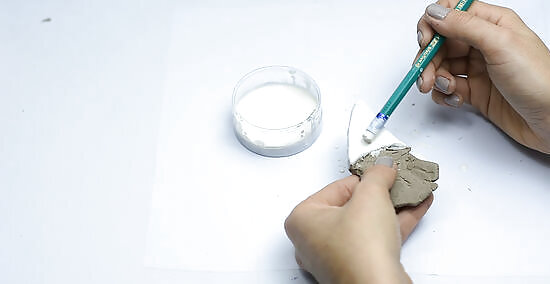
Apply approximately 9 more layers of liquid latex to your clay triangle. Use the same technique application and drying techniques to apply the additional layers. Make sure to take the allotted time needed to dry each layer before applying the next one.
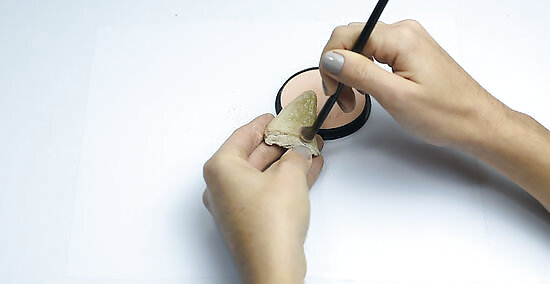
Dust the dried latex with cosmetic powder before pulling it off the clay. Use a small paintbrush to coat the dried liquid latex with the cosmetic powder. This will prevent the latex from sticking to itself when you remove it. Use a cosmetic powder like a high definition powder.
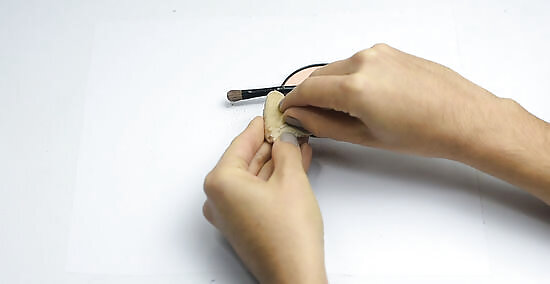
Lift the edges of the prosthetic and gently pull it off the clay. Roll back the edges of the prosthetic away from the clay. Carefully slide your finger between the latex and the clay. With your free hand, pull down on the clay triangle to remove it. If desired, dust the inside of the prosthetic with more powder to keep it from sealing itself closed.

Reuse the clay triangle to make a second prosthetic for your other ear. Administer the same process for applying, layering, and drying the liquid latex to the clay triangle. Once all 10 layers are dry, use your powder to coat the prosthetic before removing it from the clay triangle. When you are done, you will have 2 elf ear prosthetics.
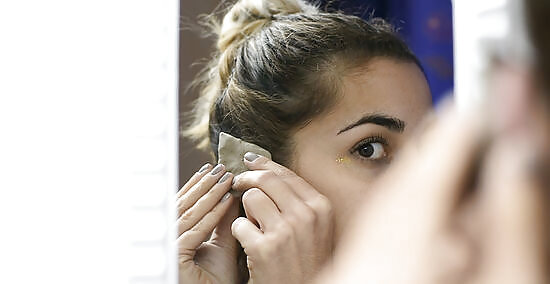
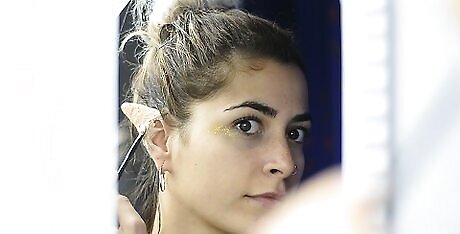
Coat the inside of the prosthetic with liquid latex and put it on your ear. Use the eraser on your wooden pencil to apply a thin coat of liquid latex to the inside of your prosthetic. While looking in the mirror, slide the prosthetic onto the top of your ear. Hold it in place for 1-2 minutes while the liquid latex dries. Make sure to pin back any hair by your ear to keep it from sticking to the liquid latex as it dries.
Apply liquid latex around the edges of the attached prosthetic to seal them. Use the eraser from your pencil to apply the liquid latex. Smooth the liquid latex around the edges of the prosthetic to create a seamless transition between your ear and the prosthetic. Continue this process until the edges are sealed, and allow it to dry for another 1-2 minutes. Be careful not to get any of the liquid latex in your hair while doing this. Repeat this application process for the second prosthetic.
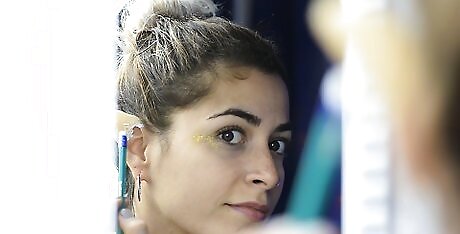
Apply concealer and eyeshadow to the prosthetic so it matches your skin. Use a small paintbrush to apply a thin coat of concealer to the prosthetic. Make sure to pick a color of concealer that matches your skin tone. Allow the concealer to dry, and then powder it with a similar color of eyeshadow to soften the look of the concealer. Repeat this concealing process for the second prosthetic. Then enjoy the look of your custom latex elf ears! Use soap and warm water to gently remove the latex prosthetic. If you are careful enough, you may even be able to reuse your prosthetic in the future.


Comments
0 comment