views
Method One: Swirl Rosette
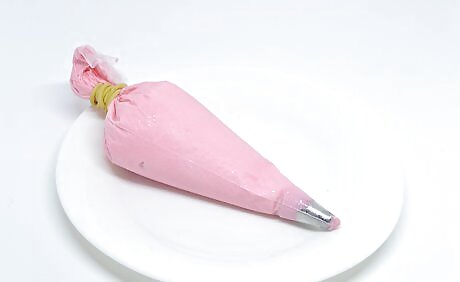
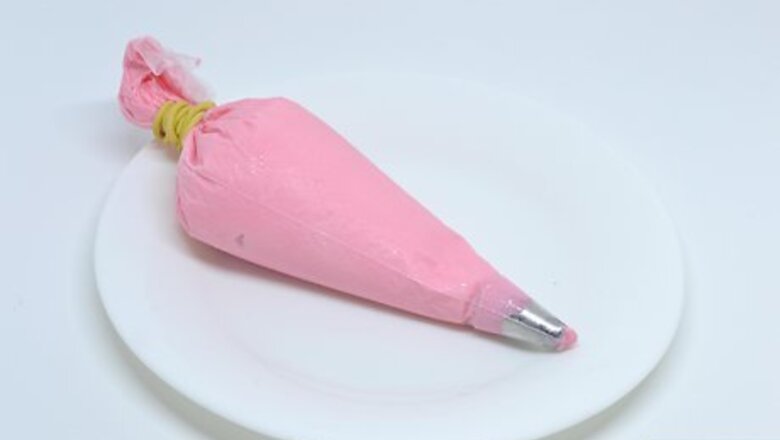
Prepare the piping bags. Fit one piping bag with a star tip, like tip #13, and fill the bag with royal icing in the desired color of your rosette. Place a leaf tip, like tip #65, on the other piping bag and fill it with green royal icing for the leaf. You should also prepare your work surface. Spread out a sheet of wax paper or parchment paper. The sheet should be large enough to hold several rows of rosettes.
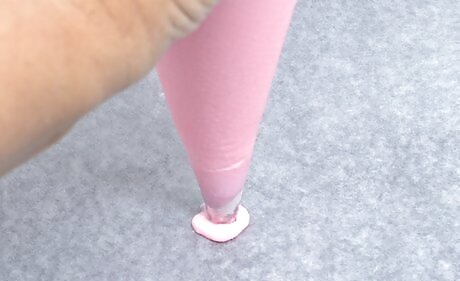
Create a dollop. Hold the star tip bag slightly above the wax paper. Gently squeeze the bag to start the flower. Keep the bag nearly perpendicular to the work surface. Tilting the bag could distort the shape of the rosette. Do not lift away the tip after creating the initial dollop. Proceed directly into the next step, ideally without easing up on the piping bag.
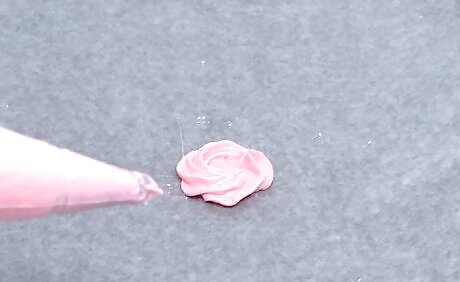
Spiral around the center. Continue squeezing the bag while moving the start tip around the center dollop. Wind the icing all the way around its center in a full circle. The piping bag should remain perpendicular, and you should apply even, continuous pressure to it as you form the flower. Keep the tip close to the center as you create the spiral. The icing should curl over itself, forming a tight circle. Stop squeezing the bag as soon as you finish the circle. Lift the bag away only after the icing stops coming out of the tip.
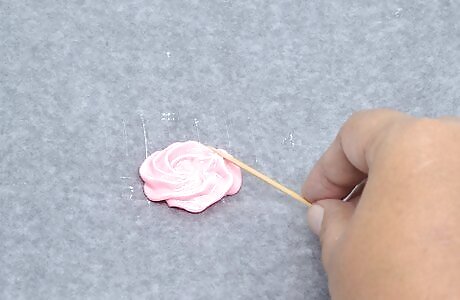
Hide the tail. Sometimes, a small tail will form when you lift away the piping tip. Use a toothpick to gently press that tail into the side of the rosette. Alternatively, you could use a clean paint brush to gently tap the tail into the side of the blossom. If the icing is too stiff, you may need to dip the tip of the brush in water before tapping down the tail.
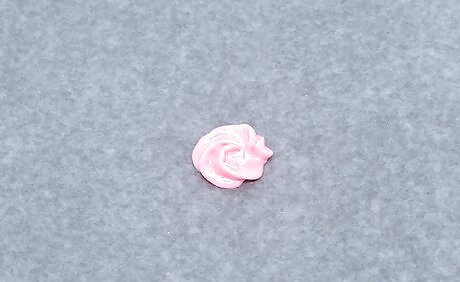
Let it dry. Allow the rosette to dry for 30 to 60 minutes at room temperature before continuing. If you wish to make multiple rosettes, you should form all of the flowers before moving onto the leaves. All of the flowers should have at least 30 minutes of drying time before you begin to work on the leaves.
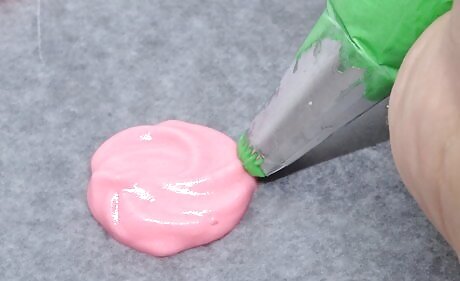
Press the leaf base into the side of the rosette. After the rosettes dry, hold the leaf tip bag at a 45-degree angle to one side of one flower. Gently squeeze the bag until a wide base builds itself onto the base of the flower. Make sure that the green icing comes into direct contact with the dried rosette. If it doesn't, or if it barely touches, the leaves will not stick to the flowers.
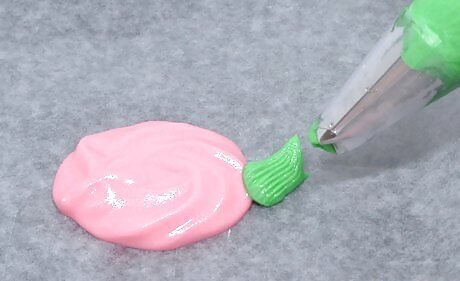
Pull away while squeezing less. Slowly pull the tip away from the rosette while simultaneously applying less pressure to the bag. This should cause a narrower leaf tip to form off the initial base. When the icing stops flowing, carefully lift the tip up and away to create the final point of the leaf.
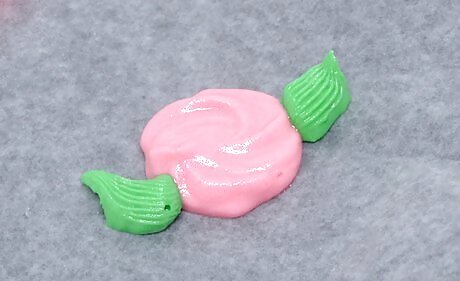
Dry the leaf. Allow the leaf to dry for 30 to 60 minutes. Keep the rosette out at room temperature as it dries. If you plan to create multiple leaves, create them all at once and make sure that each one dries for at least 30 minutes.
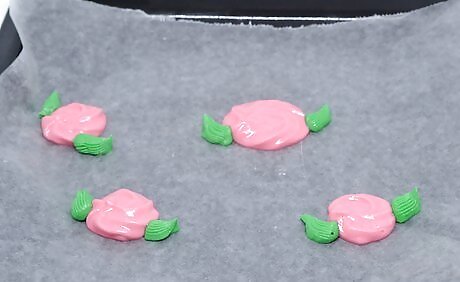
Store until ready to use. Peel the dried rosettes off the wax paper and store them in an airtight container. When you're ready to use them, attach the bottom of the rosettes to the intended surface using wet icing.
Method Two: Swirl Drop Daisy
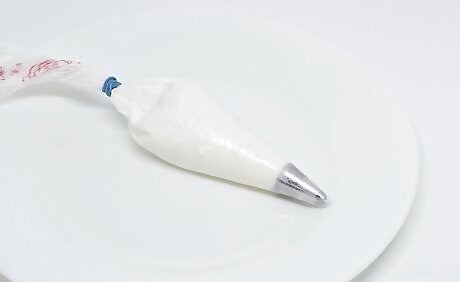
Prepare your supplies. Fit one decorating bag with a drop flower decorating tip, like tip #2D, and fill it halfway with medium royal icing in the color desired for the flower petals. Place a round tip, like tip #3, on the other piping bag and fill one-quarter with the center color icing. Prepare the work surface by covering it with parchment paper or wax paper, taping it down as needed to prevent the paper from peeling up as you work. Use enough paper to hold as many flowers as you wish to make.
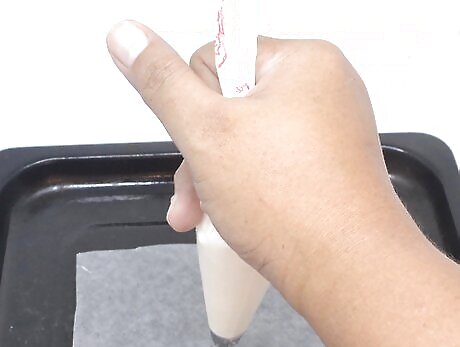
Hold the drop flower tip above the paper. Position the drop flower tip directly over the parchment paper, holding it so that the tip just barely touches the surface. Keep the bag at a 90-degree angle from the work surface. If you tilt it, you'll distort the shape of the flower. Rotate your hand one-quarter turn without piping the icing. The back of your hand should face away from you. If you're right-handed, your knuckles should be at the 9-o'-clock position; if you're left-handed, your knuckles should be at the 3-o'-clock position.
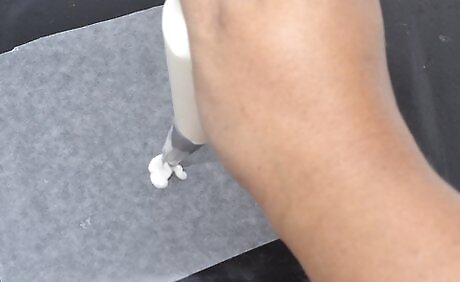
Simultaneously squeeze and rotate. Gently squeeze the pastry bag while slowly rotating your hand. Continue squeezing and rotating until your hand returns to its normal position. Your knuckles should return to the 12-o'-clock position, so you'll end up rotating 90 degrees (one-quarter turn).
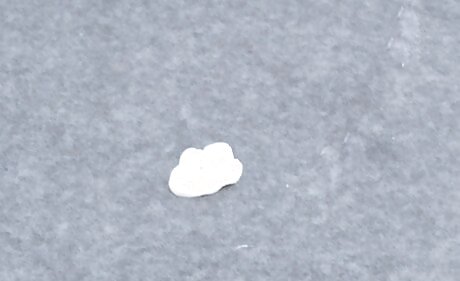
Lift away the tip. Immediately stop squeezing the bag once you complete the turn. As soon as the icing stops flowing, lift the tip away. Lift the tip straight up. Removing it at an angle can distort the shape of the petals.
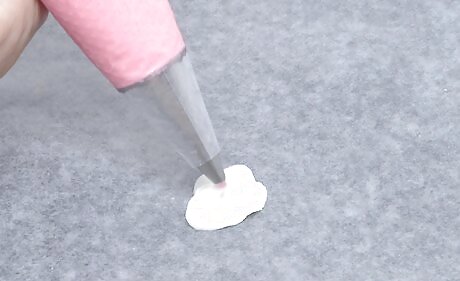
Squeeze a dot in the center of the flower. Hold the round tip bag at a 90-degree angle in the center of the flower. Carefully squeeze a small dot of icing into the center. The tip should almost touch the flower itself, and the icing you squeeze out should come into direct contact with the petal icing. Keep the tip buried as you pipe the center dot. Stop squeezing once the dot looks large enough. When the icing stops flowing, lift the tip up and to the side so that no tail hangs off.
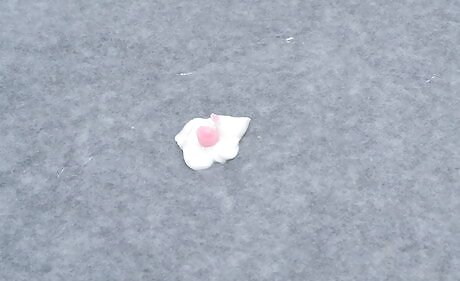
Store until ready to use. Allow the flower to dry for 30 to 60 minutes, then carefully peel it away from the parchment paper. Store the dried flower in an airtight container until you're ready to use it. If you plan to make multiple flowers, form all of them before letting them dry. Make sure that each one dries for at least 30 minutes. You can apply these flowers to the surface you wish to decorate with fresh icing.
Method Three: Ribbon Zinnia
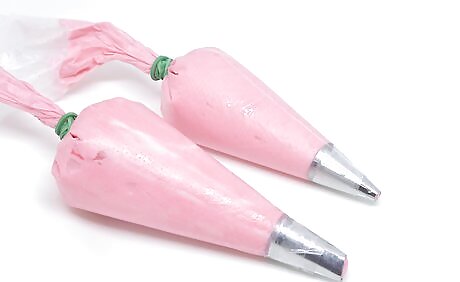
Prepare the piping bags. Fit one piping bag with a petal decorating tip, like tip #101, and the other piping bag with a round decorating tip, like tip #7. This flower is created with one color, so fill both bags with the same color icing. The icing should be of medium consistency. Buttercream is easier to form, but royal icing will dry harder.
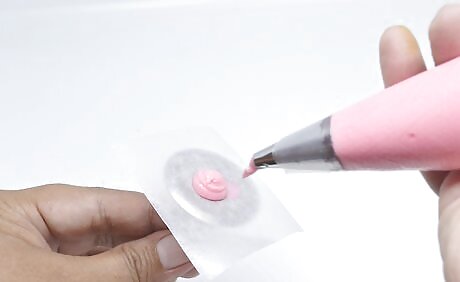
Pipe a ball of icing. Grab the flower nail with your non-dominant hand and the piping bag with your dominant hand. Hold the round #7 tip perpendicular to the center of the flower nail, then squeeze the bag to form a relatively flat ball. Once you're satisfied with the size of the ball, stop squeezing the bag. Lift the tip straight up and away after the icing stops flowing. If the ball looks too rounded, dust your fingertip in cornstarch and gently press down on the top of the mound until the top surface looks slightly flat.
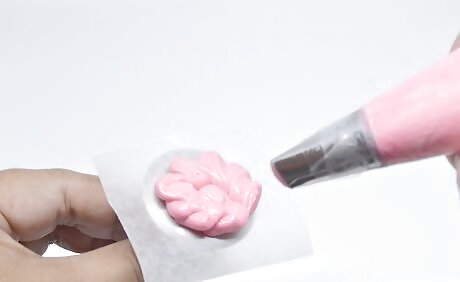
Pipe zigzags around the ball. Hold the petal decorating tip a 45-degree angle to the flower nail. Gently squeeze the bag. As the icing flows, spin the nail while simultaneously rocking the tip back and forth to create zigzags. The wide end of the petal tip should touch the outer edge of the center ball when you start the row. Once you complete a full rotation with the zigzag row, stop squeezing the bag. Carefully lift the tip straight up and away when the icing stops flowing.
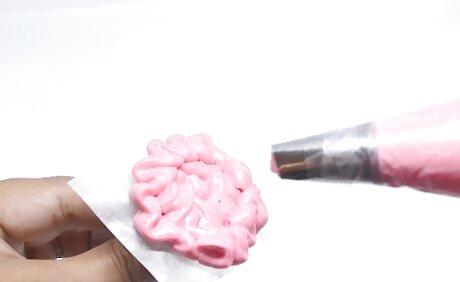
Create two to three more zigzag rows. Use the same technique to create two or three more rows. Tilt the tip more dramatically for each consecutive row. The thin side of the tip should tilt upward at a higher angle, but the wide side should still touch the round base of the flower. For the final row, you should pipe the zigzags directly over the flattened top of the center mound.
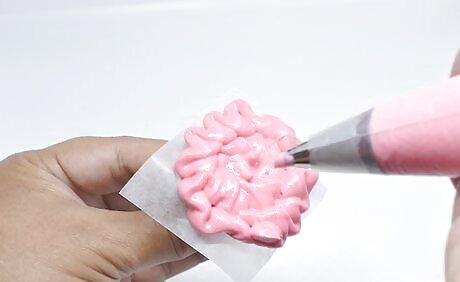
Add smaller dots to the center. Switch the #7 round tip for a small #1 round tip. Use the smaller round tip to pipe five dots over the exposed center of the zinnia. To make the process less messy, you could attach the #1 tip to a third piping bag instead of switching out the larger tip. For each dot, hold the tip perpendicular to the flower and squeeze gently. Release the pressure once a small dot forms, then lift the tip straight up and away.
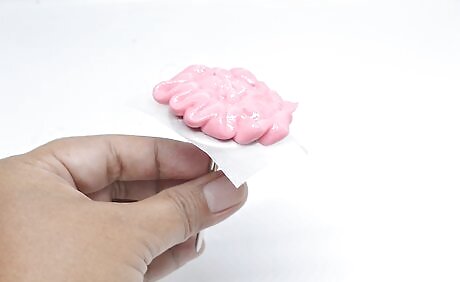
Dry and use as desired. Allow the flower to dry for roughly 30 minutes, then carefully peel or slice it off with a flat knife. Flowers made with royal icing might be hard enough to peel away with your fingers, but if the zinnia resists gently pressure, slice it off with a knife. Attach the dried flower to your cake or other pastry surface using fresh icing.


Comments
0 comment