views
Collecting Paper Receipts
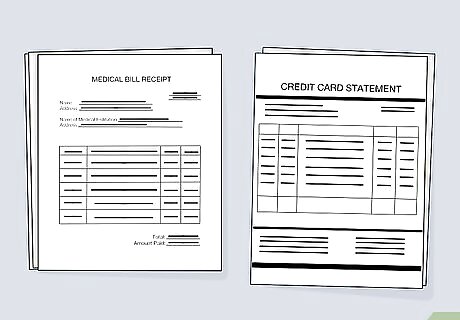
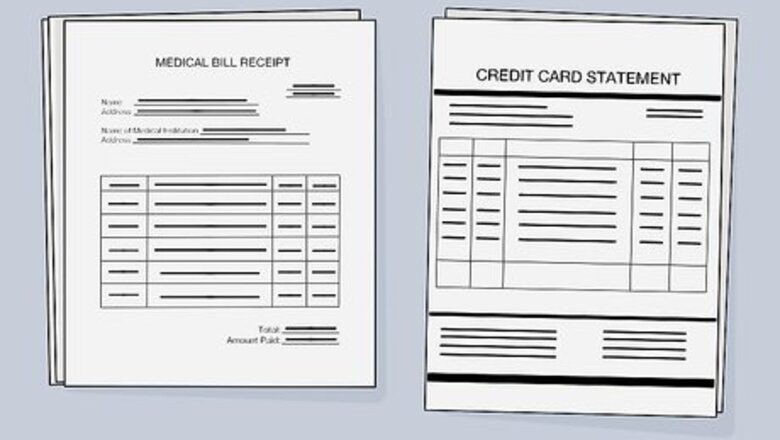
Go through your receipts regularly so they don't pile up. On a weekly or monthly basis, sort your receipts and discard any you don't need. As a general rule of thumb, keep any medical bills, credit card statements, bank statements, and other generic bills for around 1 year. This rule doesn’t apply to important files like tax returns, account statements, and loan filings. Keep these on hand.
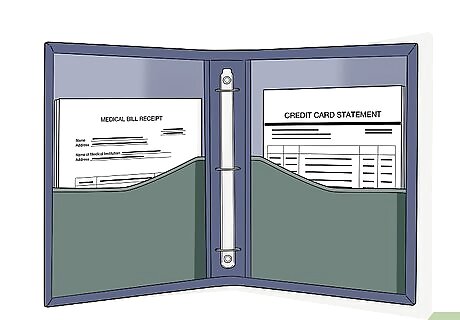
Store your receipts in a binder or filing cabinet. If you don't have a lot of receipts, keep them in a binder. Fill the binder with sheet protectors, then slide the receipts into the protectors. If you have many receipts, a filing cabinet is a better storage solution, To add an extra layer of organization, use labeled tab dividers to better sort and arrange your receipts. If your household is small, a 1 to 1 ⁄2 in (2.5 to 3.8 cm) binder will work well. If you work for a business, however, a 3 in (7.6 cm) binder might be better. Using labeled dividers allows you to organize your receipts by category, date, or name.
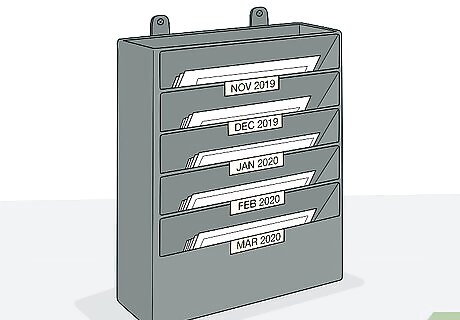
Sort your receipts chronologically to keep track of your expenses. Use a labeling system that helps you peruse your receipts by date. Label your tab dividers or folders with different increments of time, so you can access certain receipts more easily. Try sorting your files by year if you don’t have a lot of receipts, or if you’re a member of a small household. If you manage a large business or organization, you may need to arrange your receipts by month or week. For instance, if you’re using a binder to organize your receipts, you could organize your tab dividers by year. If you’re using a filing cabinet, you could use individual folders to represent each month of the year.
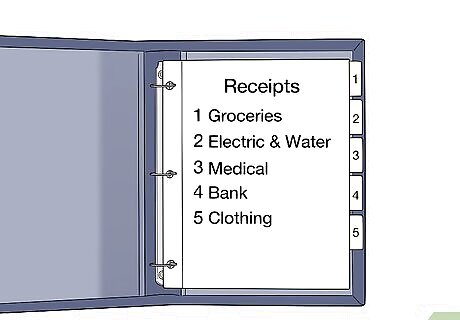
Arrange your receipts by category to see how much you’re spending on what. Before placing your old receipts into sheet protectors or folders, sort your slips into different piles so you can get an idea of how much you spend on certain items. Once you’ve sorted your files, arrange and distribute the receipts to their proper locations. For instance, if you’re keeping track of household expenses, you can sort your receipts into categories like groceries, gas money, clothing, and other necessities. If you’re managing a larger business, you could sort your receipts by banking, credit accounts, and insurance payments.
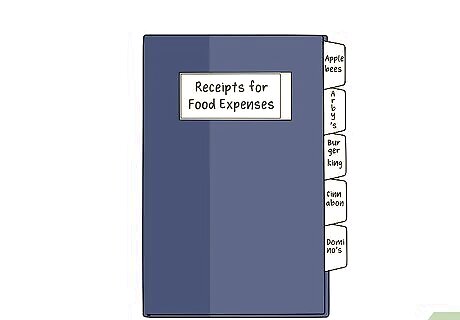
Organize your receipts by name if you like things in alphabetical order. Choose different categories or groups to use for your filing system that make sense to you. If you come from a large household or work for a business, you might have an easier time sorting receipts by the names of your household members or coworkers. Sort receipts in alphabetical order within a larger folder. For instance, if you had a category called “Food Expenses,” you could sort your receipts like this: Applebees, Bob’s Bakery, Burger King, etc.
Uploading Your Receipts Digitally
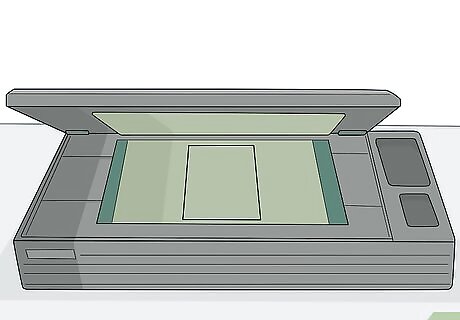
Scan your old receipts so you can recycle the slips. Invest in a small scanner that you can run your old receipts through. Create a center of operations near your computer or laptop, then dedicate a chunk of time each week or month to scanning and uploading your receipts to a digital interface. Don’t toss out any paper receipts until you’ve successfully scanned them to your computer or laptop. If you don’t have a scanner on hand, download a scanning app to your phone, instead. Use this app to scan an image of the receipt as soon as you receive it. Some great apps on the market are Scannable, Scanner Pro, CamScanner, and Genius. For easier access and retrieval, try to convert all of your scans into a PDF file format.
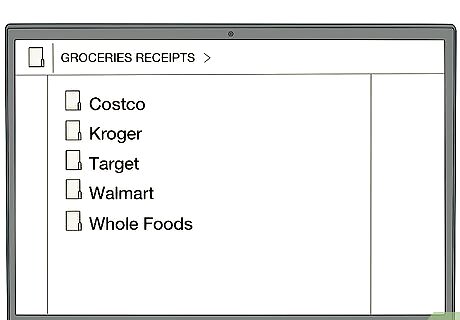
Sort your scans into digital folders and subfolders. Create digital folders with clear, efficient headings. If you have a chronological filing system, create folders labeled by month or year. If you have an alphabetical filing system, consider making folders based on a letter. Within these large folders, create more specific subfolders that can help you organize and categorize your receipts in more detail. For instance, if you use a categorical filing system, label one of your folders as “Groceries.” Within this folder, create subfolders that correlate to different stores. If you use a chronological filing system, you could have a folder labeled “2020,” then have subfolders labeled as January, February, and so on.
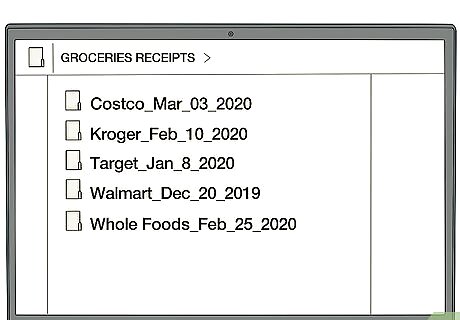
Label your files by date so you can access them quickly. Think of an efficient shorthand that will make it simple for you to find and reference the receipt later on. If you prefer a chronological filing system, list the year, followed by the specific date. If you like categorical filing, you could label the receipt with the store name and the date of the purchase. Experiment with different label names until you find a system that works best for you and your household. For instance, you could label individual files like: “Jan_04_2019” or you could try something like “Supermarket_Jan_04.” If you prefer a categorical or alphabetical filing system, you could label your folders as “Albertson Grocery Run 1/14” or something similar. Some computers let you label and tag files by color. If your computer or laptop has this feature, try using it to better sort your receipts. For instance, you could label your grocery receipts with a green tag and your gas receipts with a blue tag.
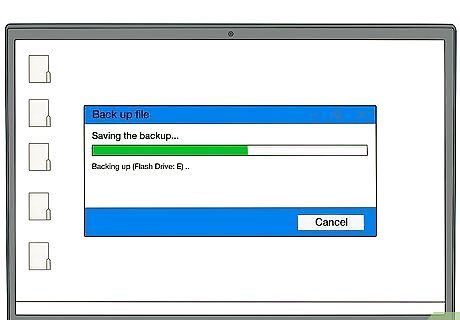
Create a back-up on your computer to protect and secure your scans. Take an empty USB stick and insert it into your computer or laptop. Use your cursor to copy and paste your receipt files from the computer to the storage stick. Try to update this storage stick every few months so you have an up-to-date back-up of your receipts. An external hard drive could work for this, too.Variation: Download a receipt scanning app if you don’t want to use your computer. Search for mobile apps that have a scanning feature and allow you to save your uploaded receipts within the app. With this type of system in place, you can scan and sort your receipts on-the-go. Some popular receipt-scanning apps are Expensify, ABUKAI Expenses, Quickbook, Receipts by Wave, and Certify Expense.


Comments
0 comment