
- Prep the fence by removing excess shrubbery and making minor repairs. Then, sand and wash the fence.
- Apply a layer of fence paint and primer to your dry, sanded fence. Wait for the primer to dry completely before moving on.
- Coat your fence in paint using a paintbrush, roller, or airless sprayer. Be sure your paint is specifically for wood, exterior, and outdoor use.
Prepping the Fence for Painting
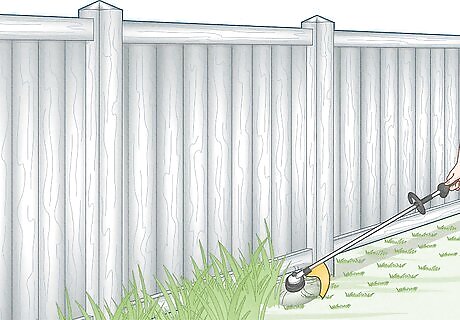
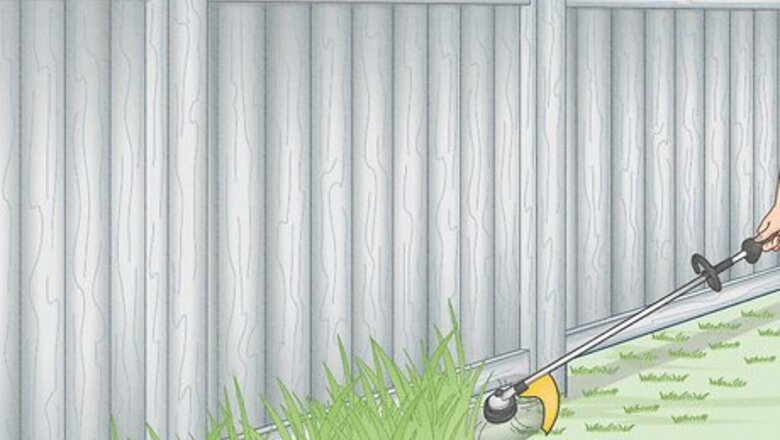
Clear and cover the area surrounding the fence. Before painting your fence, mow the grass and trim any shrubbery near the fence. This way, there won’t be anything in your way when you paint, and nothing will brush up against the fence as it dries. Then, lay a large tarp on the ground where you’d like to paint. If you don’t have a large enough tarp, move the tarp with you as you paint. Remove any decorations on the fence, along with the nails or screws holding them up. You can add new screws and nails when you finish painting.
Make minor repairs to the fence if needed. Check the fence for any loose nails or screws in addition to cracked or broken boards or rails. If there are any badly damaged boards, use a hammer to pry them away. Then, add new panels or boards (if necessary) and use rust-resistant nails or screws that are a size larger than the ones you removed to firmly attach the boards to the rail. It's best to replace boards or panels if they’re splitting, bowing, or rotting.
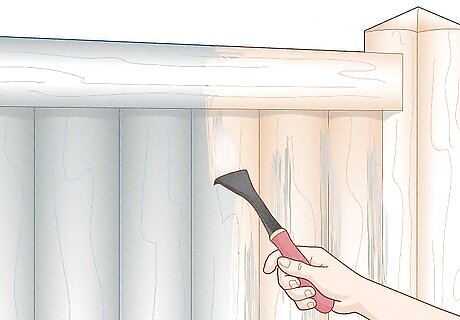
Scrape away chipped paint and sand any rough areas. Use a paint scraper to remove any paint that is chipped or flaking. If any rough areas have splinters sticking out, sand them down. Get your fence as smooth as possible, as this will make it easier to paint. Garnet sandpaper works best for sanding wood.
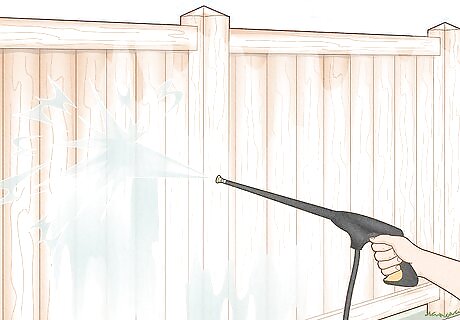
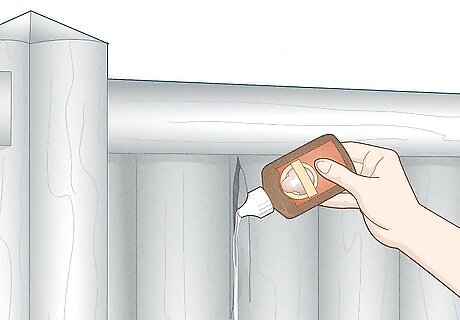
Wash the fence thoroughly. Use a fence cleaner and a rag or a scrub brush to wash the fence. This will remove any dirt and debris from your fence and substances like algae or lichen. If your fence is exceptionally dirty, power washing is an effective method to get rid of accumulated grime like mildew. Refer to your fence cleaner's instructions to figure out how much to use and whether or not you need to dilute the cleaner. Make sure the fence cleaner is safe to use on wood (it will say on the bottle).
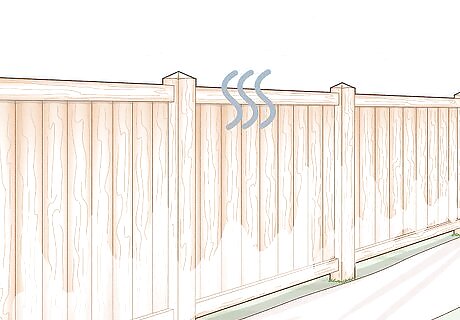
Allow the fence to dry completely. Never paint a wet fence—not only will the paint be more difficult to apply, but it will also dry unevenly. After washing the fence, wait at least a day to let it dry completely before moving on to painting it. If it rains on the fence, you’ll also need to wait a day or two for the fence to dry, so keep an eye on the forecast.
Painting with Brushes or Rollers
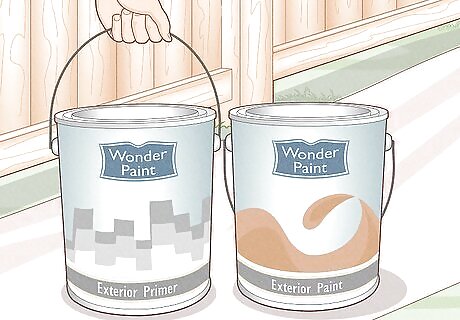
Choose the right paint for the fence. Your fence paint and primer should be safe for outdoor, exterior, and wood use. There are 2 types of fence paint: oil- and water-based. Oil-based, or alkyd, paints take longer to dry but they're more durable against outdoor elements. Water-based, or acrylic, paints are great if your climate fluctuates a lot since they expand and contract when the temperature changes. Check the label for any special instructions when choosing a wood paint.
Test your paint on a small portion of the fence. Paint a small, unnoticeable patch of your fence. Let it dry overnight, and then check the patch in the morning. Make sure the paint didn’t peel, bubble, or cause damage to your fence. Paint often looks different dry than it does in the can, so make sure you love the dry color before you paint the rest of the fence.

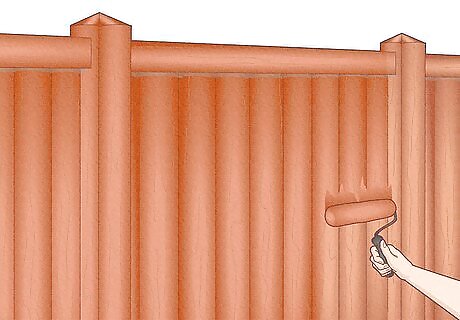
Apply a layer of primer and let it dry completely. Take a paint brush or paint roller to apply primer to all of the wood panels. Use horizontal strokes for horizontal panels and vertical strokes for vertical panels. Allow the primer to dry completely before proceeding. Every primer is different. Check the primer's instructions to see how long it will take to dry. Paint rollers generally cover more surface area than brushes, helping you get an even coat faster.
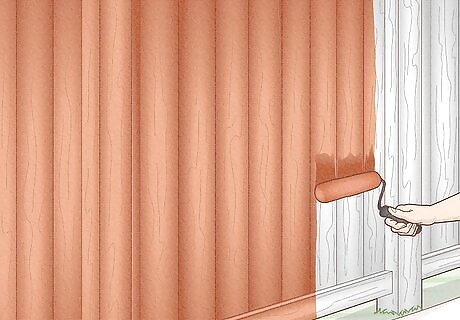
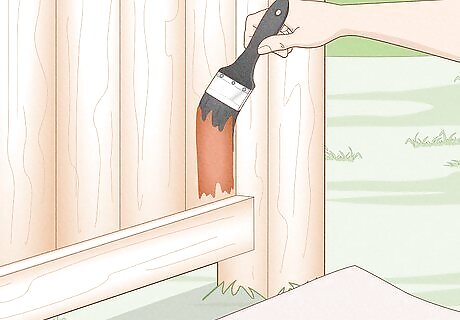
Use a large paintbrush or roller to coat the fence in paint. Dip the brush or roller in paint, and use even strokes to distribute the paint over the wood panels. Start at the top of the panel or board and work your way down towards the ground to avoid drips. For horizontal panels, use horizontal strokes For vertical panels, use vertical strokes. Apply the paint liberally but avoid going over the same area multiple times. Aim for an even coat of paint.
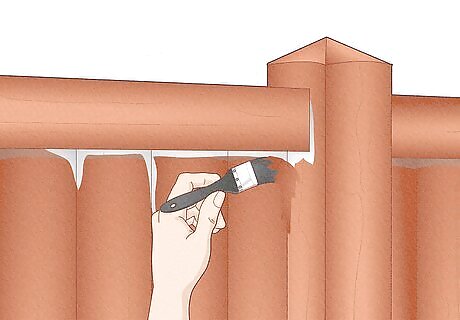
Use a smaller brush to paint hard-to-access or uneven spots. When you're finished painting a section, carefully examine your work. Look for any nooks and crannies you may have missed or spots where the paint is thin. Then, take a paintbrush and add more paint where it's needed.
Add another layer of paint if necessary. If you're using high-quality oil-based paint, you can usually get by with 1 coat. However, if your paint looks thin, or if the color is not as bright as you wanted, add another coat after the first coat dries. Many paints need to dry overnight, so read the paint’s label and instructions to know when to add the second coat.
Using an Airless Paint Sprayer
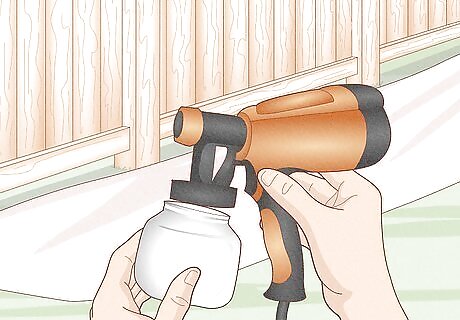
Set up the paint sprayer. Each paint sprayer is different, so read the instruction manual carefully before starting. Usually, prep includes filling the sprayer's bucket with diluted paint and then attaching the sprayer pump to the bucket. Airless paint sprayers usually come with different nozzles for specific projects—some even have fence attachments. Unless you're painting a small portion of the fence, use the largest nozzle first. Switch to a smaller nozzle for getting into cracks and crevices. Go with an oil-based paint safe for wood and exterior use. Work on a sunny or overcast day with little to no wind so the paint goes on evenly.
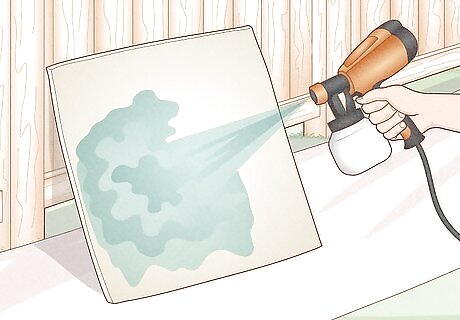
Test the paint and nozzle on a piece of scrap wood or cardboard first. That way, you can adjust the sprayer’s settings (if needed) and practice your spraying technique. Try to get into a pattern of moving down then up or back and forth. With each section, you’ll get better and better, which is why it’s important to practice your technique first.
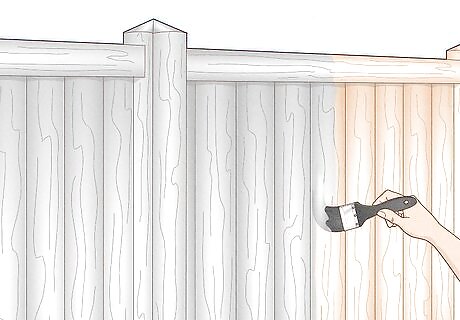
Add a layer of primer to the fence with a paintbrush. Use horizontal strokes for horizontal panels and vertical strokes for vertical ones. Allow the primer to dry before proceeding. Drying times vary, so refer to the instructions on the can of primer for precise drying times.
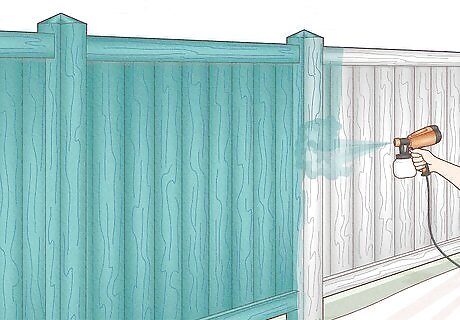
Use the airless paint sprayer to cover the fence with paint. Keep your nozzle about 6–8 in (15–20 cm) away from the fence, and hold down the trigger. Use a steady back and forth or up and down motion to spray your fence. Let go of the trigger when you move to a new board or panel, or spray down on the tarp first. This will help you stay in motion and avoid overlapping areas for a nice, even coat. For horizontal panels, move back and forth. For vertical panels, move up and down. Move in straight lines and avoid making arcs at the ends of each stroke.
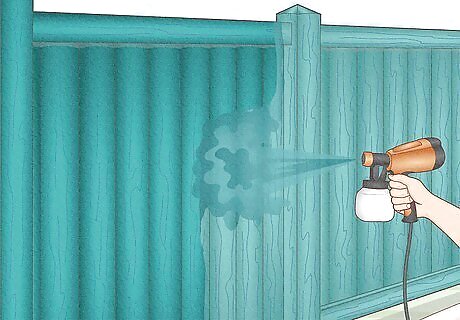
Give the fence an extra coat of paint if needed. After leaving the paint to dry for at least 1 day, examine your fence. If the paint is too thin or streaky, consider adding a second coat. You can probably get by with a single coat if you choose high-quality paint.


Comments
0 comment