
views
Prepping the Room
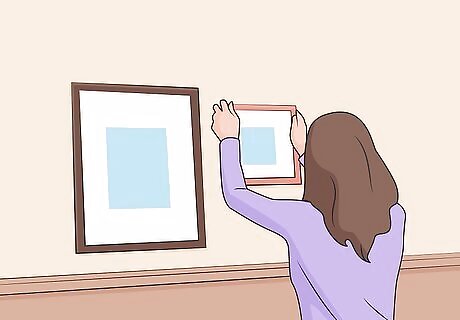
Remove any furniture, frames, or fixtures from the room and walls. Move as much furniture out of the room as possible so you can paint without any obstructions. If you have any removable frames, pictures, or decorations on the wall, remove them before you get started. Then go around the wall and remove any light fixtures or outlet covers so they don’t get in the way. If you can't remove all of the furniture from the room, make sure you cover it with a sheet to keep it clean. Put all of the fixtures or outlets into a bag so you don’t lose any pieces. Keep track of all the screws you remove so you can put the fixtures back. Put painter’s tape over electrical outlets, plugs, and wires so you don’t get any paint in them.
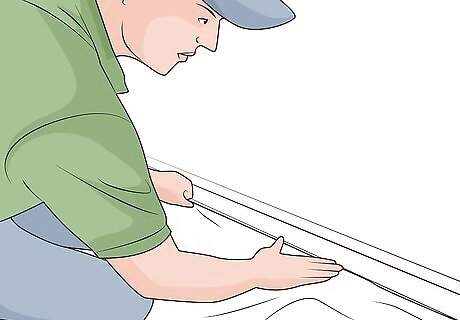
Tape a drop cloth or sheet over the floor. Painting is always a messy job, even if you’re careful. Cover the whole floor with a plastic drop cloth long enough to stretch from one wall to the other. Tape the cloth down so no paint drips underneath it. You might need multiple drop cloths to cover the whole floor.
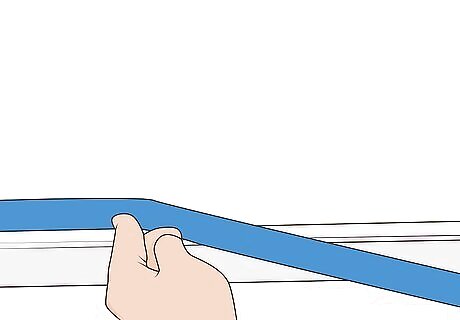
Tape off the areas that you don’t want to paint. Even if you’re a skilled painter, you could still slip in some spots. Run painter’s tape along the edge of the wall along the ceiling, baseboards, and any molding along the wall. This protects any spots that you don't want to paint. Paint can still bleed through tape, so try to avoid painting over it. It’s just there as a precaution.
Open the windows to get rid of any paint fumes. It’s much safer to work in a well-ventilated area, so open all the windows in the room. Continue airing out the room when you’re done painting so the fumes don’t build up. If you’re sensitive to paint fumes, use a window fan to pull more fumes out. You can also prevent fumes from getting into other rooms by taping a plastic sheet over the doorway.
Pre-Treating the Walls

Repair any cracks or holes in the wall before painting. Any imperfections on the wall will show clearly under white paint, so go over the wall carefully to find cracks or holes. Fill them in with spackle or caulk. Scrape away any excess filler so the repair is flat, then let it dry. Sand the repairs down so they’re smooth and don’t show through the paint. Spackle could take 1-4 hours to dry, depending on the type. Caulk can dry in as little as 30 minutes. Check the instructions on the product you use and give the repairs enough time to dry.
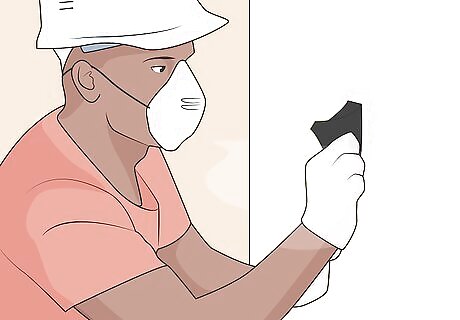
Sand the walls lightly. This helps the primer and paint stick, and will make white paint look especially good. Use 120-grit sandpaper and lightly sand the wall, along with any other surfaces that you’re painting. Use a gentle, circular motion and work your way across the wall. Pay special attention to any rough or raised spots. Smooth them out so they don’t show through the paint. Always wear a dust mask while you’re sanding, even if the windows are open. If you have textured walls, skip the sanding. You could remove the texture accidentally.
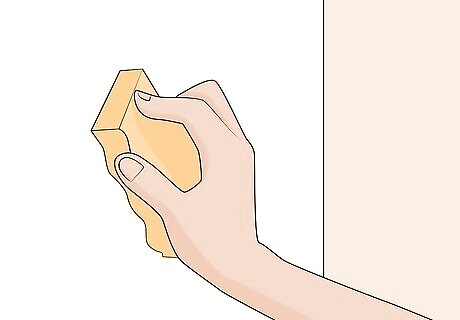
Clean the walls with warm water to remove any dirt. Dust and dirt can show through white paint, so make sure the walls are completely clean before painting. Fill a bucket with warm water and add a few drops of mild dish soap. Dip and wring out a sponge, then wash all the walls in a circular motion. Rinse the walls with a damp cloth afterward. Let the walls dry completely before you start painting. If you're painting a textured wall, it'll be tougher to clean. Use a vacuum with a brush attachment to get dirt out of the grooves and crevices before washing the wall with a sponge.
Applying the Paint

Match the shade of white paint to the room. You might think there is only one type of white, but there are actually many different shades. Some have a slightly blue tint, some are closer to cream, and some lean closer to gray. Shop for different color choices and get a few samples to see how they look in your room. Pick the one that matches the décor the best. Hold the paint samples up to the wall to see if they match the existing décor and look good in the light. If you can’t decide on a color, paint a small section of the wall and leave it there for a few days. Notice how the light hits that spot and how it complements the rest of the room. If it looks good, then pick that one. You could also ask a designer at the hardware store for suggestions on the best shade. Use a textured paint if the wall has imperfections.
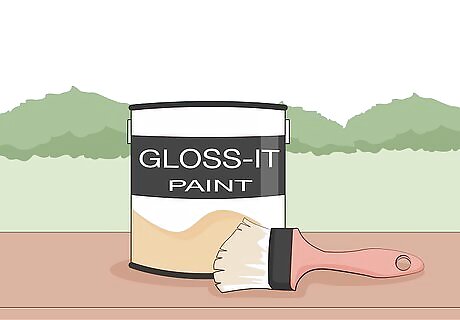
Choose a gloss or semi-gloss paint so the walls are easier to clean. White paint is more vulnerable to stains and hand prints, so you'll probably have to work a bit harder to keep the walls clean. Gloss or semi-gloss paints are easier to clean and wash, so these are the best paint choices for white walls. Gloss paints can show any imperfections like cracks or holes more clearly, so be sure you've repaired and sanded the surface before painting.
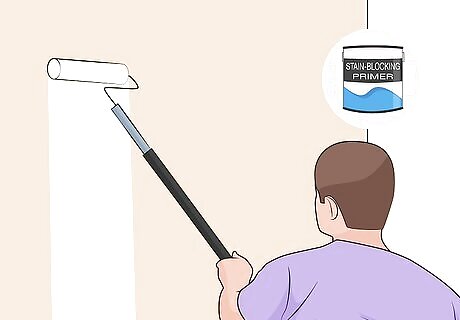
Apply white stain-blocking primer so the base color won’t bleed through. Stain-blocking primer is ideal for white paint because it absorbs base colors and prevents them from bleeding through. The best way to apply primer is with a roller. Pour the primer into a paint tray and dip the roller in. Wipe off any excess on the side of the tray. Then roll a primer onto wall sections roughly 3 ft (0.91 m) by 3 ft (0.91 m), re-wetting the roller as you need to. Work across the wall until you've covered it all. If you have to paint corners or edges, brush the primer on with a regular paintbrush. Primers come in a few different colors, but use a white one since you’re using white paint.
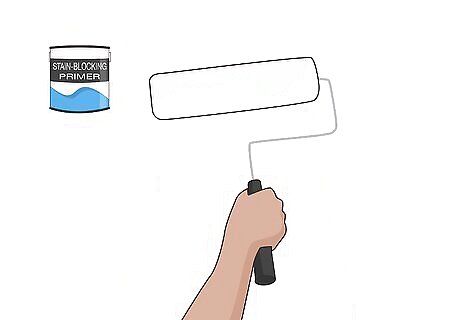
Apply an extra coat of primer if you’re painting over a dark color. In most cases, one coat of primer is enough. However, if the base color was dark, like brown, black, or red, then use a second coat of primer to be safe. Wait 3-4 hours for the first coat to dry, then apply another. This should block the base color from showing through the new paint. Then wait another 3-4 hours for the second coat to dry. If you have any doubts about whether or not you need a second primer coat, then apply a second coat. You don’t want to finish painting only to realize the base color is bleeding through.
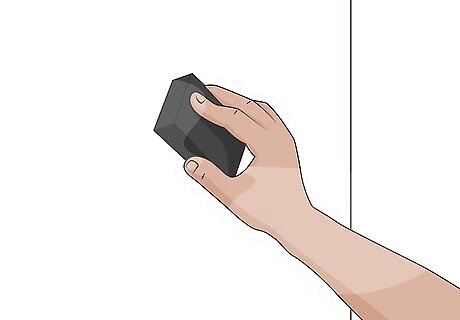
Sand the wall again after the primer dries. This helps the paint stick even better and should give you a more even coat. After the primer dries, lightly sand the entire wall again with 120-grit sandpaper.
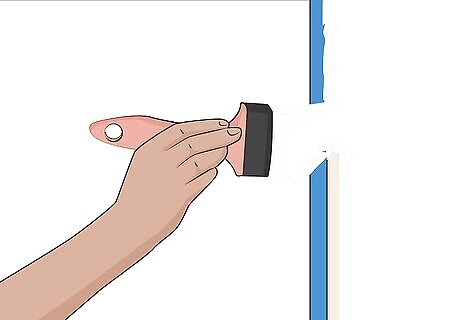
Brush the paint around corners and along the edges. This is called cutting in, and it helps you avoid getting paint where you don’t want it. Dip your brush into the paint and wipe off any excess. Then brush a line of paint 2–3 in (5.1–7.6 cm) thick along the tape that you put down. Continue until you’ve filled in the edges of the wall. Also brush 2–3 in (5.1–7.6 cm) on either side of each corner, since you won’t be able to reach into there with a roller.
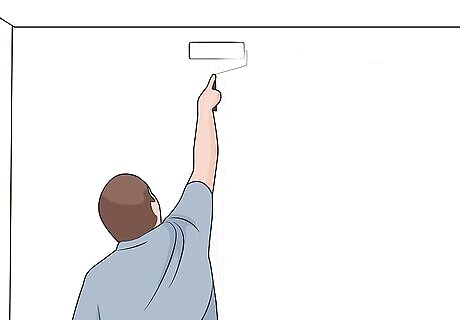
Roll a thick coat of paint onto the wall. You can apply the paint the same way that you applied the primer. Pour the paint into a paint tray and wet your roller. Wipe off any excess so the roller is just damp with paint. Roll the paint onto the wall in alternating M and W patterns until you cover each 3 ft (0.91 m) by 3 ft (0.91 m) section, then move on. Continue in that pattern until you’ve covered the whole wall. Since you’re painting with white, lay the paint down thick. This prevents the base color from bleeding through. If any drips, roll over it with your roller so you don’t cause any drip lines on the final coat. Make sure you use a clean roller or tray so you don't mix primer and paint. Paint usually takes 8 hours to dry, but check the drying time for the specific paint that you use.
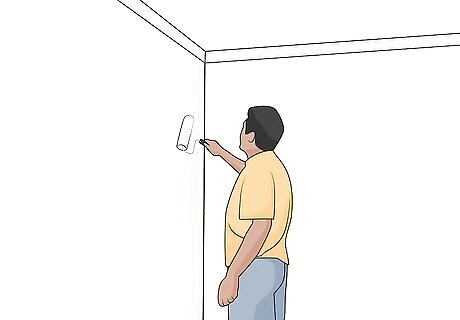
Paint a second coat when the first one dries. Most walls need 2 coats for good coverage. Use a brush and cut in around the edges of the wall like you did before. Then roll on the paint in the same M and W pattern that you used for the first coat. Continue until you’ve covered the whole surface, then let the paint dry. In most cases, 2 coats are enough. However, if the paint dries and you can still see some of the base color, then add a third.
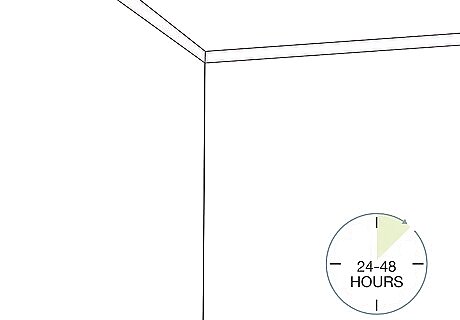
Let the paint cure for 24-48 hours. Paint needs at least a day to dry completely. Leave it alone and don't touch it for 24-48 hours. After that time passes, then you can continue with redecorating your room.
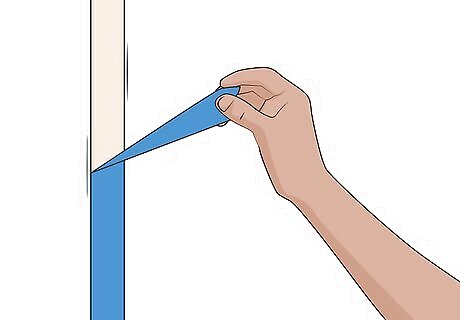
Clean up when you're done painting. Once the paint is all dry, you can clean the room. Pull up the drop cloth and remove all of the tape you put on the walls. Reinstall fixtures or switches that you removed as well. Try to roll up and fold the drop cloth when you pick it up. This way, you won't spread any dust in your home. Then take it outside and let it air out.


Comments
0 comment