
Choosing Cardstock
Buy cardstock compatible with your printer. Look up your printer's maximum cardstock weight before you buy the paper. Most business cards are printed on 80 lb cover weight cardstock (215 grams per square meter), while some businesses prefer more durable paper up to 110 lb (200 GSM). If using a home printer, check the manual to find its maximum paper weight. Cardstock too heavy for the printer may cause jamming, or (on a laser printer) flaking images. Many printers have a "manual feed" slot, usually behind a back panel, that sends thick paper through a straighter path, reducing the chance of bending or jams. On some printers you'll adjust the rear tray instead; follow the manual instructions for printing on envelopes.
Check the cardstock finish. Glossy paper may damage incompatible laser printers. Inkjet printers require coated cardstock for a crisp image. Most home printers use dye inks. If yours uses pigment ink (which is a little duller but fade-resistant), it will not print properly on some types of coated cardstock.
Look for pre-scored paper (recommended). Consider saving yourself some cutting effort by printing on perforated business card paper. Choosing the standard size for your area is usually the most convenient option: Standard business cards in the United States measure 2 x 3½" (51 x 89mm). The most common European size is 55 x 85 mm (2.12 x 3.37"). Chinese business cards are usually 54 x 90mm (2.13 x 3.5"). Japan and Korea use slightly different sizes. You may go with non-perforated paper, but using a paper cutter is tedious for large numbers of cards. Automated business card cutting machines are faster, but can be very expensive.
Designing and Printing the Business Cards
Sketch a rough card layout. If you haven't already, sketch out your basic business card layout. Make sure to include the following information: Business logo and name as the most prominent information. Job title and company name. Phone, email, website, mailing address, and/or other contact information. Emphasize methods your customers use most. Robert W. Bly, Accomplished Copywriter A business card is way more than a little paper with your contact info — it's something real that represents your brand. When you're designing your card, think about more than just how it looks. Also, focus on the message it's sending. Use clear, straightforward language and make sure what makes you unique stands out. Remember, your card is usually the first impression you make on someone — so make it a good one.
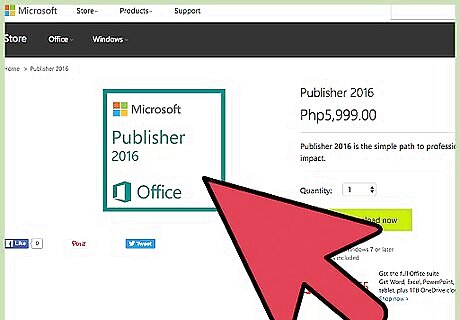
Design the card in Microsoft Publisher. Microsoft Publisher is designed for graphic layout of printed documents, but does not come with all versions of Office Suite. These instructions apply to Publisher 2010 and later: Open Publisher and select Business Cards on the Available Templates page, or go to File → New → Business Cards. Select the template that matches your design best. Adjust options if desired. Click Create when finished. To match the size of pre-scored sheets, choose a template listed under the sheet manufacturer, or adjust size under Page Design → Size → More Preset Page Sizes. Click placeholder text and logo to insert your own design. Experiment with menu options for greater customization.
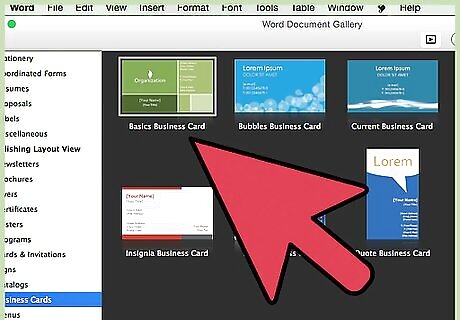
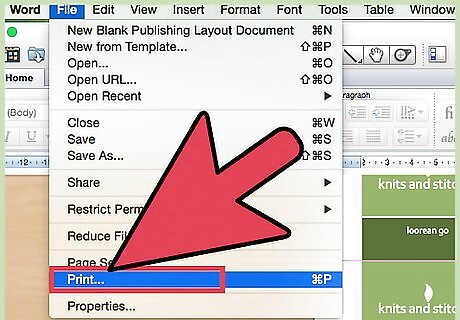
Use Microsoft Word instead. Word does not provides as many templates or as many tools for adjusting your design, but it works for basic designs. Here are three ways to get started on most versions of Word (2010 or later for Windows, 2011 or later for Mac): To choose an existing template, select File → New → Blank Document → Business Card → Print Business Cards. This requires an internet connection. To make your own design from scratch, click the Mailings tab in the top ribbon, then Labels. In the new ribbon tab, select Options and select the product you'll be printing on. Avery and other business card sheet manufacturers may offer additional downloadable templates on their website.
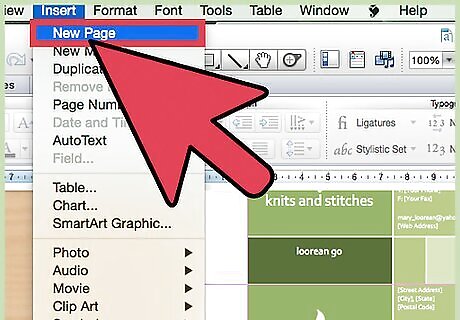
Add a reverse side to the business card (optional). If using Publisher, go to the Page Navigation pane, right click the current pane, and select Insert Page. Choose the layout option that best matches the design of your back. If using Word, click Insert in the Pages ribbon tab, choose Blank Page, and design the back from scratch. Keep all vital information on the front side. The back is for a tagline, mission statement, or other less important info — and leaving it blank is a common choice. Make sure the margin widths and number of copies per sheet are identical on both sides. Testing on ordinary, cheap paper first is recommended to ensure the two sides align exactly.
Print your business cards. If you selected the template that matched the product you're printing on, it should set your printer to the correct settings automatically. Otherwise, select Print and adjust the numbers under "Multiple copies per sheet" to match your paper product. For two-sided business cards, look for a "duplex" option in the settings. If your printer does not have duplex capability, you will need to print just the front side, then flip the paper and reinsert it before printing the back. Start with one page on ordinary, cheap paper to test the alignment. Hold two-sided cards up to a light to make sure the front and back align.


Comments
0 comment