views
Adding a Wi-Fi Printer
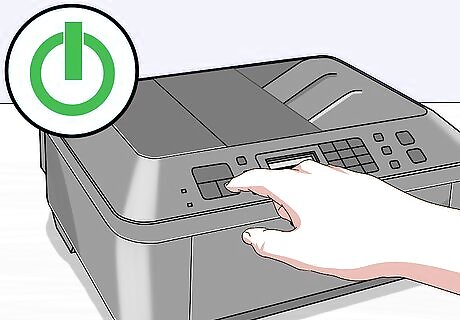
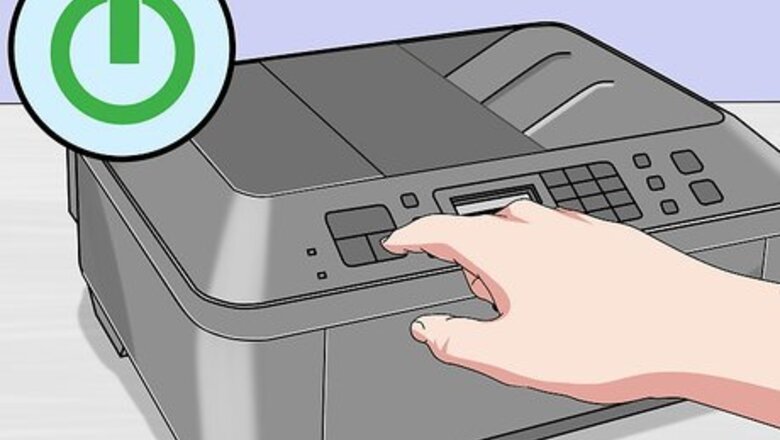
Turn on the wireless printer. If the printer is not already online, turn it on and connect it to your Wi-Fi network. You'll only have to complete this method the first time you set up this printer.
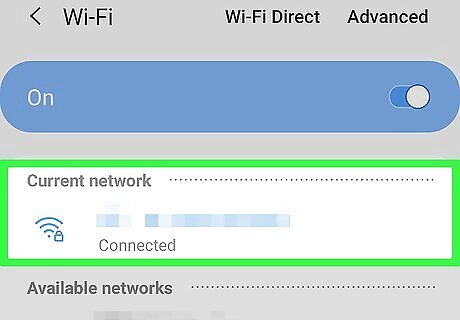
Connect your tablet to the same Wi-Fi network as the printer. You'll need to be connected to the same network as the printer to print wirelessly. To connect your tablet to Wi-Fi, open the Settings app, tap Wi-Fi, and then turn it on if it's not already active. If you're not connected to the network already, tap the network name and then enter the passkey when prompted to do so.
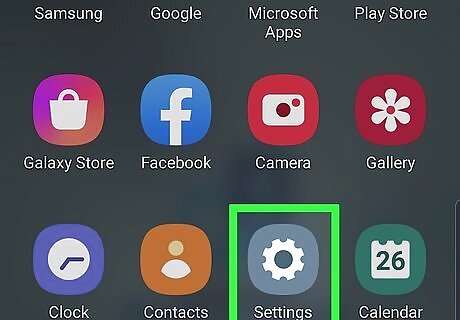
Open your tablet's Settings Android 7 Settings. It has an icon that resembles a gear. You can find it in the Apps menu.
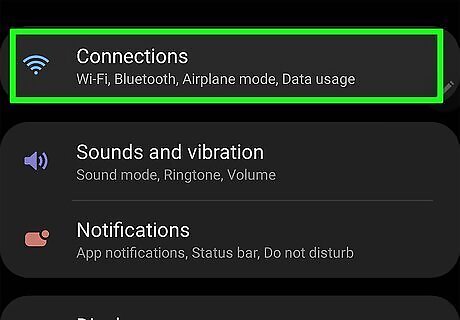
Tap Connections. It's the first option at the top of the Settings menu. This displays the connection settings. If you are using Software version 7.1.1 or earlier, tap More instead.
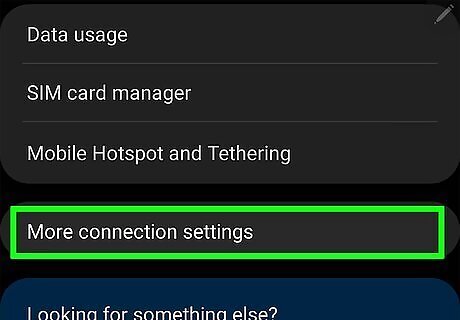
Tap More connection settings. It's near the bottom of the Connection Settings menu.Note: Depending on your Android version, you may see a different option with the word More in it, such as More settings or More networks. Tap the one you see—you'll know you're at the right place if you see a Print or Printing option inside.
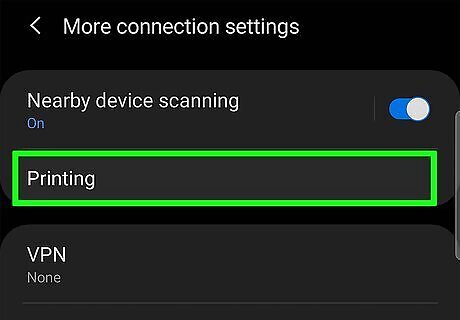
Tap Printing. The menu name will vary depending on which version of Android you are using.
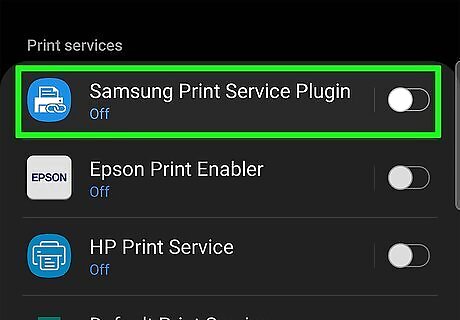
Tap a print plugin. You can tap Samsung Print Service Plugin to select the default Samsung print plugin, or Default Print Service to select the default Android print service. Alternatively, you can add a new print plugin by tapping Download Plugin to open a list of third-party plugins in the Google Play Store. From there you can tap a different plugin you want to use. These include third-party plugins or plugins for a specific printer brand (i.g HP, Lexmark, etc). Tap a plugin you want to install and then tap Install to install the plugin. Then select it under "Printing" in the "Settings" menu.
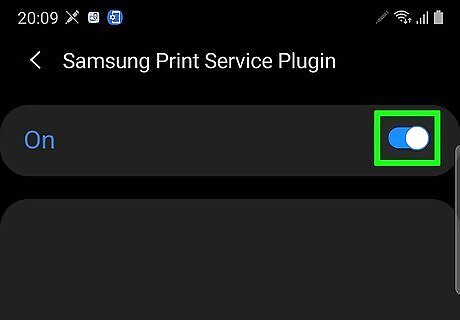
Slide the switch to the On Android 7 Switch On position. You are now ready to add a printer.
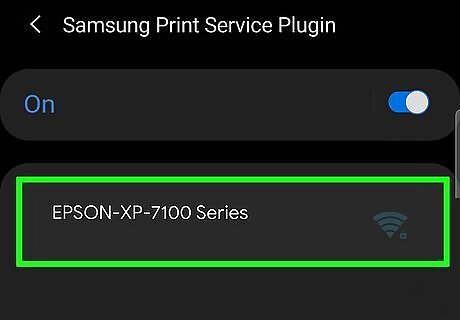
Tap the printer you want to add. The Galaxy tablet will automatically scan the network for available wireless printers. Tap the wireless printer you want to add. This connects the printer automatically.
Printing to a Wi-Fi Printer
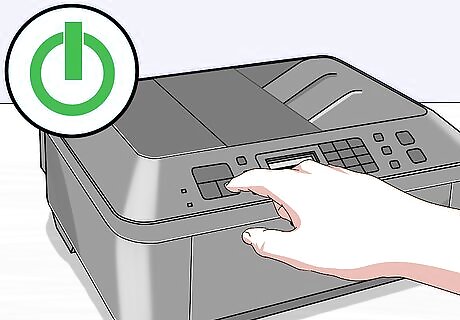
Connect your tablet to the same Wi-Fi network as the printer. You'll need to be connected to the same network as the printer to print wirelessly.
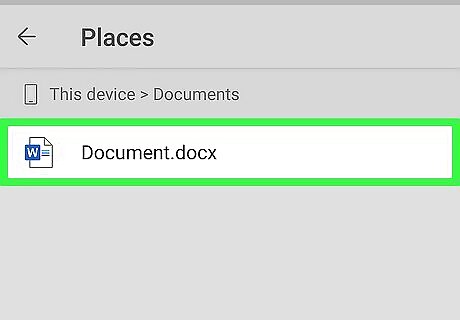
Open the file you want to print. You can print files from Google Docs, Drive, your web browser, and virtually any other app.
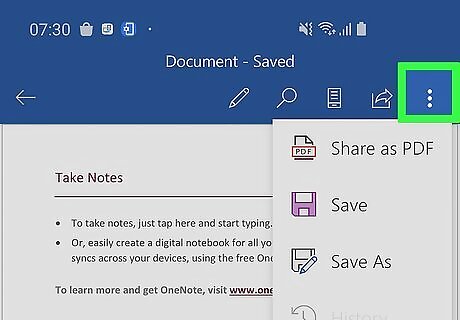
Tap the Menu icon ⋮ on the open file. It's the icon with three vertical dots in the upper-right corner of the screen.
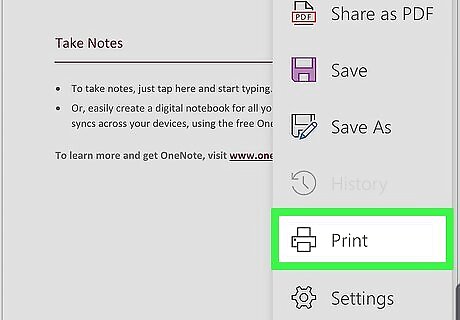
Tap the Print option. This displays the print preview screen. If you don't see this option in the menu, tap the Share or Share & Export option. It often has an icon that resembles three dots connected by two lines. Then tap Print.
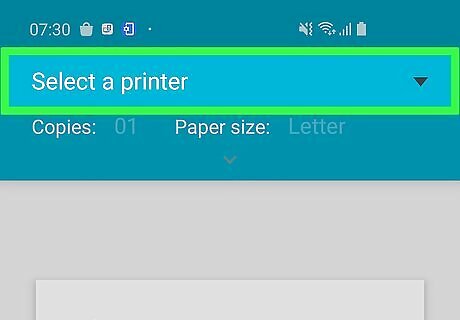
Select your printer. If you see anything other than the printer you want to use selected at the top-left corner of the screen, tap the menu and choose your printer. Tip: If you don't see your printer, make sure you're connected to the same Wi-Fi network to which it's connected.
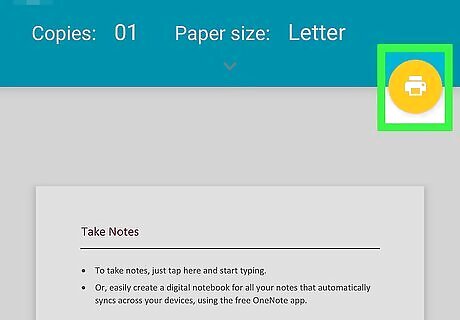
Tap the yellow printer icon to print. It's generally in the upper-right corner. This sends the selected file to the wireless printer.
Using a Bluetooth Printer
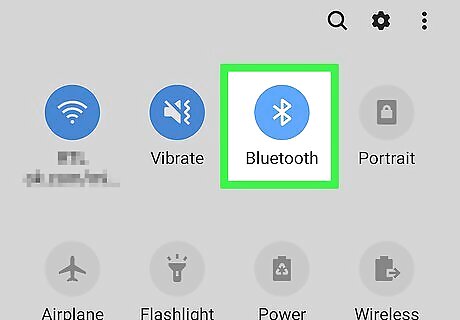
Enable Bluetooth on your tablet. If you don't have access to the Wi-Fi printer but can connect to one via Bluetooth, follow these steps to enable Bluetooth on your tablet now: Swipe down from the top of the home screen to open the notification panel. Tap the gear at the top-right corner. Tap Bluetooth in the left column. Slide the switch in the right panel to the On (blue) position. Your tablet will scan for available Bluetooth devices. If you see a separate option to "Make this device visible," follow the on-screen instructions to do so.
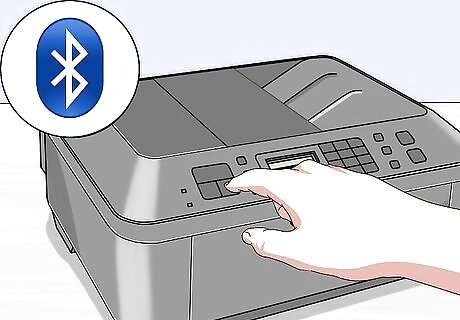
Put your printer into Bluetooth pairing mode. Sometimes the printer will be discoverable via Bluetooth as soon as you turn it on, but other printers require you to press a button or make a menu selection. Consult the user's manual or manufacturer's web page for your printer brand to learn how to put it in Bluetooth pairing mode.
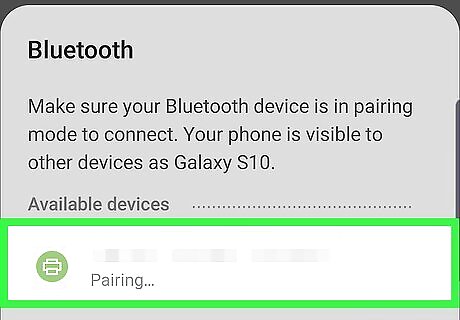
Select the Bluetooth printer on your tablet. If your Galaxy detected the printer automatically, you can tap the printer's name (or manufacturer name) to connect. If not, tap Search for new devices to search again.
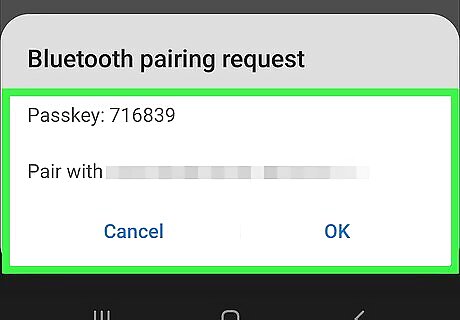
Tap Connect on the tablet. This pairs the tablet with the printer. Note: If your printer has a screen, check it to see if you need to confirm the connection on the printer side. Depending on the printer, you may have to enter a PIN to complete the connection. Consult with your printer's instruction manual (or search online) to find the correct PIN.
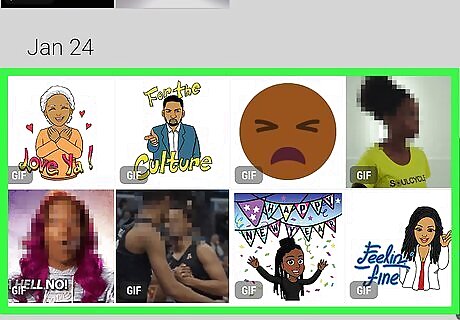
Open the file you want to print. Not all apps support Bluetooth printing, but you can usually print documents and/or photos from any app that has the "Share" option.
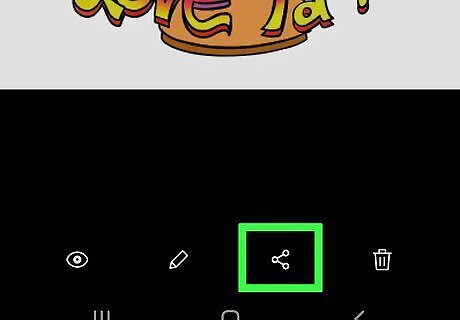
Tap the Sharing Android Share menu. It's location varies, but you'll usually see it at the bottom of the screen or in a menu.
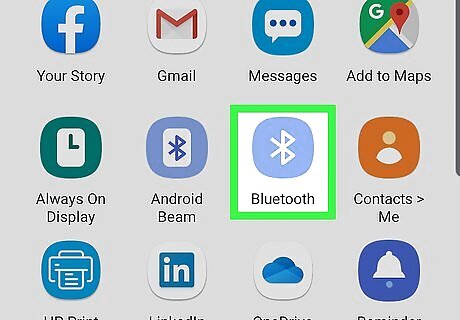
Select Bluetooth from the menu. It's the icon that looks like a sideways bowtie. A list of Bluetooth devices will appear.
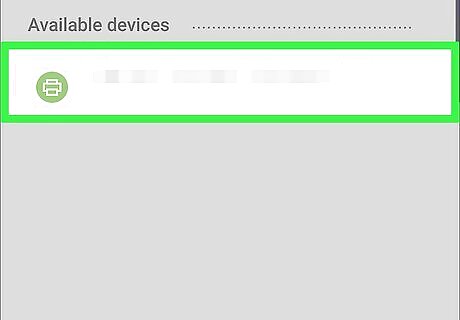
Tap the Bluetooth printer. This sends the document to the printer. If the document doesn't start printing automatically, check the screen on the printer and confirm if necessary.





Comments
0 comment