views
- To plunge a toilet, position a flange plunger over the drain hole. Hold the handle vertically and move it up and down for 10–20 seconds to break apart the clog.
- To clear a clogged sink or shower, plug any overflow holes with rags and set a sink plunger over the drain hole. Move the handle up and down for 30 seconds to unclog it.
- Pour hot soapy water down the drain or add 1 cup (272 g) of baking soda followed by 2 cups (470 ml) of vinegar to break apart the clog if you don’t have a plunger.
Using a Toilet Plunger
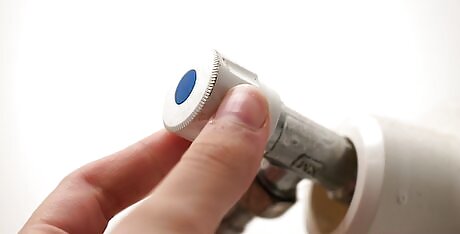
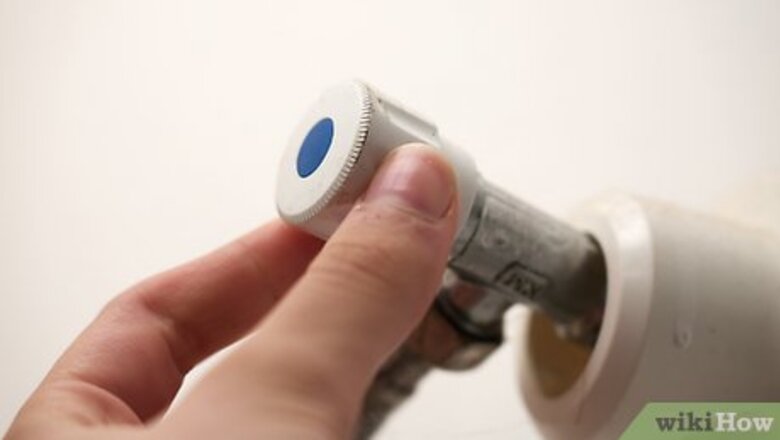
Turn off the water supply and empty half the toilet bowl. If your toilet is overflowing or filled to the rim, shut off the water to the fixture by turning the supply valve on the wall clockwise. Then, use a bucket to bail out water from your toilet bowl until it’s half-full so you’re less likely to splash and make a mess. Pour the excess water into a different toilet in your home, or wait until you unclog your toilet to pour it back into the bowl. Wear rubber gloves while you’re working so you don’t get any germs or bacteria on your hands. Lay out a few old towels and move any rugs you have in your bathroom so they stay clean in case you accidentally splash the water.
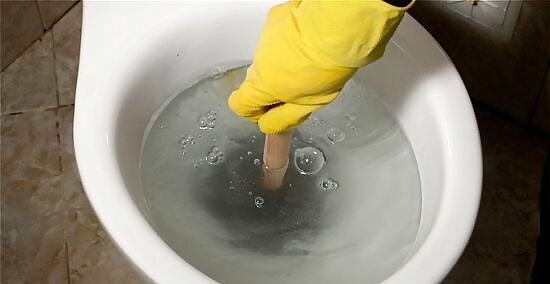
Place the rubber lip of a flange plunger around the hole in the toilet. A flange plunger has an extended piece of rubber sticking out from the main cup to create a better seal inside your toilet bowl. Dip the end of your plunger into your toilet so it slightly fills with water, and press it straight down over the drain at the bottom. Make sure the lip of the plunger sits tightly against the toilet bowl so it creates an airtight seal. A standard cup plunger will work fine in a pinch, but you may have to use a little extra force when you’re actually plunging the clog to completely remove it. Try applying a thin layer of petroleum jelly around the lip of your plunger to help form a tight seal. If you don’t scoop a little water into the plunger cup at first, you may force air out and cause the water to splash out of the bowl.
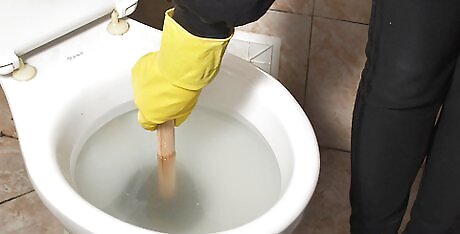
Hold the plunger handle straight up instead of at an angle. Position your plunger so the handle stays vertical and pointed at the ceiling while you’re using it. Even though it may seem easier to keep the handle at an angle while you’re working, you could break the airtight seal and make the plunger ineffective.
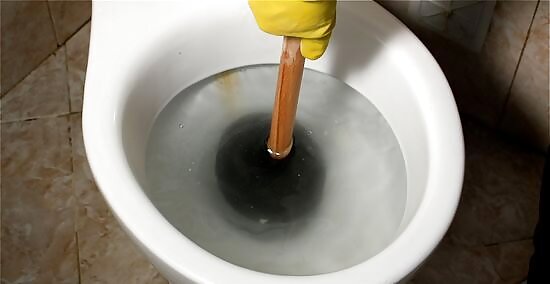
Move the plunger handle forcefully up and down for about 20 seconds. Put both hands on the wooden handle and push the handle. Then, pull the handle back up without breaking the plunger’s seal. Keep moving the handle for about 10–20 seconds to break up the clog in your toilet so it flows freely down the drain pipe. This is also called “burping” the plunger. If you accidentally break the airtight seal, that’s okay. Just situate the plunger back over the hole in the toilet and start again.
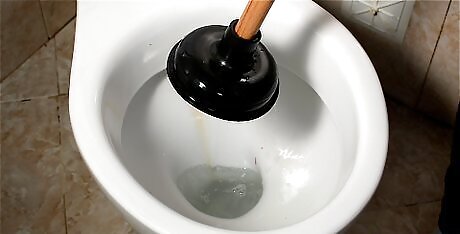
Lift the plunger up to drain the water in the bowl. After about 20 seconds, pull the plunger off of the toilet bowl to break the seal and let the water drain out. After that, turn on the toilet’s water supply valve and try flushing it again to make sure it runs properly without backing up or overflowing. If the plunger didn’t unclog the toilet, try using your plunger 1–2 more times. If your toilet is still clogged after a couple of attempts, then you may need to try a different unclogging method. After using your plunger, spray it with disinfectant, or pour a little bleach into your toilet bowl and dip the plunger’s cup in the solution.
Unclogging a Sink or Shower Drain
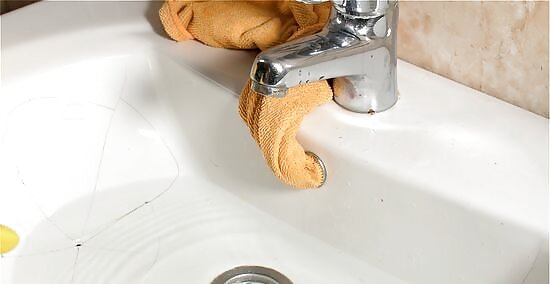
Cover the overflow hole on your sink or drain with a rag. The overflow hole diverts water if the water level in your sink or tub gets too high, and it can prevent your plunger from making an airtight seal. Look just below the faucet for a diverter and overflow drain on a tub or shower, or check directly under the rim of a sink basin. Stuff the opening with a rag or a towel so no air can escape as you plunge. If you’re unclogging a kitchen sink with 2 basins, put the plug over one of the drains. Then, clamp off any hoses that lead to a dishwasher that could prevent you from getting a perfect seal.
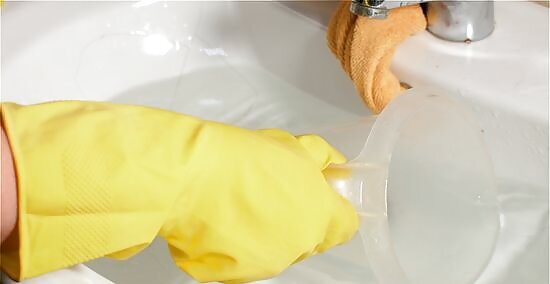
Scoop out any excess water. If your sink or shower is currently full of water, use a cup to collect some of it and pour it into a different drain so you don’t splash and make a mess. If the water is brown or dirty, wear rubber gloves to protect your hands from any bacteria. Leave about 1–2 inches (2.5–5.1 cm) of water in your sink or shower to help your plunger work more effectively. Put a few towels or rags down around the sink or tub just in case you accidentally splash some water.
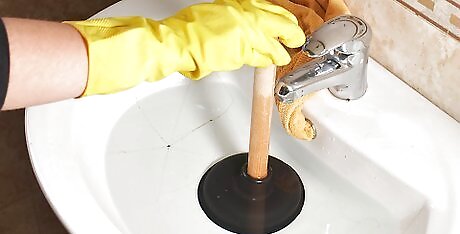
Press the lip of a sink plunger around the drain. Use a sink plunger that only has a standard cup since it will fit over the drain better. Place the plunger cup over the drain with it. Hold the plunger upright and place the cup directly over the drain to create an airtight seal. Holding the plunger at an angle could break the seal, so keep the handle pointed straight up at the ceiling.
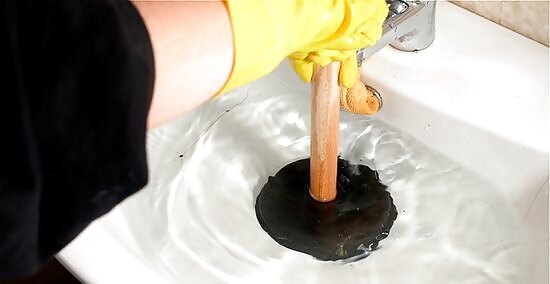
Move the plunger’s handle up and down for 20–30 seconds. Grip the plunger firmly with both hands and forcefully push the handle down before quickly pulling it back up again. Keep doing this for about 20–30 seconds to push apart the clog and force it out of the drain. Be careful not to lift the rubber part of the plunger off the drain, or you may break the airtight seal. If you accidentally do, just situate the plunger over the drain again and keep working.
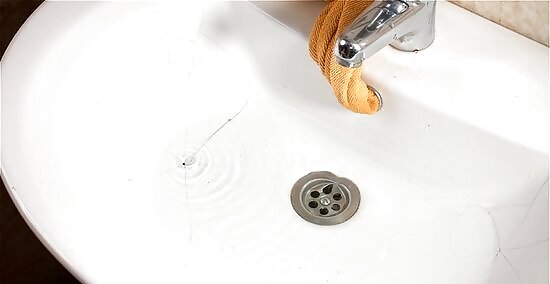
Lift the plunger up to let the water drain. After about 20–30 seconds, pull the plunger cup off of the drain and watch the water disappear. Once the water drains out, unplug the overflow hole and unclamp any hoses so you can use your sink or shower again.
Alternatives to Plungers
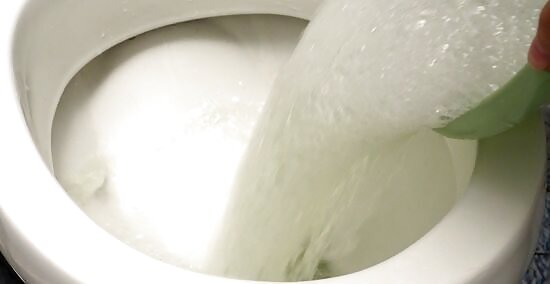
Use hot soapy water to help remove a clog from a toilet. If you’re trying to unclog your toilet without a plunger, fill a large bowl with hot tap water from your faucet and stir in about ⁄4–⁄2 cup (59–118 ml) of liquid dish soap. Slowly pour the soapy water into your toilet bowl. The soap will break apart the clog as well as help it slide through the pipes. You may have to wait for the soap to break apart the clog overnight.
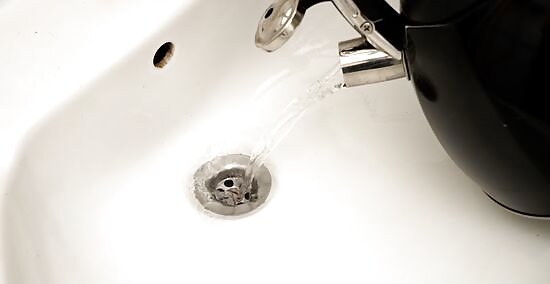
Try pouring boiling water down your drain. Bring a pot or kettle of water to a boil so the water is hot and bubbling. Pour the water little by little into the drain until you add all of it to the drain. Wait for about 10–15 minutes before turning on your sink or shower faucet to see if the drain clears. Avoid using boiling water if your plumbing uses PVC pipes because you may damage the watertight seal.
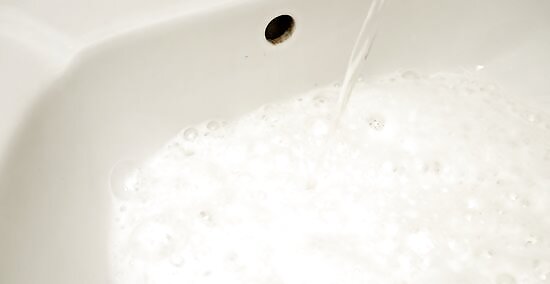
Add a mix of baking soda and vinegar to the drain. Add about 1 cup (272 g) of baking soda to your drain and pour in 2 cups (470 ml) of distilled white vinegar. Let the solution sit for 30–60 minutes. The baking soda and vinegar will create a chemical reaction that helps break apart the clog naturally so you don’t have to use harsh chemical cleaners.
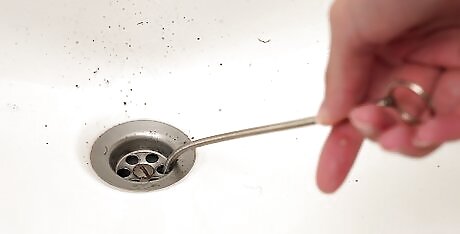
Use a drain snake to break apart the clog in your pipes. A drain snake, also known as a drum auger, is a long cable that feeds into your drain pipe to manually break apart the clog. Guide the end of the snake into the bottom of your toilet or your drain until you meet resistance. Then, twist the snake or turn the handle to loosen the clog deep inside your pipes. When you don’t feel the clog anymore, pull the snake back out and try running water through your drain. If the drain snake doesn’t break apart the clog, then call a professional plumber to help diagnose and clear the problem. Alternatively, you may be able to break apart the clog with a straightened wire hanger or with your toilet brush.
Preventing Clogs
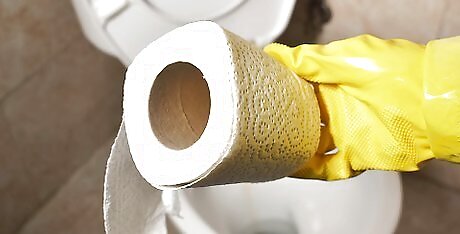
Flush only waste and toilet paper down your toilet. Toilets are only meant to carry toilet paper and waste, so any other materials, like paper towels, baby wipes, and period products, can create a clog. Even “flushable” wipes can back up the small drainage pipes that lead out of your toilet, so avoid using them. Large amounts of toilet paper can also clog your toilet, so go easy on how much you use at one time. Keep the toilet seat down when you’re not using it to prevent anything from falling into the bowl. If you have young kids, consider installing a toilet lock to prevent them from opening the lid on their own.
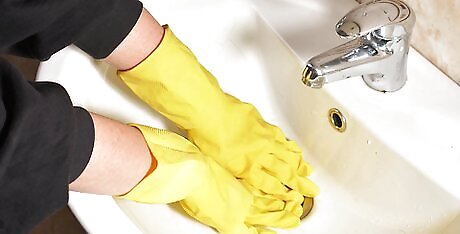
Clean out the sink and shower drains every few weeks. Every couple of weeks, remove the stoppers from the drains and pull up any debris that’s caught on the stopper by hand. Throw the debris in the garbage rather than washing it down the sink. For shower drains, pick hair and soap scum from the drain covers. If there’s a lot of natural buildup inside your drain, try mixing ⁄3 cup (79 ml) of distilled white vinegar and ⅓ cup (68 g) of baking soda and pouring it down your drain. Let it sit for an hour before rinsing it out with warm water. You can also try pouring boiling water down your drains every other week to flush them out and keep them clear of debris. Use a wet/dry vacuum on drains to suck out any hair or debris that may be stuck inside the drain.
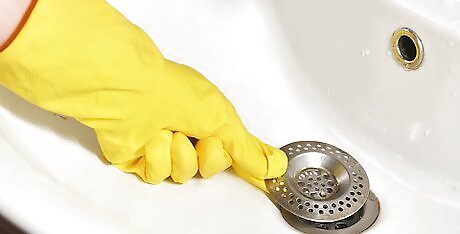
Install mesh drain screens to catch debris in your sink or shower. Mesh screens are a great way to trap food, hair, and other debris before it gets into your drain pipes. Simply place the screen over the drain in your shower, tub, or sink so it covers the hole completely. When you notice food or debris caught inside of the screen, just scrape it off into the garbage. Clean the screens every 1–2 days to keep water flowing properly down the drain.



Comments
0 comment