views
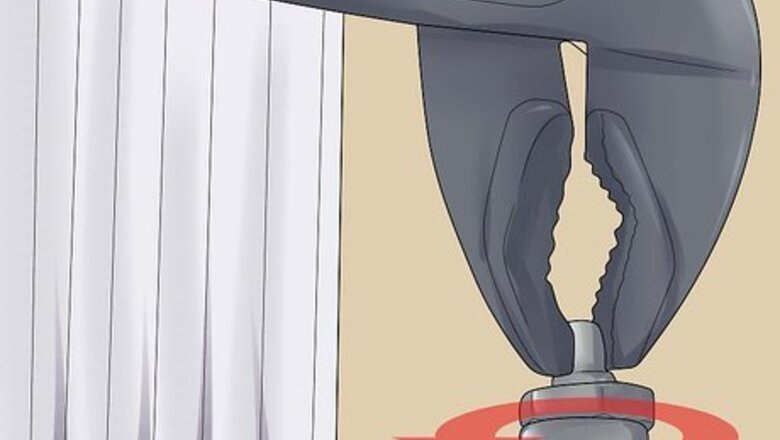
- First, turn off the radiator by twisting the valves on either side and removing the cap from each valve.
- Set up a towel below the end of the radiator and unscrew the cap nut with an adjustable wrench, draining water into a wide bowl.
- Get a friend to help you pick up the radiator and tip it towards the bowl, letting the rest of the water drain before storing the radiator.
Turning Off the Radiator
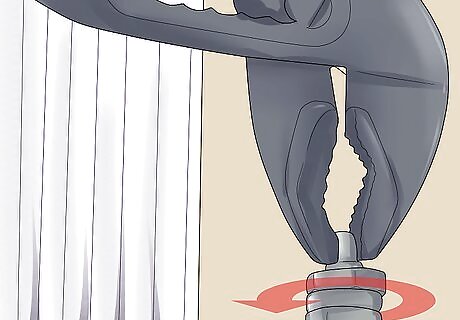
Turn the valves off on either side of the radiator. The valves are usually located just above the base points that extend from the ground. Use a clockwise or tightening motion to turn them off.

Remove the caps from the top of these valves. They are plastic or resin and they cover the hot metal valves. Use an adjustable wrench to tighten the valves even further. Use the wrench to tighten the nuts at the top of the valve.
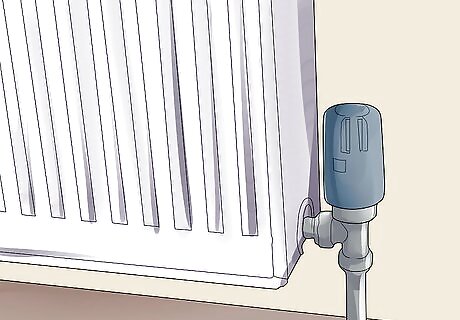
See if you have thermostatic radiator valves that take the temperature of the room and turn on and off automatically. If you do, you will need to remove them and replace them with a regular cap to turn them off. Use the caps that came with your radiator or use caps from a nearby radiator if they will only be used for a short time. Screw the caps on tight by hand and then with an adjustable wrench.
Bleeding the Radiator
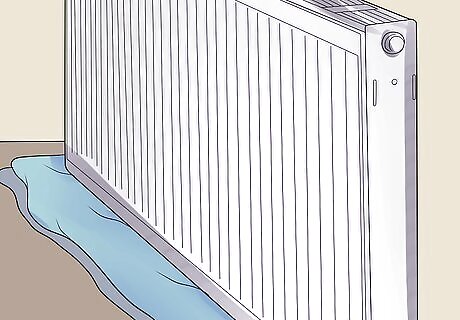
Place a towel below the end of the radiator, where the valve meets the radiator itself. Along with proper precaution, it will prevent damage to your room.
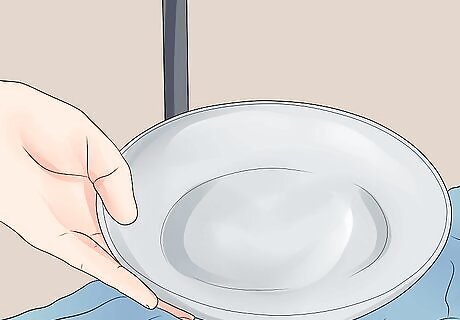
Put a wide bowl on top of the towel and below the area where the radiator is attached to the valve.
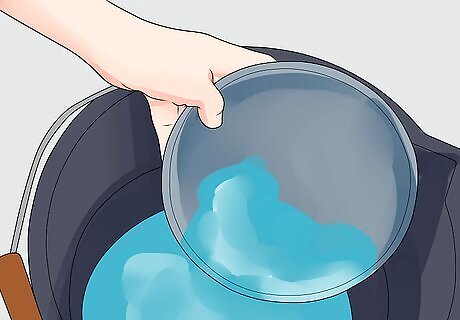
Keep a bucket nearby where you can drain the water in the bowl when it fills up.
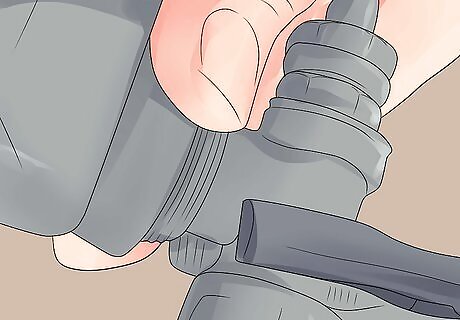
Use an adjustable wrench to unscrew the cap nut at the point where the radiator connects to the valve. Turn it counterclockwise until it starts to drip water. Keep turning until the flow is slightly larger.
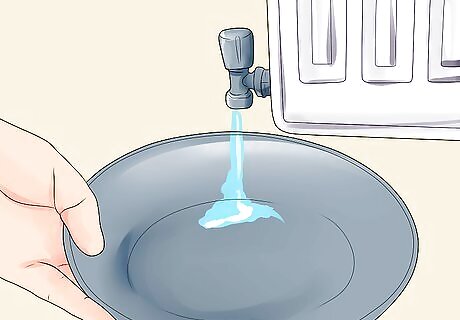
Let the radiator bleed water in to the bowl. Unscrew it a little more when the flow stops. When you have no more water coming out, you can unscrew the cap nuts completely so that the radiator is no longer connected to the base.
Removing the Radiator
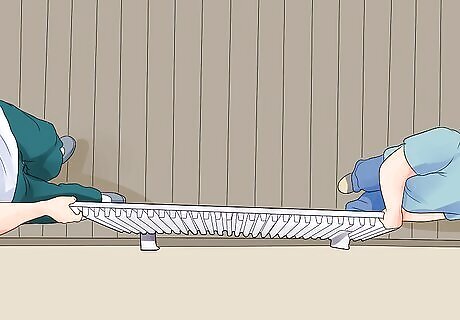
Ask a friend to help you with this part of the process. Radiators are heavy. You will also need to tip it to pour remaining water out.
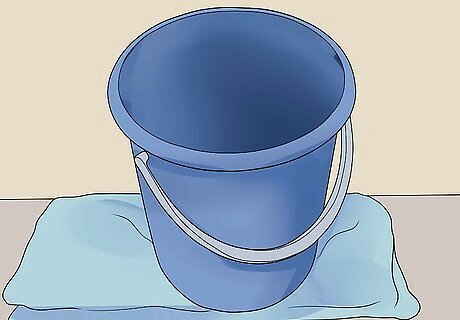
Set a towel on the ground. Place the bucket on top of it.
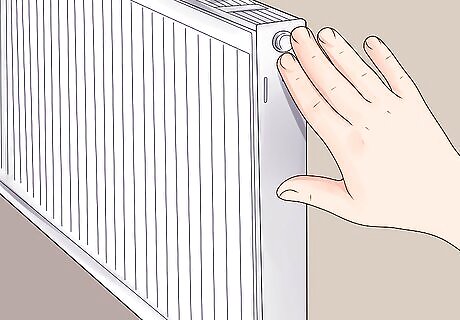
Make sure the radiator is free of the nuts and base assembly on either side.
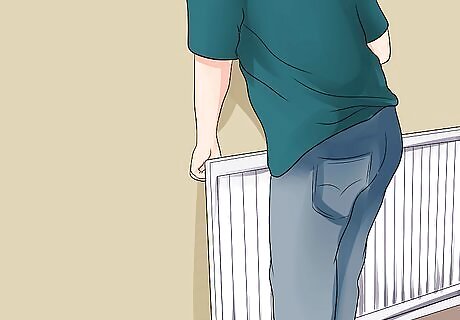
Grab either side of the radiator. Lift up and out to remove the radiator from the brackets.
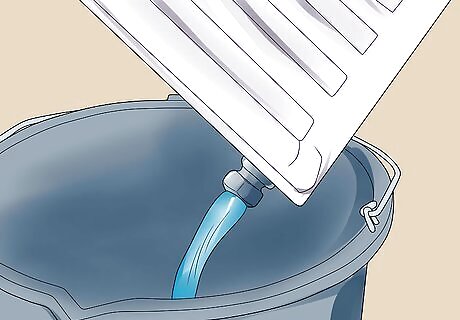
Tip the end of the radiator that you just used to bleed the radiator toward the bucket. Let the rest of the water flow out of it.
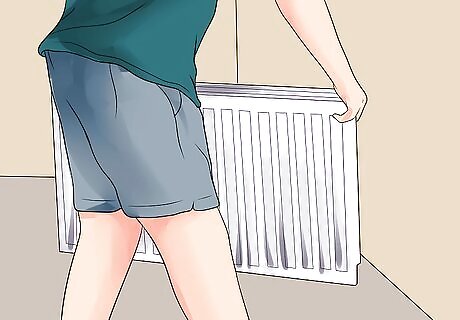
Take the radiator to a safe place for storage until you are done decorating.
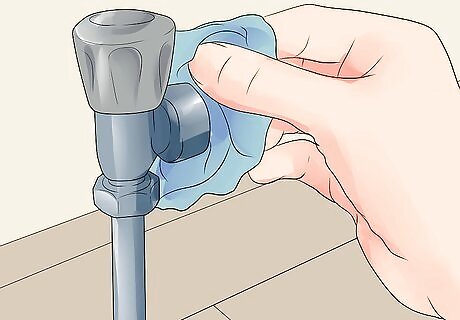
Wipe the base valves and cap nuts. They often drip a little water after the radiator is removed.



Comments
0 comment