views
Tightening or Repairing Loose Fasteners
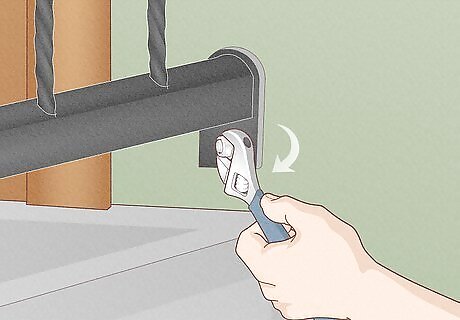
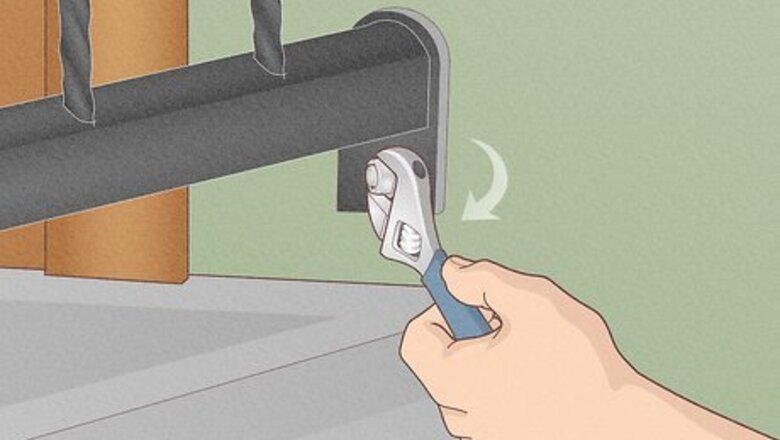
Tighten loose bolts or screws manually. Metal railings are usually attached to wood with screws, and to other sections of railing with bolts. If your railing is loose, check these connections first and tighten the fasteners with a screwdriver or wrench. If a bolt won’t tighten securely by hand, remove it, check for damage, and replace it with another bolt of the same size. If a screw won’t tighten into wood, try replacing it with a slightly larger screw. If that doesn’t work, find a plastic wall anchor that fits snugly into the hole in the wood and press it into the hole. The anchor will expand and grip the surrounding wood when you drive the screw into it.
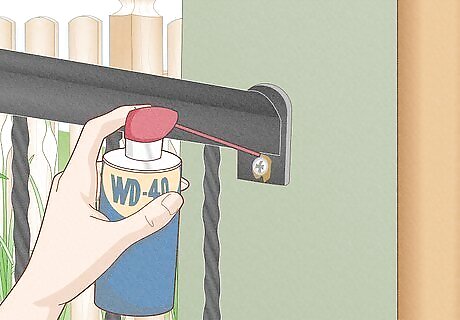
Use penetrating oil to loosen stuck bolts or screws. If a fastener that you need to tighten or remove is rusted into place, spray it with a penetrating oil and wait 30 minutes. The oil should loosen the connection enough for you to tighten or loosen the fastener. You can buy penetrating oil at any hardware store. Penetrating oil comes in an aerosol can with a plastic straw attachment for precision spraying. Use the straw so you can spray the oil deeper into the connection.
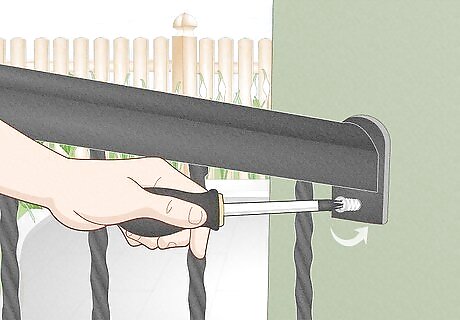
Pull out the fasteners, and possibly anchors, at a loose masonry connection. If your railing is attached to concrete with fasteners (as opposed to being embedded into the concrete), remove the fasteners if you have a loose connection. Take out screws or bolts with a screwdriver, or pull out nails with pliers. You’ll find plastic anchors embedded in the concrete. If these are secure and in good shape, leave them alone. If they are loose, pull them out with pliers.
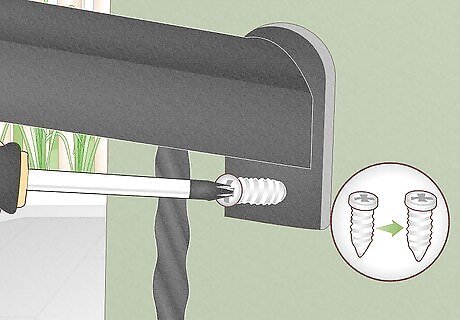
Try using slightly larger fasteners with the same anchors. Pick out some screws, bolts, or nails that are slightly larger than the previous ones, and feed them through the railing post bottom and into the anchors. They will expand the anchors more and may solve your loose railing problem. If necessary, take the old fasteners to a hardware store to pick out slightly larger replacements. If the anchors are damaged, replace them with new ones of the same size.
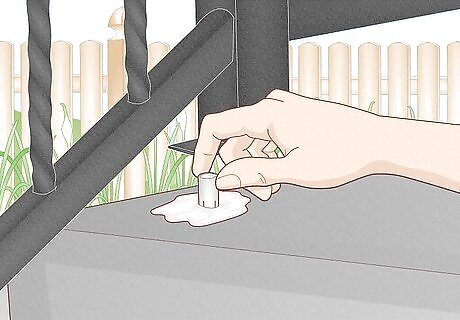
Use epoxy to re-set loose anchors, if necessary. If the holes in the concrete have become too large for the anchors, fill them nearly to the top with a masonry epoxy. Then insert the anchors, position the railing post bottom, and insert the fasteners. Allow the epoxy to set up as per the package instructions before using the railing. Wipe away excess epoxy with a damp cloth right away.
Re-Embedding Loose Railings in Concrete
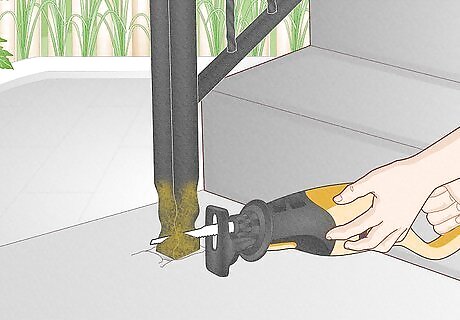
Cut the loose railing free with a reciprocating saw. Railings that are embedded into concrete can rust in that connection area, causing the railing to loosen or even break free. Use a reciprocating saw with a metal-cutting blade to slice through the posts and free the railing. Squeeze the trigger on the saw, and the long blade will move back and forth rapidly and slice through the metal with minimal effort. Remove any other connections made by fasteners like screws or bolts as well, so that you can completely remove the railing section. In some cases, the post may be rusted through so severely that you can simply twist or snap it free. Wear eye protection and follow the product safety recommendations when using a reciprocating saw. Also be careful for sharp pieces of rusted metal once you remove the railing section.
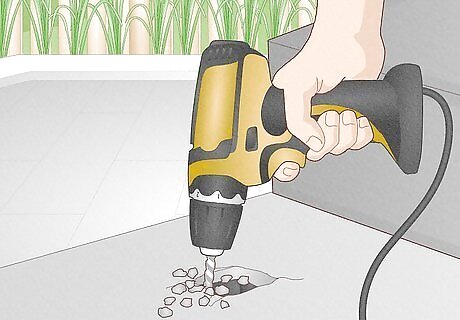
Use a hammer drill to remove the railing remnants from the concrete. The bottom of each damaged railing post will still be embedded in the concrete and needs to be removed. Use a hammer drill with a masonry bit to break these pieces free. Simply place the tip of the bit against the concrete, press down to hold the drill in place, and squeeze the trigger. The concrete should break up fairly easily. If you don’t have a hammer drill, you can also use a hammer, masonry chisel, and lots of muscle power! In either case, be sure to wear eye protection. Chip away just enough material to get the rest of each metal post out. After you’re done, use pliers and a vacuum to clean out any bits of metal or concrete left behind in the holes you’ve made.
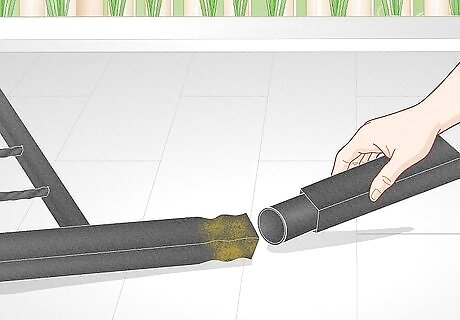
Buy leg extension inserts that match the current railing. These inserts have a rounded end that slides up into the hollow shaft of the railing’s post, and a squared end that replaces the damaged section of the post. You may be able to find them pre-made at fencing suppliers or home improvement stores. You can also have them custom-made at a metal fabrication shop.
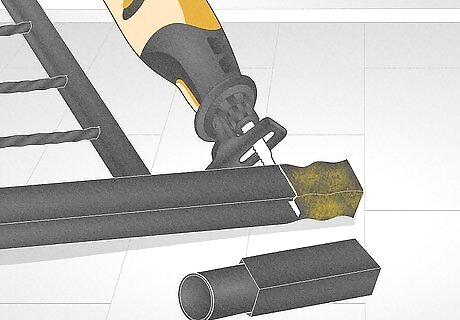
Cut the damaged railing bottoms and new inserts to fit. Squeeze the trigger on your reciprocating saw and use its oscillating blade to cut off any ragged or rusted material from the bottom of each post, leaving behind a smooth, clean edge. Slide the rounded ends of the inserts into the post ends to make sure they fit—they should be snug but not difficult to insert and remove. Then, if necessary, cut more material from your existing post or the square end of the post insert to match the previous length of the entire post. Before securing the inserts in place permanently, spray a rust-resisting primer intended for metal onto all of the cut edges.
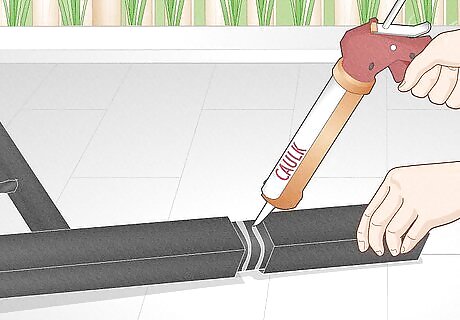
Secure the inserts in place with bonding adhesive. Use a caulk gun to squeeze a generous amount of bonding adhesive into each post opening. Then slide the inserts into place and give the adhesive time to set up, as per the package instructions. You’ll find bonding adhesives in tubes that fit into a standard caulk gun. Choose an adhesive intended for use with metal.
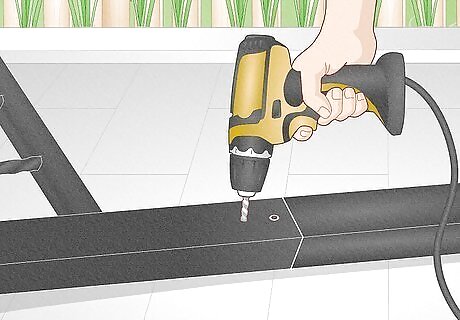
Drill a hole and use a rivet gun to further secure the insert. About 3–6 inches (7.6–15.2 cm) above the joint between the old railing and the new insert, drill a hole through the existing railing post and into the rounded stub of the insert. Use a drill with a 0.25 in (6.4 mm) bit intended for use with metal. Then, use a rivet gun to “shoot” an expanding 0.25 in (6.4 mm) rivet into the hole. Repeat this with each of the other repaired posts. If you don’t have a rivet gun, you can skip this step. However, the repaired joint will be more likely to loosen over time.
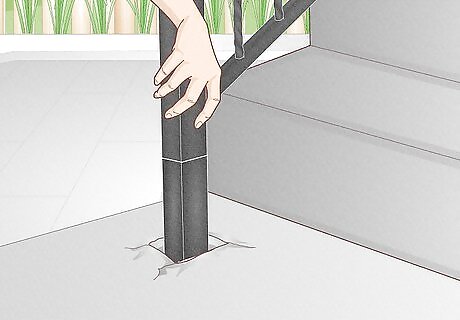
Place the railing section back into its original position. Set the new post bottoms into the holes left behind in the concrete, and reconnect any fasteners to other railing sections, porch columns, etc. If necessary, use duct tape to temporarily help hold the railing in its intended position. If needed, use a spirit level to make sure the railing is in the proper position.
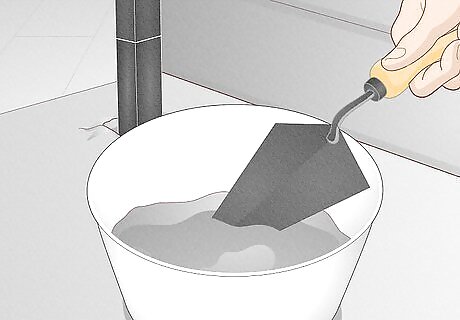
Mix up a small batch of hydraulic cement. Hydraulic cement (also known as expanding concrete) sets up very quickly, so combine the dry mix and water right before you’re going to use it. Follow the package instructions for the proper ratio of mix to water, and stir them together in a bucket with a trowel. If you only need enough concrete to fill 3-5 post holes, you can probably mix up the batch in a 1 US gal (3.8 L) bucket.
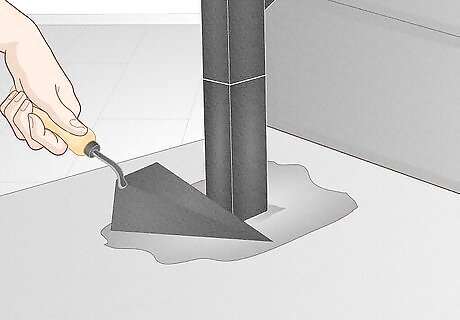
Press the hydraulic cement into the post holes with a trowel. Use the mixing trowel to scoop up the mixed concrete and drop it into each post hole. Keep pressing down firmly as you work in order to force the concrete into each nook and cranny of the holes. You want to fill all the gaps and press out all the air pockets. Mound the new concrete up slightly against each post, but otherwise smooth it out to be level with the existing concrete.
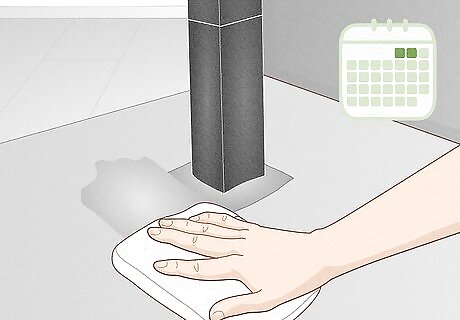
Wipe the excess concrete with wet rags and wait 2 days. Since hydraulic cement dries quickly, don’t wait long to wipe away extra blobs on the railing, steps, etc. After that, give the concrete at least 2 days to cure before applying pressure to the railing—e.g., leaning against it or grabbing it while walking up the steps. If you used duct tape to help hold the railing section in position, keep it there for at least 2 days as well. The repaired railing is now ready for repainting, if needed.
Removing and Painting Over Rust
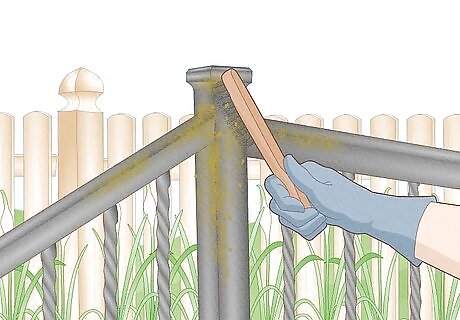
Scuff off minor rust spots with steel wool. Check your railing for rust spots frequently, especially at joints and connection points with other materials like wood or concrete. When you find a small rust spot, scuff away the loose rust with steel wool, then wipe it with a damp cloth and a dry cloth. Try to address small rust spots before they become big rust spots or even holes!
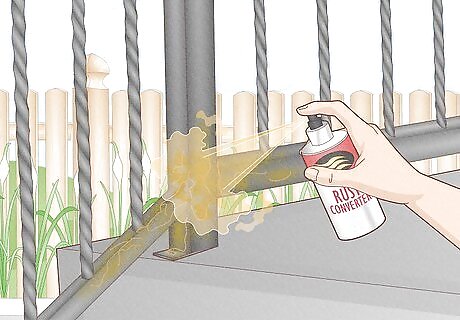
Address extensive rust by scraping and using a rust converter. If large swaths of the railing are already rusted, skip the spot treatments with steel wool and instead scrape off only the loose pieces of rust. Use a wire brush or paint scraper for the job. Then spray an aerosol rust converter over all rusted areas of the railing. Rust converters don’t change the look of rusted areas (the primer and paint will cover over them), but they do help stop further rusting from occurring there. Spray on a rust converter in the same way you do primer or paint. Use short bursts for even coverage, and keep the spray can moving so you don't apply too much in any one spot.
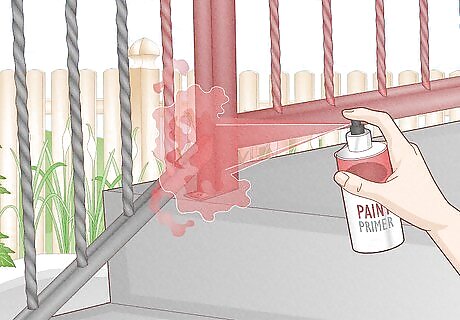
Spray primer over any spot treatments or rust converter coatings. For spot treatments with steel wool and wet- and dry-rag wipe-downs, make sure the area is dry and then spray it evenly with 2-3 short bursts. For larger areas of rust coated in a rust converter, let the converter dry (as per the product instructions) and then spray the primer over top of it, using the same short bursts and constant movement. Use a rust-resistant primer intended for use on metal, and spray from the distance recommended on the can. Allow the product to dry before painting—this may take as little as 10 minutes, but check the can for guidance.
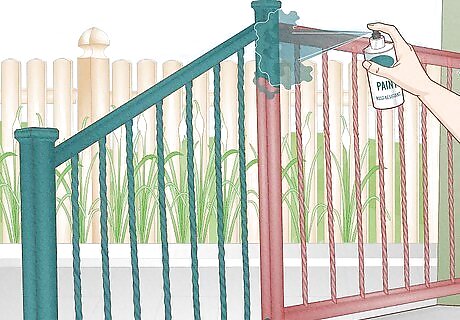
Spray the primed areas or the whole railing with rust-resistant paint. Once the spray primer has dried, spray on a paint with rust-resistant qualities. For small patches, you can try to match the color of the existing railing. For more extensive rusting, you’ll be better served to repaint the entire railing section. If you are repainting the entire railing section, clean it by wiping it down with a wet rag, then let it dry before painting. Choose a spray paint intended for use on metal, and spray in quick bursts while keeping the can moving. If you need to apply multiple coats, let each coat dry 10-20 minutes (or as directed on the can) before proceeding.
Caring for Genuine Wrought Iron
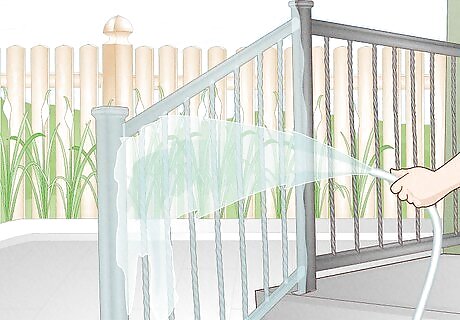
Clean genuine wrought iron by hand with water. Solid, forged iron railings should be cleaned only with plain water and soft cloths. Simply dip your cloth in water and clean the railing, or, if necessary, spray it lightly with a garden hose before wiping it down. Don’t use a pressure washer on genuine wrought iron, as you’ll likely force water (and eventually rust) into its tiny crevices. After cleaning, dry off the railing with rags or towels.
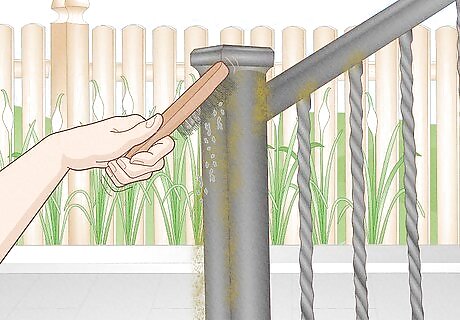
Scrape off rust spots with a wire brush and medium-grit sandpaper. If you find some small rust spots on genuine wrought iron, remove any loose material with a wire brush and 80-grit to 120-grit sandpaper. You can also try steel wool instead of sandpaper. If there are significant or widespread rust spots, it’s best to call in a professional to address them. Rusted wrought iron can become very fragile.
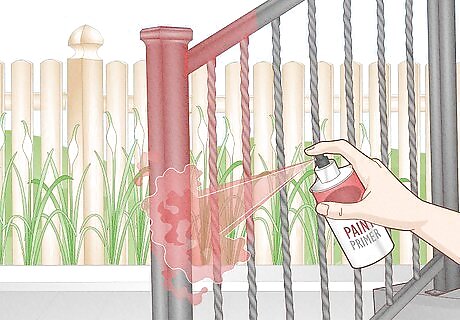
Apply a spray primer over cleaned rust spots. After scraping and sanding rust spots, wipe them down with a wet cloth and a dry cloth. Then apply a rust-resistant primer intended for use on metal. Let it dry according to the product instructions. Spray in short bursts while moving the can over the area.
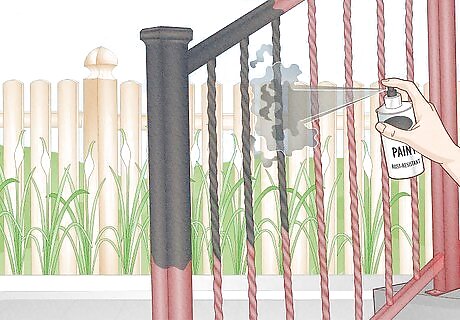
Paint over the primer or the entire railing. If you can find a good color match, you can apply a spray paint just over the spots you primed. Use a rust-resistant paint intended for metal, apply thin coats with quick bursts, and allow it to dry for at least 10-20 minutes before adding additional coats. However, newly-sprayed spots will never completely match the rest of the railing. If you decide to paint the whole thing, gently go over the entire railing with sandpaper, wipe it down with a wet cloth, and dry it with a clean rag before painting it. For historic wrought iron railings, you should consult an expert before repainting.
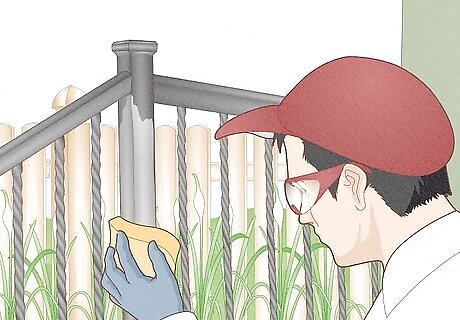
Call in an expert for structural repairs or major rust damage. Creating genuine wrought iron is a bit of a lost art in the modern world, so existing wrought iron should be treated with care and respect. A wrought iron expert can help diagnose your railing’s needs and come up with an appropriate repair plan. If you live in a historic district, you’ll almost certainly have to work with experts before making any repairs or alterations to wrought iron railings.


Comments
0 comment