views
Fixing a Dislocated Rib
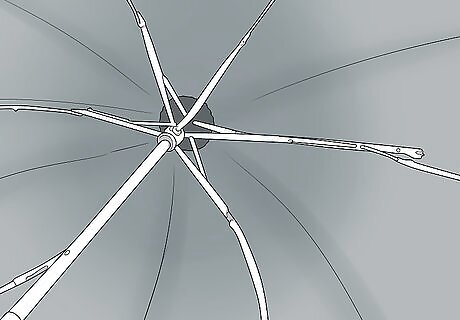
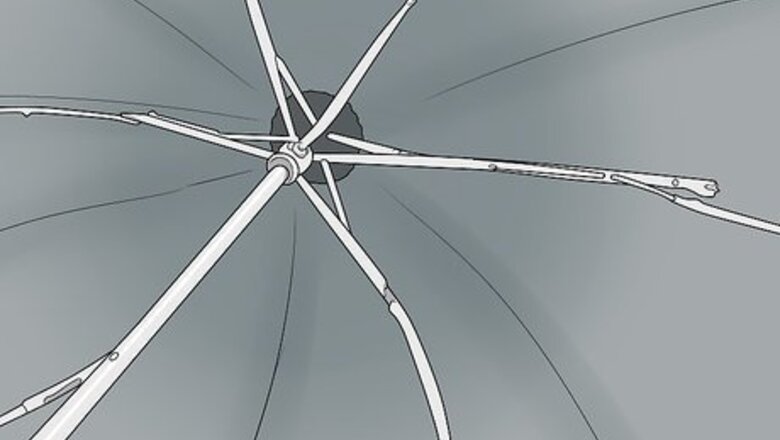
Open your umbrella halfway so that the ribs stick out at an angle. Engage the button or slide lever near the handle of your umbrella as if you were going to open it all the way, but stop short of letting it lock in the open position. You'll have a smoother time fixing your umbrella's ribs while there's a little slack in them. The "ribs" are the slender metal spokes that support the canopy of an umbrella while it's open. Prop your umbrella upside down or clamp it upright between your knees so you'll be free to work on it with both hands. In this position, the ribs will still be slightly bent, which will make it easier to manipulate the main connector pieces.
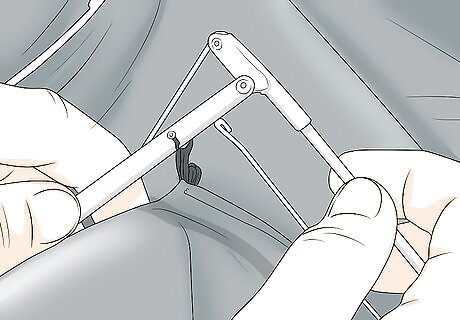
Line up the small holes on the ends of the rib. On a standard metal umbrella, you'll see two holes at the site where each rib joint connects with the one beside it. Pinch the ends of both ribs close together so that you can see through both holes. If the problem is not a dislocation but an actual break, you may have no choice but to throw your umbrella out and buy a new one.
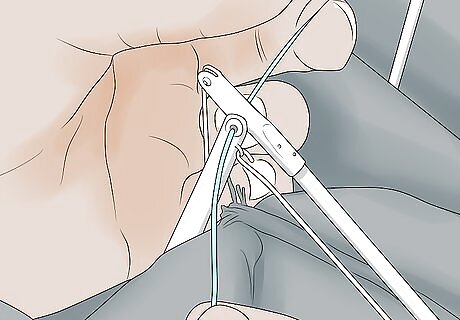
Insert a 2–4 in (5.1–10.2 cm) length of wire through both holes. Use a wire cutter to snip a piece of small-gauge wire to the desired length. Slip one end of the wire through the aligned rib holes. Continue pushing the wire through until it's centered, with 1–2 in (2.5–5.1 cm) of wire hanging out on either side. It may help to hold the rib ends together with the fingers of your free hand while you focus on guiding the wire through. If you don't have anything else on hand, a bit of wire taken from a spare coat hanger may do the trick.Tip: 20/2-gauge doorbell wire is thin, flexible, and durable. In other words, it's perfect for an umbrella repair job.
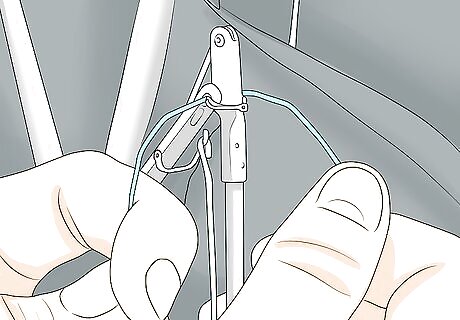
Twist the wire tightly into place around the rib ends. Bend the ends of the wire toward one another so that they cross. Then, pinch both ends between your thumb and forefinger and twist them 4-5 times to tighten them down. Before you proceed, take a moment to make sure the wire is nice and secure. If your makeshift wire connector is too loose, your umbrella may not open correctly. Reconnecting the separated rib ends repairs the joint, allowing the umbrella to open and close properly once again.
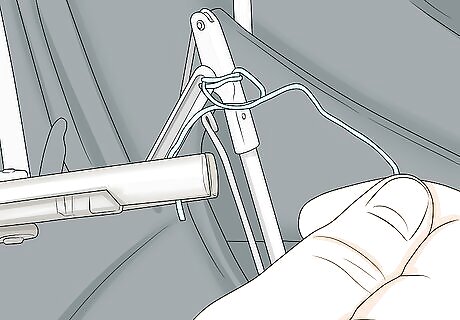
Snip off the excess wire using your wire cutters. Clip off the long, jagged wire ends near the base of the twist. That way, they won't accidentally poke you or get in the way while you're opening the umbrella. Consider yourself rain-ready! Be sure to snip the wire straight across rather than at an angle. You could cut or scratch yourself on an angled wire end, if you're not careful.
Mending a Torn Canopy
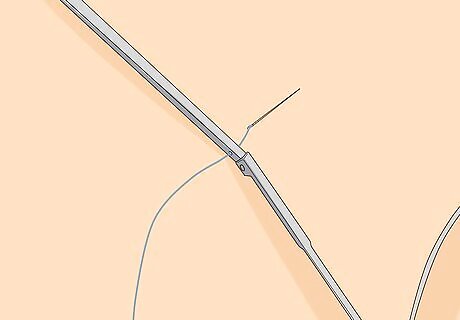
Wind a length of thread around a separated rib to hold it in place. One of the most common issues with inexpensive umbrellas is the canopy fabric coming detached from the end of one of the ribs. When this happens, all you have to do is thread a sewing needle and weave it through the small hole in the rib, up through the canopy fabric, then back down again. After a few passes, snip the thread and tie off the ends 2-3 times to make sure it holds. In the best case scenario, there will be no actual damage to the fabric itself, and your umbrella will be as good as new (or better) by the time you're finished.
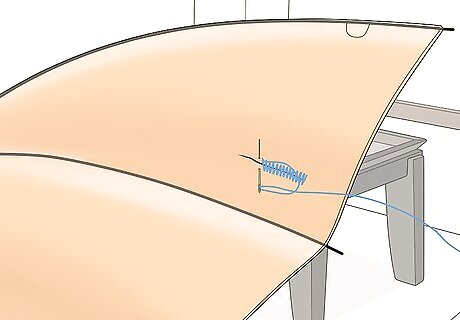
Stitch up small tears with a needle and thread. Thread your sewing needle with a strand of nylon thread and double-knot the loose end. Fold the torn canopy fabric over on itself by about ⁄4 in (0.64 cm), then guide your needle back and forth through one side of the fabric and out the other until the knot comes to a stop against your first stitch. When you're done, tie the loose ends of the thread and snip off the excess. Aim to leave ⁄16–⁄8 in (0.16–0.32 cm) of space between each of your stitches. A couple stitches will probably be all you need for a minor snag or puncture.Tip: Make sure you use nylon or another type of waterproof thread. Otherwise, your umbrella may leak, even after the damaged area has been stitched shut.
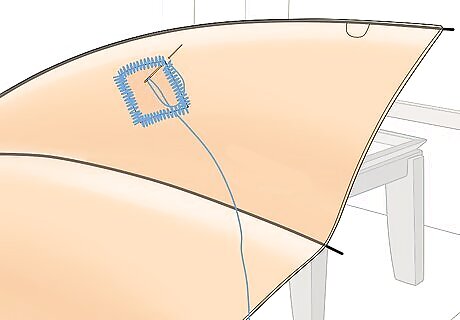
Sew on a waterproof fabric patch if you need to cover a hole. Use a pair of fabric scissors to trim the patch ⁄4–⁄2 in (0.64–1.27 cm) larger than the hole on all sides. Place the patch over the hole on the inside of the canopy, then straight-stitch around the outer edges of the patch until it's held firmly in place. Shop around for a patch with a color and texture that's similar to that of your umbrella. You'll most likely need to use a patch any time you're dealing with a rip or hole that's more than ⁄4–⁄2 in (0.64–1.27 cm) long or wide.
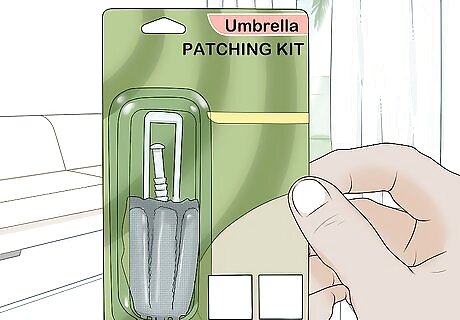
Use a nylon patching kit to fix your umbrella without sewing it. First, soak up a small amount of rubbing alcohol with a cotton ball and gently dab the application site to clean it. Next, cut the replacement patch to fit your hole. Finally, peel off the adhesive backing and press the patch firmly into place over the damaged area. Patching kits can be a lifesaver for those times when you don't have a needle and thread handy, or when you'd just rather not go to the effort of stitching your umbrella up yourself. You can pick up a nylon patching kit at any major craft store or home improvement center. The materials included with these kits typically measure 4–8 in (10–20 cm), and come in common colors like black, red, blue, green, navy, and orange.
Reattaching a Broken Handle
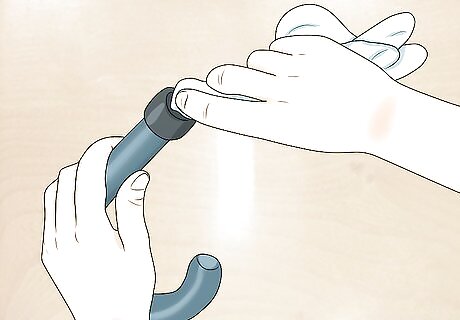
Clean the handle and stem of your umbrella with a clean, damp cloth. Wet a washcloth or lint-free rag with warm water and use it to wipe down both the metal stem and the inside of the handle where the stem inserts. A quick cleaning is necessary to ensure that the glue you'll be using will stick properly. You can also clean your umbrella with rubbing alcohol if you encounter any particularly heavy grime or rust. A good wipedown will also help get rid of any dust or dirt that's built up on older umbrellas over the years.
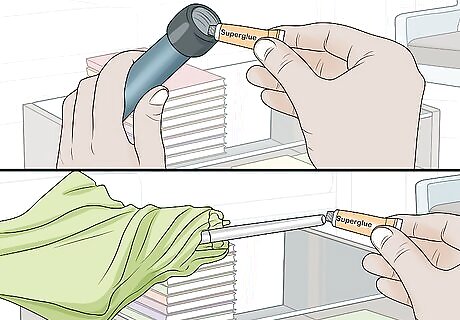
Dab some superglue onto both the stem and the inside of the handle. Angle the nozzle of the bottle to better spread the glue around the inner surface of the handle. Super glue is designed to provide a super-grippy hold, so you won't need to use a lot.
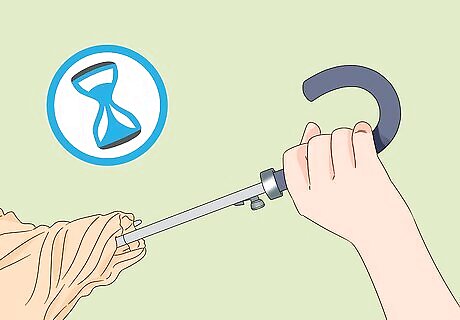
Press and hold the separate pieces together for 20-60 seconds. Apply steady pressure to make sure your umbrella dries straight. Once that time is up, the connection should be strong enough to help the umbrella hold its shape. Super glue dries fast, but it takes a little time to cure completely. Hold off on using your umbrella for about an hour after putting it back together. This method may not be effective enough to repair heavy umbrellas made from materials like steel and wood that have a lot of heft. In this case, you may have no choice but to replace the umbrella.Tip: Super glue dries fast, but it takes a little time to cure completely. Hold off on using your umbrella for about an hour after putting it back together.
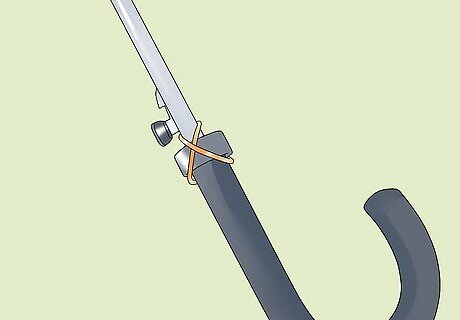
Wind some small-gauge wire around the stem for additional support. If you think your umbrella could use a little extra reinforcement after gluing, wrap a length of 20/2-gauge wire in an 'X' pattern on either side of the connection site. It may not be pretty, but it will help prevent the handle and stem from coming separated again. If possible, tuck the loose end of the wire underneath the wrapped section to keep it from coming unwound. If you really want to make sure the wire stays put, dab a bead of super glue into the seams. It will take a lot more than a rainstorm to pry it loose!



Comments
0 comment