
Preparing to Replace the Fan
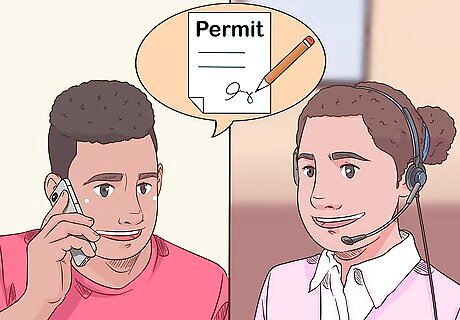
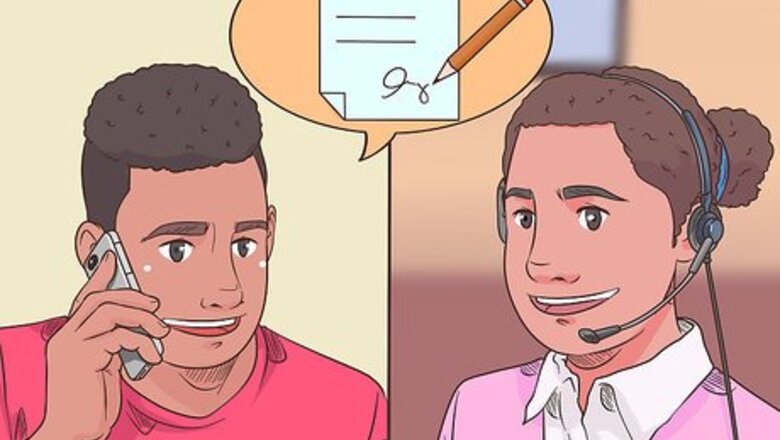
Check if a permit is necessary. Call up your local city or county government and ask if you're allowed to do home electrical work by yourself. In some cases, you may need a special permit, or the work may have to be done by a licensed contractor. Even if you feel like you can handle the work yourself, you should still see if a permit is necessary. Doing the work without a permit, if one is required, might violate your homeowner's policy.
Double-check the type of fan you currently have. Many bathroom fans are hard-wired through your ceiling or attic. Some, however, have a standard electrical plug that feeds into a regular outlet. You'll want to replace your fan with one of the same type. If you aren't sure which kind you have, pop off the fan's cover and inspect how it is powered.
Select your new fan. Take a trip down to your local home supply store, and you should be able to find several models of bathroom fans. Look for one with a low “sone” number (2 or less), and a high “CFM” (Cubic Feet per Minute) number. Sones measure the loudness of a fan. The lower the number, the quieter the fan. CFMs measure the number of cubic feet of air a fan can move out of a room per minute. Generally, the higher the number, the better. High CFM fans may not be necessary for small bathrooms. If your bathroom is large, however, you'll really want to get a fan with a high CFM rating.
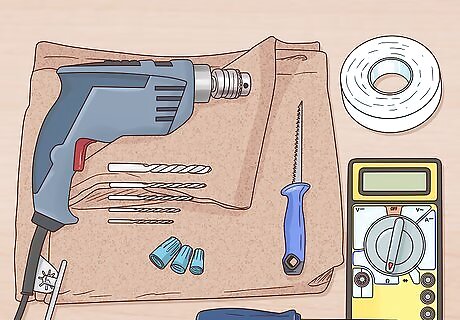
Gather your tools and supplies. You shouldn't need anything that's too unusual, and you may already have some tools and supplies at home. If not, pick these up while you're at the home supply or hardware store: Drop cloth Screwdriver Circuit tester (AKA voltage detector -- the non-contact variety will be easiest to use) Drill and bits Drywall knife HVAC tape Wire connectors
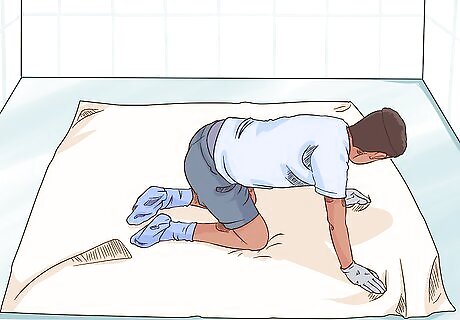
Lay down a drop cloth. Removing your old bathroom fan and working with your ceiling can cause an avalanche of dirt and debris to rain down. Make clean-up easier by laying a drop cloth down on the floor of your bathroom underneath the fan. You may also want to cover the counter or other areas if they are near the fan.
Turn off power to the fan. Head to your circuit breaker and flip the switch marked for the bathroom fan (or all of the bathroom switches, if there's not one specifically marked for the fan). You definitely don't want to be working on the fan wiring while the electricity is still running!
Removing the Old Fan
Remove the old fan's cover. Take a look at the part of the fan you can see on your bathroom ceiling. Some fan covers with be held in place with screws. If so, take a screwdriver and unscrew them to remove the old fan cover. If you don't see screws, the cover probably just snaps in place. Look for a tab you can push to pop the cover off. If there's not one, take a flathead screwdriver and gently pry at the edge of the fan cover (where it meets the ceiling) to remove the fan cover.
Disconnect the fan's wiring. Once the cover's off, you should be able to see the wires leading to the fan's housing. Double-check the power's off by turning on your voltage detector and setting it near the wires. If everything checks out, you can remove the wires from the housing: If you see wires leading from the ceiling to plastic connectors, then from the connectors to the housing, remove the plastic connector to separate the wires. If you see the wires, but not the plastic connectors, unscrew the junction box cover on the fan's housing, and you should find them inside. Some fans will instead have a standard plug leading to an outlet above the ceiling (attached to a joist, for instance). If you see one of these, just unplug it.
Disconnect the vent pipe. The vent pipe will run from a vent in your roof to the fan housing. Detach the flexible vent pipe from the old fan's housing. The vent pipe may be attached to the housing with HVAC tape. If so, peel this away. The pipe may also be held in place by a clip or screwed assembly. Using a screwdriver if necessary, remove this as well. Once the tape and/or clips are removed, just gently tug at the vent pipe until it is removed from the fan housing.
Remove the vent fan housing. Look for the mounting screws that hold the fan housing in place. For some models, these will be on the bottom, and you'll be able to access them from the ceiling. For others, you'll have to climb into your attic and remove the screws from above. Lay down a piece of plywood across joists in your attic so you'll have a surface to kneel on. Have someone help you. Let them hold the housing while you remove the screws. Once the screws are removed, pull the old fan housing out of the ceiling.
Installing the New Fan
Adjust the ceiling hole if necessary. If the new fan's housing is larger than the hole cut in your ceiling for the old one's, you'll have to enlarge the opening. Place the new fan's housing against the ceiling on top of the hole, trace the outline of the fan's housing on the ceiling, then cut the along the outline with a drywall knife. You can also install a fan that has a housing smaller than your old one's. If the new fan's cover does not cover the entire hole, you can patch the ceiling drywall to get rid of the extra space.
Attach the new fan's housing to ceiling joists. Generally, all you have to do is drive screws through brackets attached to the new fan's housing into the ceiling framing. Always read the instructions that came with your fan kit to be sure. Some fans may allow you to drive screws from the bottom into the ceiling joists. For others, you may need to attach brackets from inside your attic: Go into your attic above the bathroom fan. Lay down a piece of plywood across ceiling joists so you have a surface to work on, if necessary. Have someone help you by holding up the fan housing from below. Brackets will be attached to the fan housing. Some may slide out to extend to the ceiling joists. Drive screws through the bracket's holes into the ceiling joists until the housing is securely in place. If your fan has holes for screws to go through the ceiling, and brackets to hold it from above, use both.
Run the vent pipe to the fan housing. Use the same vent pipe that was attached to your old fan. Slide it over the circular duct connector on the fan housing. Wrap HVAC tape around the connection to hold the pipe securely in place. Some fans may have a separate duct connector that you must set in place and attach to the fan housing before securing the vent pipe. Read your model's instructions to be sure.
Connect the electrical wires to the fan housing. Unscrew the junction box cover on the side of the fan housing and pull out the three wires. Attach the wires in the fan housing to the corresponding colored wires in your ceiling or attic that ran to the old fan housing. Place the wires together and use plastic connectors to join them. Make sure that you join the correct colored wires (white to white, black to back, yellow to yellow, etc.). Push the wire connections back into the housing and replace the junction box cover when you're done. If your fan has a standard plug instead of bare wires, just plug it into the outlet in your attic.
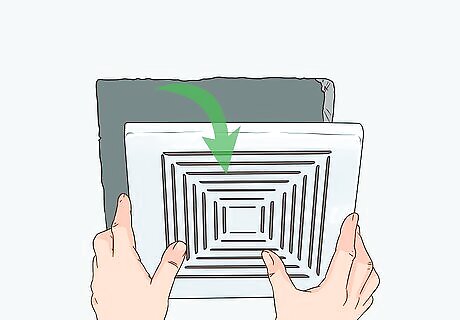
Snap on the fan cover. If your model's cover is held on by plastic tabs, just push it into position from below until it clicks into place. If your fan's cover is held in place by screws, drive these in from below with a screwdriver or drill.
Test the fan. Flip the power to the fan back on. Turn on the fans switch to test that everything sounds right and works well. If there are loud or unexpected noises, or if the fan doesn't run at all, cut the power again and check over your work to make sure you installed the fan correctly. Alternatively, contact a contractor or electrician to inspect your work.


Comments
0 comment