views
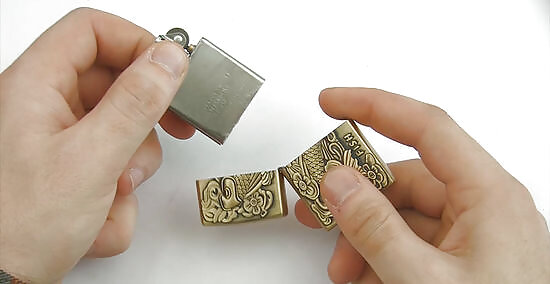
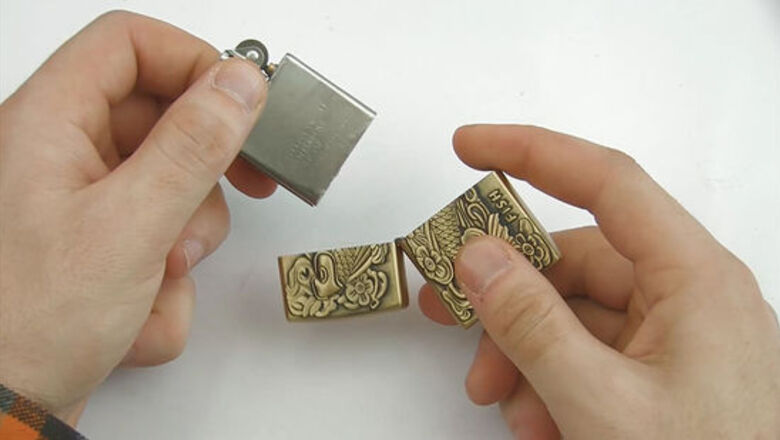
Remove the insert from the body or shell of the Zippo (by gripping the bottom of the lighter and on either side of the chimney and pulling apart) as if you were going to re-fuel it.
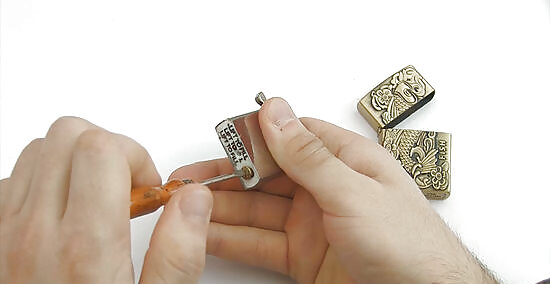
Unscrew the flint spring found on the bottom of the insert, but be careful because since it is spring-loaded it might fall out of your hand when it is unscrewed. If the flint spring screw is too tight to unscrew by hand, use a small flat screwdriver to loosen it first. You can also use the top lid of your lighter to do this as well.
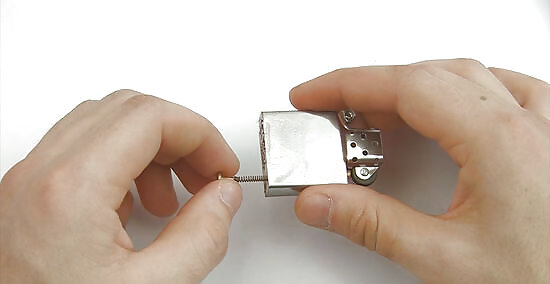
Put the flint spring into the empty shell of the Zippo. Tip out the flint from the bottom of the insert into the empty shell of the Zippo for safekeeping. If it does not fall right out, give it a gentle tap and it should fall right out.
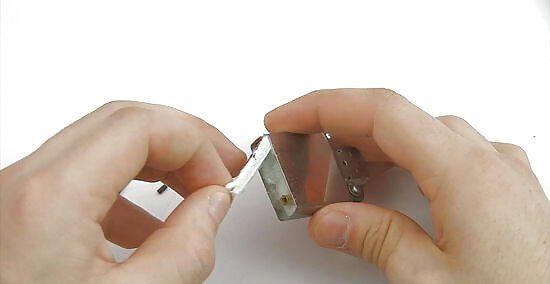
Remove the felt pad and any spare flints (if you keep spares between the felt and the cotton wadding) and set those too in the Zippo shell. Set the Zippo shell aside.
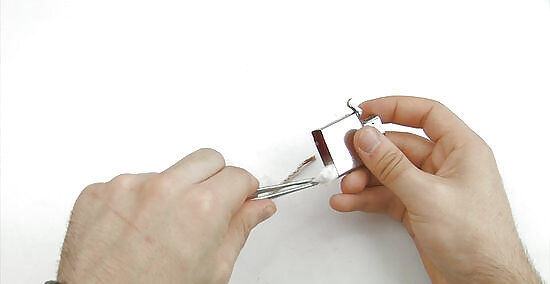
Using the tweezers or needle-nose pliers, pull out the cotton wadding one piece at a time. You'll notice that it is not all one big wad of cotton but many small overlapping wads. As you set them aside, lay them in more or less the same order or configuration as they were inside the insert. (this will be helpful later).
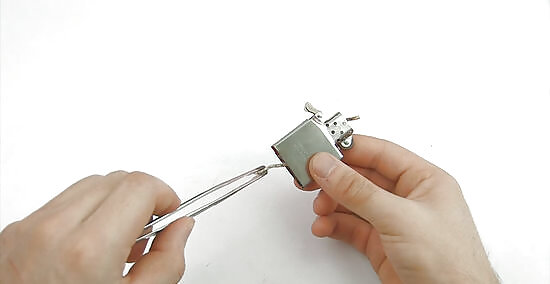
Insert the new Zippo Wick into the wick hole by way of the chimney. Pull it through so that there is only as much wick in the chimney as will reach the top of the chimney.
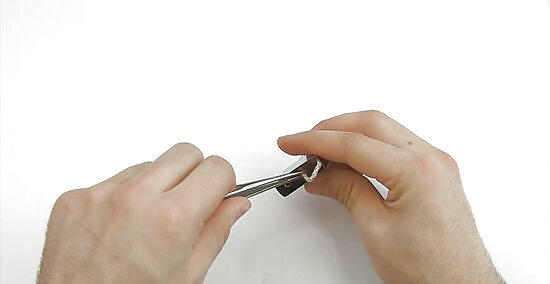
Using your pliers, tweezers, or little finger, bend the wick within the insert so that it won't fall out through the hole as you work.
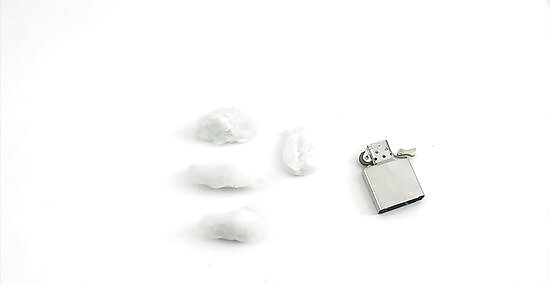
Begin to replace the cotton wadding in reverse order than you pulled it out. The pieces each should have some shape that you can fit together like a puzzle.
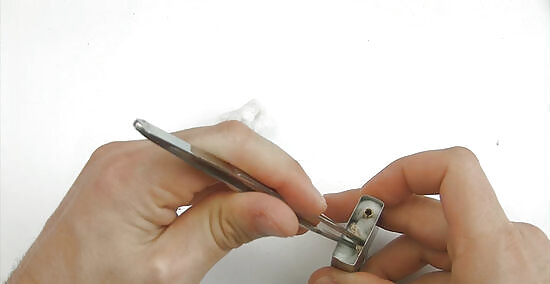
As you replace the cotton, make sure to bend and weave the wick through and between pieces of the cotton wadding. You should run out of length of wick before you run out of cotton.
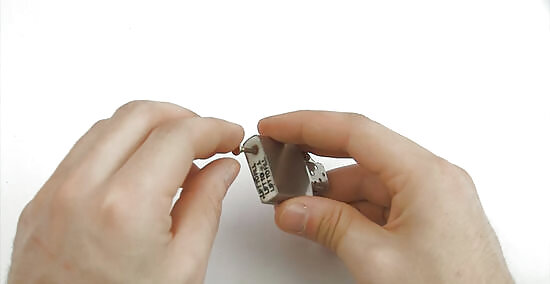
Replace the felt pad (along with any flints that belong beneath it). Replace the flint. Insert and screw the flint spring until it won't turn any more. There is no need to screw too tightly as long as it does screw in all the way so that the lighter will close properly.
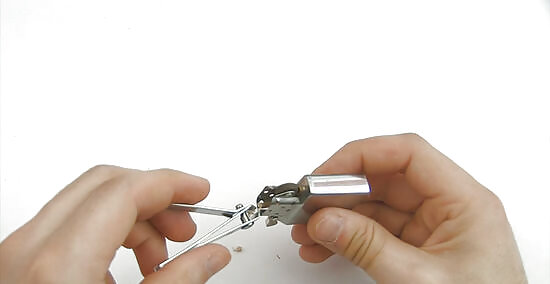
If you used a bit of the length of the wick as a handle in step 6, trim the excess wick so that it is level with the chimney.
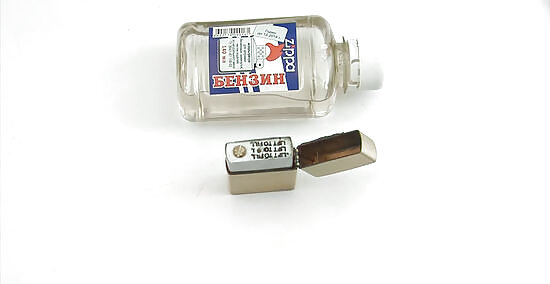
At this point, you might want to re-fuel your lighter and give it a test!.
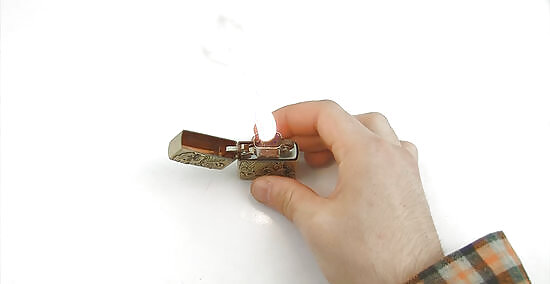
Finished.


Comments
0 comment