views
Replacing the Axe Handle
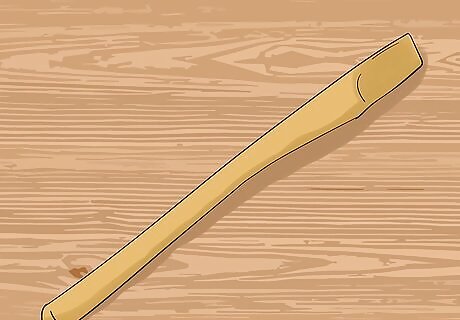
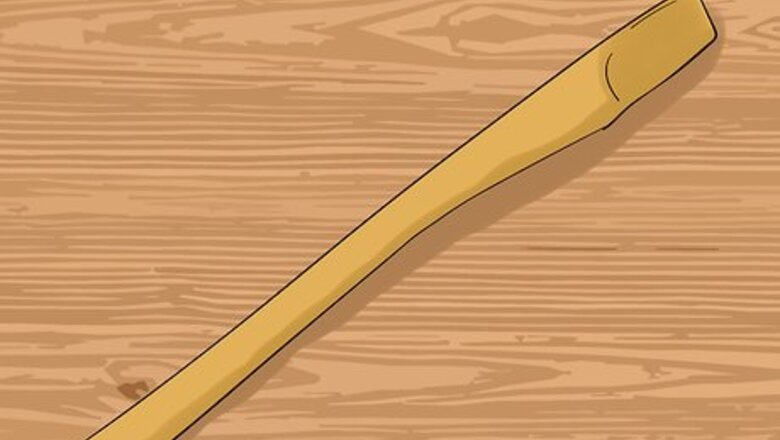
Acquire a handle suited to your axe. Axe handles are typically standardized, meaning that it should be easy for you to find a handle that fits your axe's blade. Axe handles may be purchased at a home hardware store. If you're networked with any woodworkers, they may be enticed into carving you a handle for a fee as well. Purchasing a new axe outright is an option if you're going to the store to pick up a handle. Due to the fact that handles can be replaced fairly easily however, this is only recommended if you're strapped for time and need a new axe in a hurry. If you're truly a DIY type, you might consider making an axe handle from scratch. Keep in mind, however, that this will require a lot of exact measurements and precise woodworking.
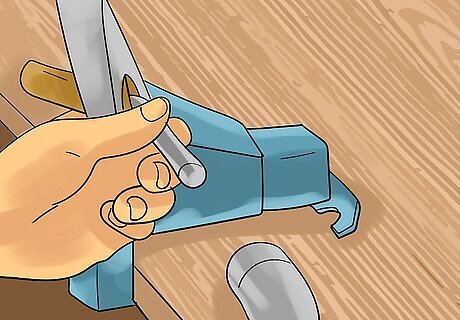
Remove the old handle. Because you won't be using the old handle, it doesn't matter if you damage it. Get out the old handle however you can. Here are a few ways you might go about it: Drill into the handle through the hole in the axe. Once you have a sufficient hole, insert a metal wedge and thrust it out by hitting the wedge with a hammer. Hammer out the handle outright by using a chisel. Don't be afraid to bash it hard. After all, the old handle will be replaced as soon as it's out of there. Saw off the handle, then hammer out the bit of handle that's still inside the blade.
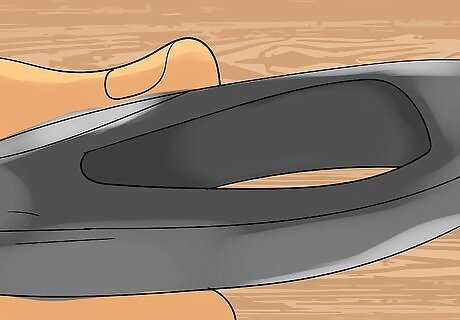
Clean the eye of the axe. Even if you take your time to eject the old handle from the blade, there may still be debris in there. Push out the excess pieces with a chisel, then smooth out the insides. Using sandpaper on the inside of the axe will ensure that all of the old handle has been properly removed. The "eye" refers to the hole in the axe blade that the handle fits into.
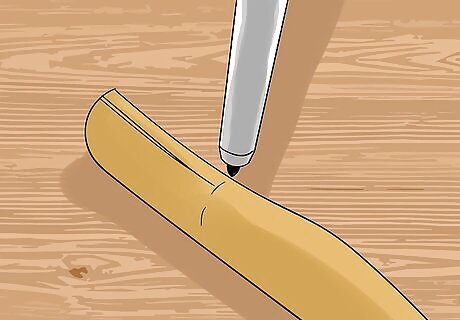
Mark the kerf of the new handle with a pencil. Many storebought handles will come with a pre-made kerf. The "kerf" refers to the saw wedge in the top of the handle. This allows the handle to fit into the eye of the axe. Find the point on the handle where the kerf ends and trace a pencil line around the handle. This will offer a visual reference of how deep your handle needs to go.
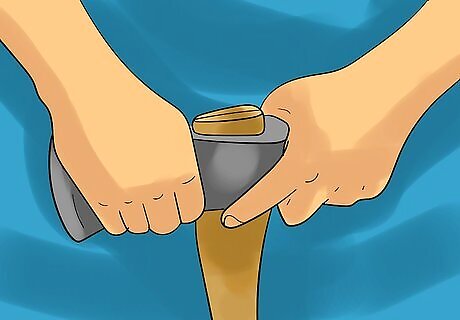
Test fit the handle. The handle may need few tries to get in properly. Push it in and try to get it in manually at first. Next, tap it in lightly with a blunt piece of wood. Each time you push it in, check how far it gets in based on the bottom of the kerf. Although you shouldn't apply very much pressure when you're first starting out, this will hopefully give you a proper idea of the measurements the top of your handle needs to be. Take measurements following each test fitting. Cut down the handle as the test fittings suggest. If an inch of kerfed handle is sticking out, for example, it means you'll have to shave down an equal amount of your handle accordingly. Don't strike the handle with a metal hammer. Metal risks damaging the wooden handle.
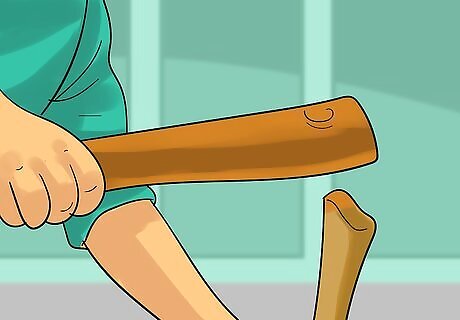
Strike in the handle. In order to fit the handle into the blade, force will be needed even in the kerf offers space inside the blade eye. Take a piece of blunt wood and strike the other end of the handle. Use the handle like a wedge and try to push it into the Avoid excessive force when pushing in the handle. This includes striking it on the ground or using a steel hammer. Instead, pick something blunt that will deliver sufficient force without risking damage to the handle itself.
Securing the Handle
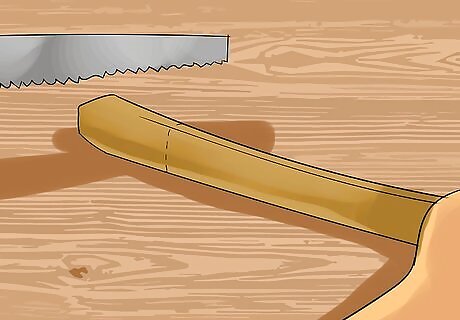
Shorten the handle if necessary. After you have test placed it a few times, you should be able to narrow down how much of the axe's top handle needs shortening. The handle should be able to fit all the way into the axe blade's eye. If it can't fit, narrow it down to a point where it could fit into and fil all of the hollow space within the blade. A rasp is a serrated tool meant to cut down wood smoothly. Files and rifflers may also be used to file down a length of wood. Allow at least half an inch between the bottom of the kerf and the main handle.
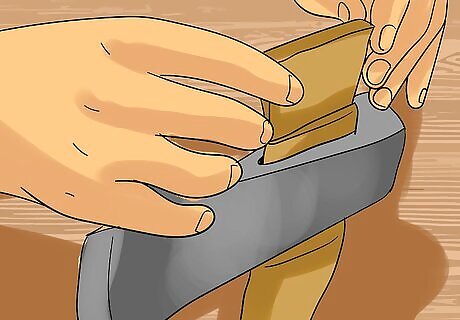
Fill in the kerf with a wedge. Filling in the opening on the other side of the axe's eye will prevent it from moving around as much. You can do this by lightly tapping a thin wedge of wood into the kerf, and securing it with layers of carpenter's glue.
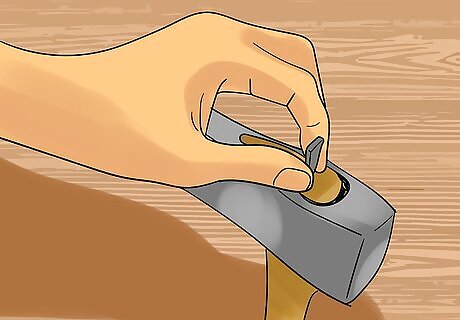
Add metal wedges in the eye. To secure it further after wedging the kerf, add metal wedges by hammering them into place. This will add another layer of protection to your axe and help ensure that the kerf's wedge doesn't fall out of place. Adding the wedges diagonally can help improve stability.
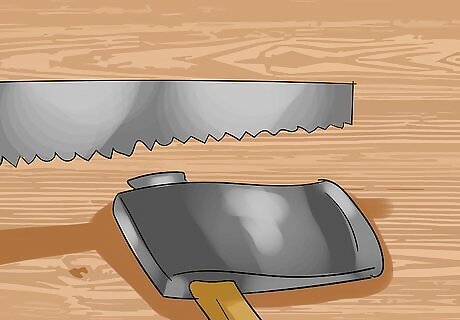
Saw off the protruding wedge. After you've worked on securing the handle from protruding side, it's a good idea to saw it down. Sawing down the protruding side will maximize the force of your swing. Keep a few millimetres on the end of the handle for good measure.
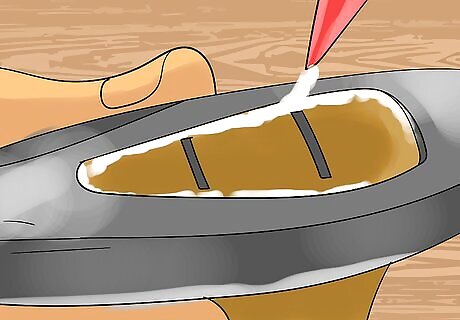
Tighten a loose handle with extra glue. If you have followed through with all of the stability measures and still aren't sure the handle will hold, you can fill whatever cracks that remain with glue. Using glue may make it difficult to replace this handle when its use runs out. If you're the sort of person who goes through a lot of axe handles, it may be best to skip out on the glue. Chair Doctor is a highly recommended product for this. It is a thin viscosity liquid designed to fill in loose gaps.
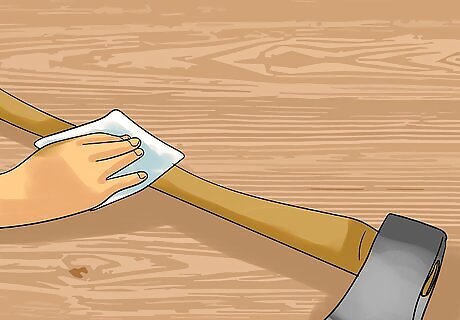
Protect your handle with a coat of mineral oil. Bottles of mineral oil are relatively cheap, and can be used to restore life to a drab handle. Drip some mineral oil into a handcloth and apply it consistently to the axe handle. Let it sit for a few minutes afterwards while the oils soak in. Because oil will help block out moisture, it's especially important to use mineral oil on your handle if you're using or storing the axe in a moisture-heavy environment.
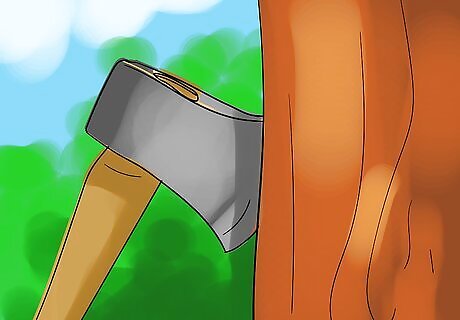
Put your axe to use. After you replace the handle, it should serve you well for months or years to come. Your handle's longevity will depend on how well you take care of the axe. Don't swing it irresponsibly, and store it in a safe place when you're done with it. Excess force in your axe swing can be avoided if you remember to sharpen the axe's blade regularly. Always use a proper chopping block. Making sure the object you're chopping has a solid foundation will limit the risk of potential injury.




Comments
0 comment