
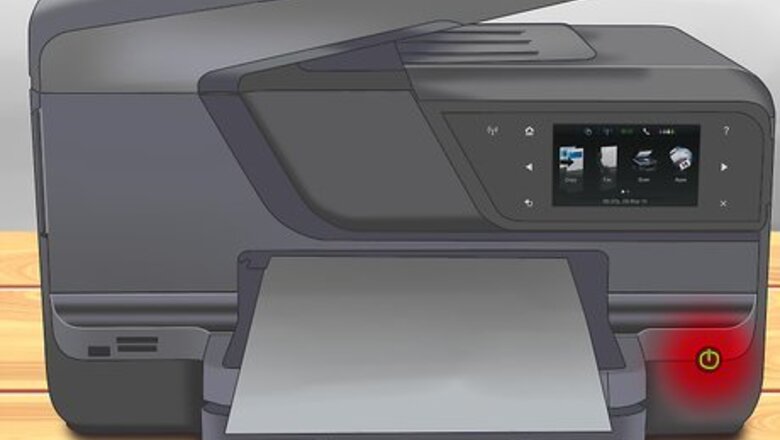
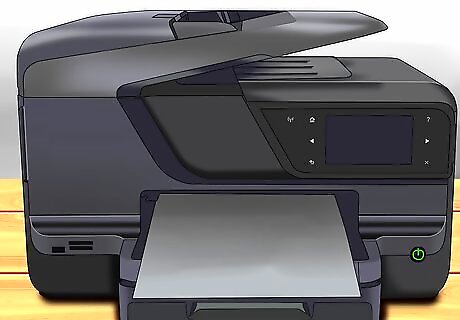
Verify that your HP Officejet Pro is powered on. The printer must be turned on when replacing the ink cartridge.
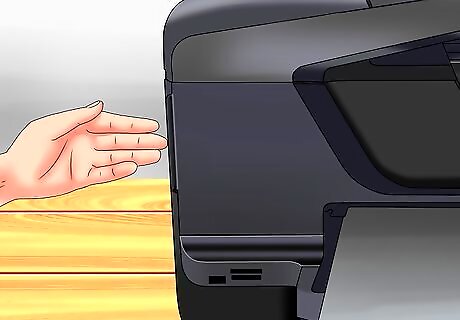
Place your fingers into the slot located at the left side of the printer, then pull forward to open the door to the cartridge compartment. The printer’s carriage will move to the left side of the printer while the cartridge compartment is opened.
Wait for the printer’s carriage to stop moving and become completely silent.
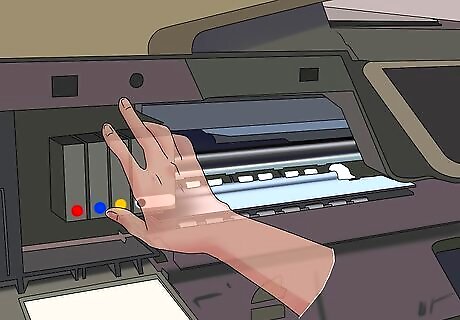
Push in on the front part of the ink cartridge to release that specific cartridge.

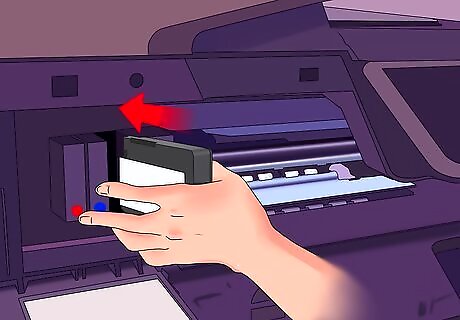
Remove the old ink cartridge by pulling it toward you out of the slot.
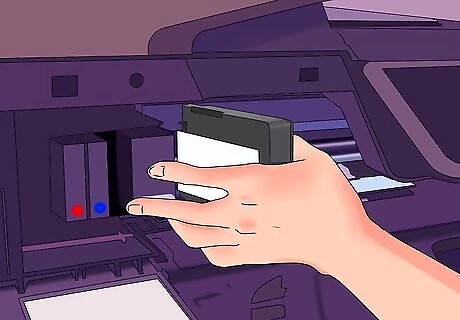
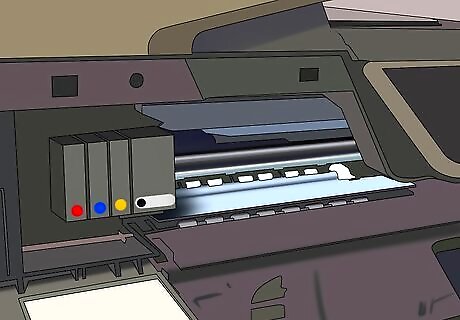
Hold the new ink cartridge so that the contacts on the cartridge are facing toward the printer. When adding the new cartridge, make sure you remove any tape or other materials designed to protect the print heads.
Gently push the new ink cartridge forward into the slot until it clicks into place. The colored dot on the cartridge label must match the color of the dot displayed on the slot.
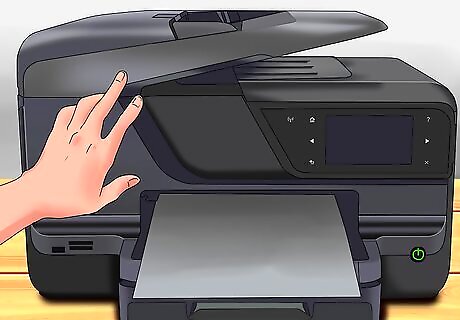
Close the door to the cartridge compartment.
Wait for the printer to complete its warm-up sequence and become quiet. You may now begin using your Officejet Pro 8600.


Comments
0 comment