views
- Plug an OBD-II scanner into your vehicle’s OBD port and reset it to clear the check engine light.
- Disconnecting and reconnecting your battery will restart your vehicle’s computer and clear the light.
- Drive an older vehicle around for a few days after repairs. The light will go off on its own once the computer resets.
- Turn the ignition to the “on” position 3-5 times and look at your dashboard to spot any error codes or potentially turn off the light.
Using a Code Scanner
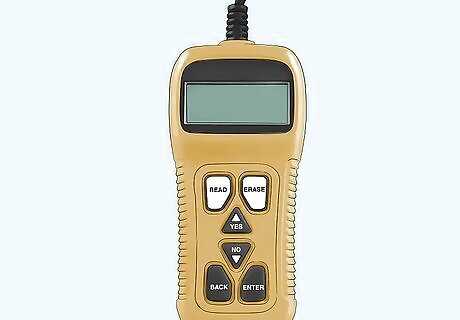
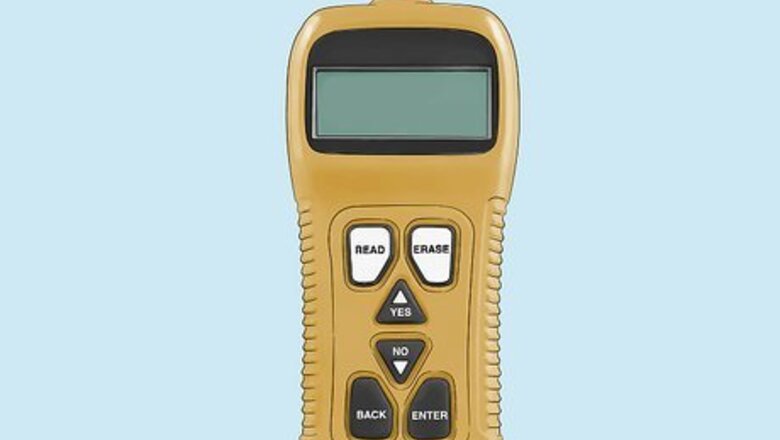
Buy or borrow an OBD-II code scanner. “OBD” stands for “On-Board Diagnostics” and OBD-II scanners are suitable for all vehicles made after 1996. Purchasing a code scanner can be costly, so it’s better to borrow one unless you plan on using it frequently. Some auto parts stores loan out scanners to patrons, or you could borrow one from a friend or family member. Note that vehicles made before the 1990s may not have an OBD port under the dash. If they do, it may be an OBD-I port rather than an OBD-II port, so you may need a different scanner.
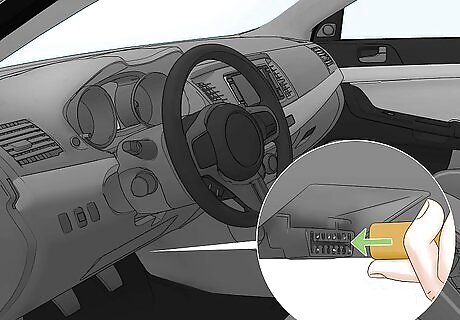
Plug the scanner into the port under the steering column. Modern vehicles have ports specifically designed for OBD scanners. Look underneath the steering column to find the port (it may be under a cover hiding it), then connect the cord attached to the scanner to the port. Refer to your vehicle’s manual if you cannot find the port. The OBD port has 16 small openings for pins that are lined up in 2 rows. It looks a bit like an old VGA port.
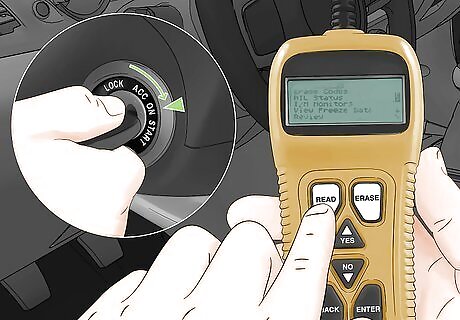
Turn the key to the “on” position and press the “read” button on the scanner. Put your key in the ignition and switch the vehicle to “on.” Do not start the vehicle. Once the lights on the dash come on, turn off all the vehicle’s accessories, like the radio. Then, press the “read” button on the scanner to access the check engine light code. The code will be a series of letters and numbers. Record all of the codes so you can figure out what they represent and make the necessary repairs to your vehicle.Reset a Check Engine Light Step 3Bullet1.jpg Some scanners will define or explain the codes while others will not. If you don’t get a definition, look up the code in the owner’s manual or online.
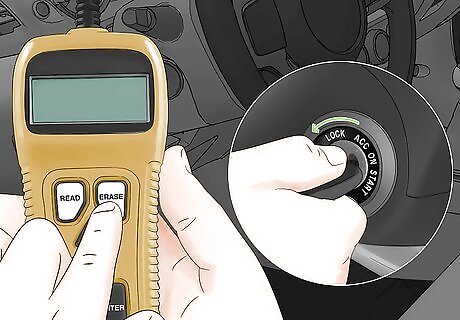
Press the "erase/clear" button on your scanner, then turn off the key. Clearing any codes present will turn off your check engine light. After pressing "erase/clear" and waiting until you see a "no codes" message, you can turn off your vehicle and disconnect the scanner. However, erasing the codes does not fix the problem. If your check engine light comes on, it’s best to take your vehicle to a mechanic to get it professionally diagnosed and repaired. Once the OBD system resets (which occurs after a few drive cycles or a certain number of miles, depending on the vehicle), the light will come back on if the problem has not been fixed.
Disconnecting the Battery
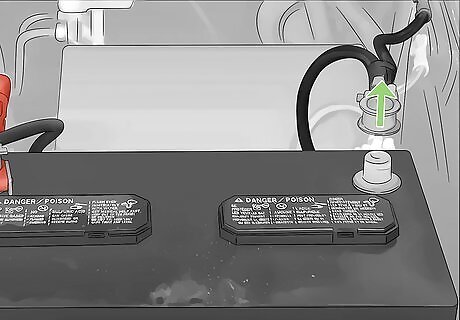
Remove the negative cable from the vehicle’s battery. With the vehicle off, pop the hood and locate the battery. Use a wrench to remove the negative cable, which is usually covered with a black cap and marked with a minus sign, from the terminal. Just FYI, erasing codes by disconnecting your vehicle's battery can also clear out the memory for your radio and other onboard components.
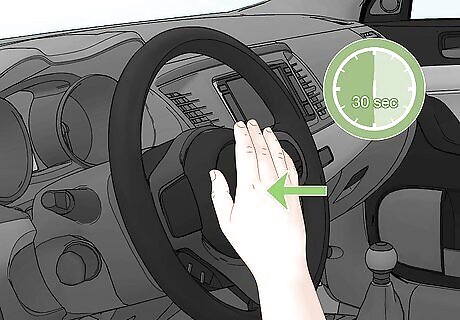
Drain any remaining electricity from the capacitor. Press and hold the horn for 30 seconds or temporarily switch on the vehicle’s lights. Neither the horn nor the lights will work since there's no power running to them, but attempting to do so will use up the remaining electricity in the capacitor.
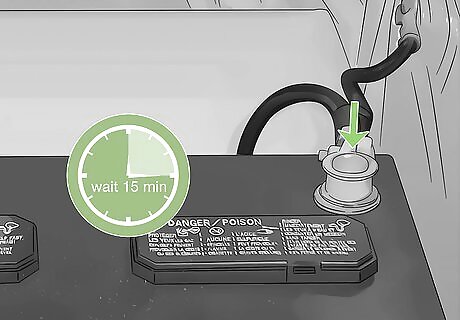
Wait 15 minutes and reconnect your battery. Leaving the battery disconnected for a few minutes will ensure the vehicle systems will completely reset when you reconnect the battery. Secure the negative cable back to the terminal and cover it with the cap. Disconnecting the battery will clear the error codes and reset the check engine light.
Trying Simple Fixes
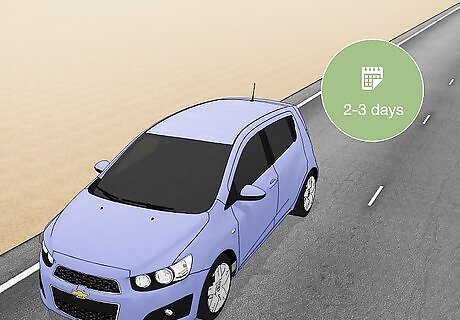
Drive the vehicle like normal for 2-3 days after repairs. Your vehicle’s computer operates in cycles, so if you just had it serviced, repaired, or worked on, your check engine light may not have had time to take a new reading. In other words, the light’s on for the original reason the light came on—even if you resolved the problem. The light should probably go off after a few days of normal use. If you don’t drive all that often, now is the perfect time to take that shopping trip where you need to go way out of town! The mechanic normally resets the computer codes before returning your car to you, but they may have simply forgotten this time. This is most common on older vehicles with more primitive computer systems.
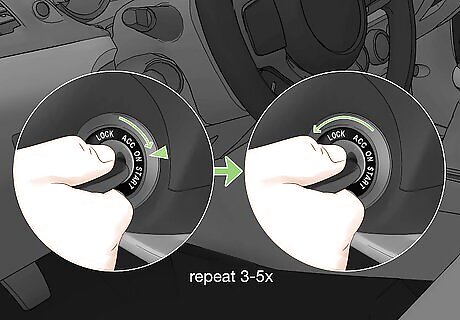
Turn the ignition to the “on” position 3-5 times. While driving for a while will typically get an older fixed vehicle’s check engine light to reset, it’s normally a lot easier if you’ve got a newer vehicle. Put the key in the ignition and turn it past the accessory position to the “on” slot. Then, turn it back to “off.” Repeat this process 3-5 times until the entire dashboard illuminates. When that happens, remove the key, wait a moment, and start your vehicle. The check engine light should be off. If the check engine light begins to flash, you have an OBD-I vehicle, which might explain why you’ve had trouble turning the light off. Purchase or borrow and ODB-I scanner to reset the light. If a code pops up on your odometer, write it down and look it up online or share it with your mechanic. This is an error code and your check engine light wasn’t on by accident.
See a mechanic if the light continues to stay on. If you still can’t get the light to turn off after resetting the codes, disconnecting the battery, driving it for a while, or turning the ignition, it’s a sign something is actually wrong. Take your vehicle back to the mechanic to investigate what’s going on.




Comments
0 comment