
Using Zenmap
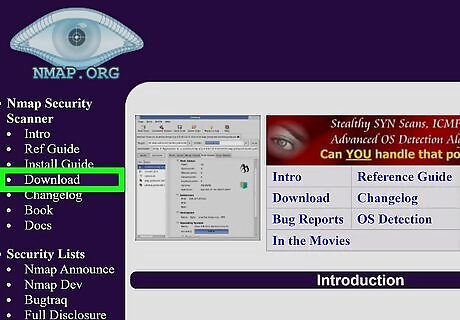
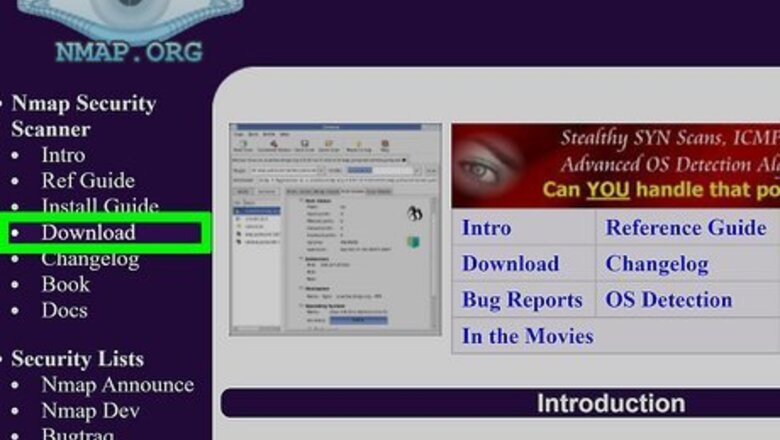
Download the Nmap installer. This can be found for free on the developer’s website. It is highly recommended that you download directly from the developer to avoid any potential viruses or fake files. Downloading the Nmap installer includes Zenmap, the graphical interface for Nmap which makes it easy for newcomers to perform scans without having to learn command lines. The Zenmap program is available for Windows, Linux, and Mac OS X. You can find the installation files for all operating systems on the Nmap website.
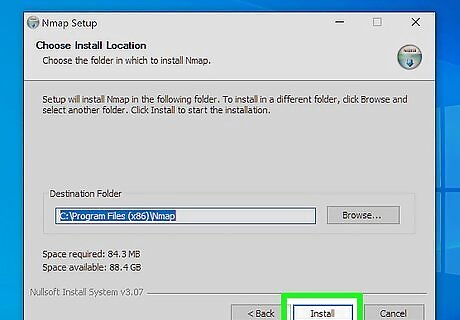
Install Nmap. Run the installer once it is finished downloading. You will be asked which components you would like to install. To get the full benefit of Nmap, keep all of these checked. Nmap will not install any adware or spyware.

Run the “Nmap – Zenmap” GUI program. If you left your settings at default during installation, you should be able to see an icon for it on your desktop. If not, look in your Start menu. Opening Zenmap will start the program.
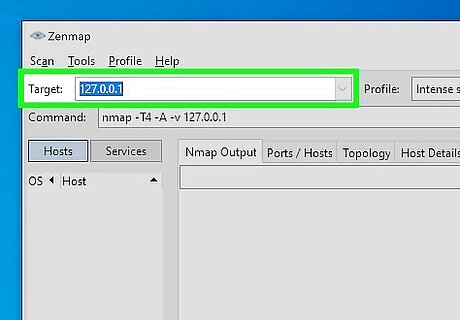
Enter the target for your scan. The Zenmap program makes scanning a fairly simple process. The first step to running a scan is choosing your target. You can enter a domain (example.com), an IP address (127.0.0.1), a network (192.168.1.0/24), or a combination of those. Depending on the intensity and target of your scan, running a Nmap scan may be against the terms of your internet service provider and may land you in hot water. Always check your local laws and your ISP contract before performing Nmap scans on targets other than your network.
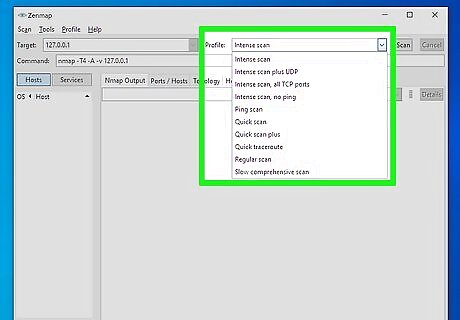
Choose your Profile. Profiles are preset groupings of modifiers that change what is scanned. The profiles allow you to quickly select different types of scans without having to type in the modifiers on the command line. Choose the profile that best fits your needs: Intense scan - A comprehensive scan. Contains Operating System (OS) detection, version detection, script scanning, and traceroute, and has aggressive scan timing. This is considered an intrusive scan. Ping scan - This scan simply detects if the targets are online, it does not scan any ports. Quick scan - This is quicker than a regular scan due to aggressive timing and only scanning select ports. Regular scan - This is the standard Nmap scan without any modifiers. It will return ping and return open ports on the target.
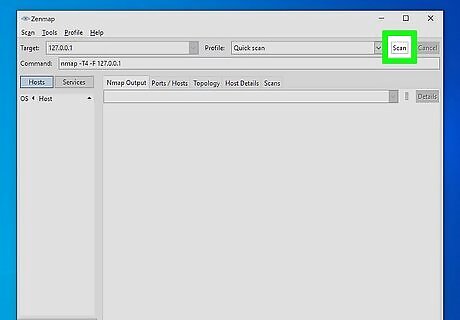
Click Scan to start scanning. The active results of the scan will be displayed in the Nmap Output tab. The time the scan takes will depend on the scan profile you chose, the physical distance to the target, and the target’s network configuration.
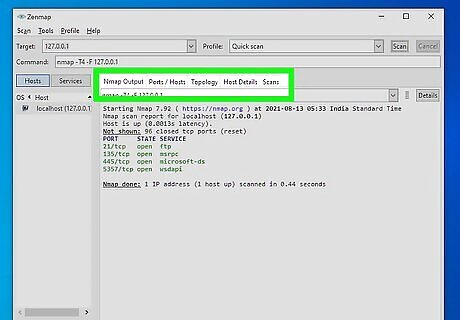
Read your results. Once the scan is finished, you’ll see the message “Nmap done” at the bottom of the Nmap Output tab. You can now check your results, depending on the type of scan you performed. All of the results will be listed in the main Nmap Output tab, but you can use the other tabs to get a better look at specific data. Ports/Hosts - This tab will show the results of your port scan, including the services for those ports. Topology - This shows the traceroute for the scan you performed. You can see how many hops your data goes through to reach the target. Host Details - This shows a summary of your target learned through scans, such as the number of ports, IP addresses, hostnames, operating systems, and more. Scans - This tab stores the commands of your previously-run scans. This allows you to quickly re-scan with a specific set of parameters.
Using the Command Line
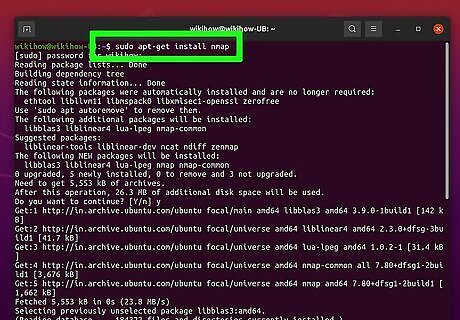
Install Nmap. Before using Nmap, you will need to install it so that you can run it from the command line of your operating system. Nmap is small and available for free from the developer. Follow the instructions below for your operating system: Linux - Download and install Nmap from your repository. Nmap is available through most of the major Linux repositories. Enter the command below based on your distribution: Red Hat, Fedora, SUSErpm -vhU https://nmap.org/dist/nmap-6.40-1.i386.rpm (32-bit) OR rpm -vhU https://nmap.org/dist/nmap-6.40-1.x86_64.rpm (64-bit) Debian, Ubuntusudo apt-get install nmap Windows - Download the Nmap installer. This can be found for free on the developer’s website. It is highly recommended that you download directly from the developer to avoid any potential viruses or fake files. Using the installer allows you to quickly install the command line Nmap tools without having to worry about extracting them to the right folder. If you don’t want the Zenmap graphical user interface, you can uncheck it during the installation process. Mac OS X – Download the Nmap disk image. This can be found for free on the developer’s website. It is highly recommended that you download directly from the developer to avoid any potential viruses or fake files. Use the included installer to install Nmap on your system. Nmap requires OS X 10.6 or later.
Open your command line. Nmap commands are run from the command line, and the results are displayed beneath the command. You can use variables to modify the scan. You can run the scan from any directory on the command line. Linux - Open the terminal if you are using a GUI for your Linux distribution. The location of the terminal varies by distribution Windows - This can be accessed by pressing the Windows key + R and then typing “cmd” into the Run field. Windows 8 users can press the Windows key + X and select Command Prompt from the menu. You can run a Nmap scan from any directory. Mac OS X - Open the Terminal application located in the Utility subfolder of your Applications folder.
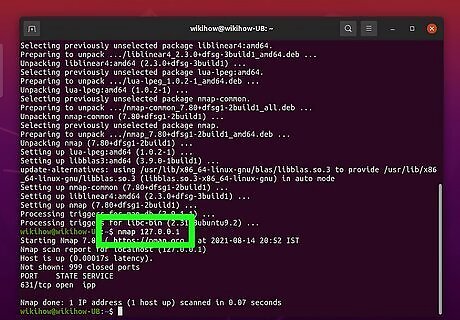
Run a scan of your target’s ports. To start a basic scan, type nmap
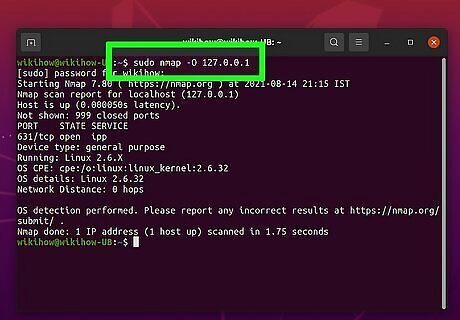
Run a modified scan. You can use command line variables to change the parameters of the scan, resulting in more detailed or less detailed results. Changing the scan variables will change the intrusiveness of the scan. You can add multiple variables by placing a space between each one. Variables come before the target: nmap
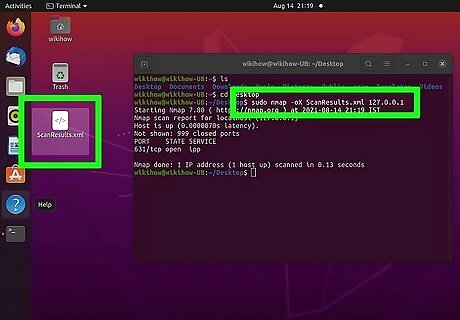
Output the scan to an XML file. You can set your scan results to be outputted as an XML file so that you can easily read them in any web browser. To do this, you will need to use the -oX variable, as well as set a filename for the new XML file. A completed command would look similar to nmap –oX Scan Results.xml


Comments
0 comment