

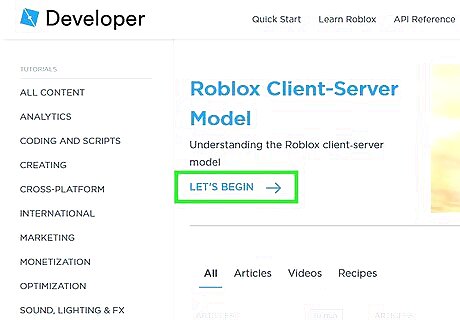
Getting Started
Understand what a script is. Scripts are lines of code that contain instructions for a game or program to follow. In Roblox, scripts can be used to do everything from giving (or taking away) a player's health points, making objects move, or anything you can think of. Roblox uses a programming language called Lua. In Roblox, there are three types of scripts, which are as follows: Server Script: A server script is a script that is stored on the server. A server script creates actions in a game that can be seen by all players. Local Script: A local script is a script that is specific to a single player. A local script creates actions that can be seen by one player only. Module Script: A module script contains frequently used script functions that can be used by other scripts. This is a good way to organize frequently used code so that you don't have to copy and paste or reuse the same code in multiple scripts.
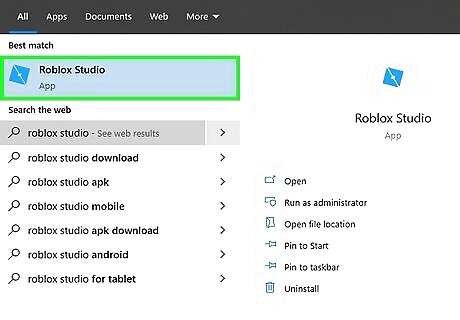
Open Roblox Studio. Roblox Studio has an icon that resembles a blue square. Click the Roblox Studio icon on your desktop, Windows Start menu, or Applications folder on Mac. If you haven't already downloaded Roblox Studio, go to https://www.roblox.com/create and click Start Creating. Then click Download Studio.
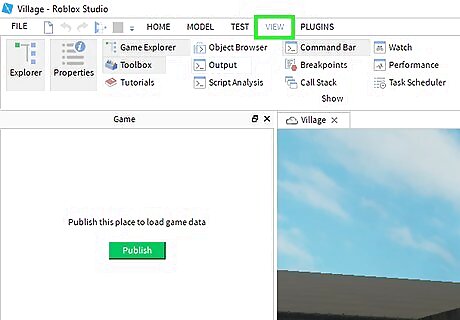
Click View. It's in the menu bar at the top. This displays a panel of windows you can open in Roblox Studio.
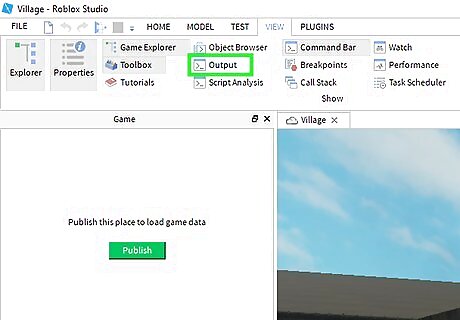
Click Output. It's in the View panel at the top of the screen. This opens the Output window. The Output window allows you to view your script in action and see any error messages your script creates.
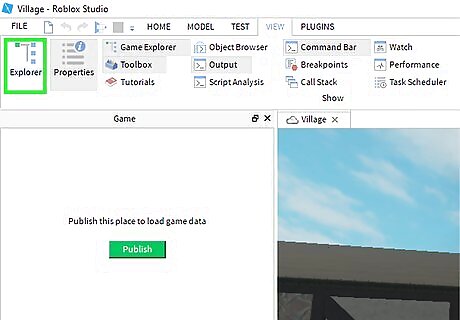
Click Explorer. It's in the upper-left corner of the View menu. This opens the Explorer window. You can use the Explorer menu to browse objects in your game and add new objects.
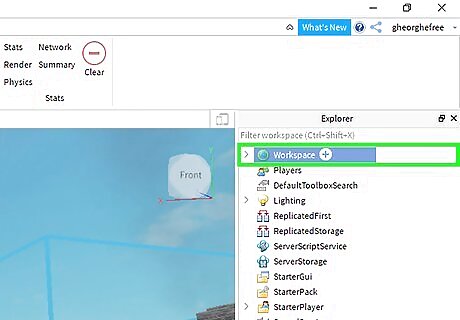
Click "Workspace" in the Explorer window. To view its contents, click the arrow icon next to "Workspace".

Click + next to "Workspace". This displays a pop-up menu with the different scripts and various instances you can add to the Workspace.
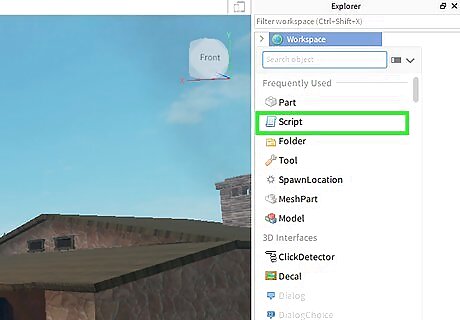
Click Script. It's next to an icon that resembles a blue page. This creates a new server script with a print function, with the message "Hello World!". You can also find the options to create a new local script and a new module script in the upper-right corner. Try changing the text in quotation marks. The "print" function is used to display text in the Output window.
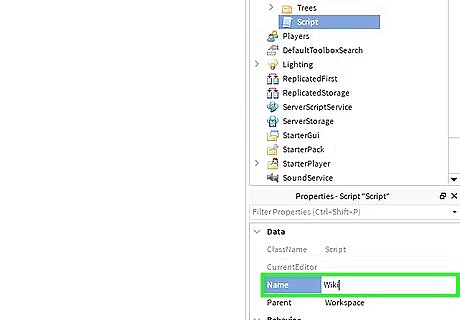
Give the script a name. To give the script a name, click the name of the script below "Script" in the Explorer menu. Then type the name you want to give it.
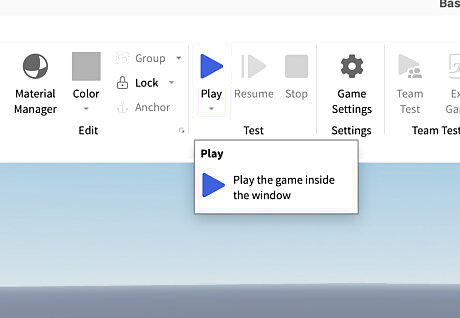
Run your script. Press the "Play" button at the top of the Roblox Studio window. If you see your message in the output window, then congratulations! You have written your first script!
Start Practicing
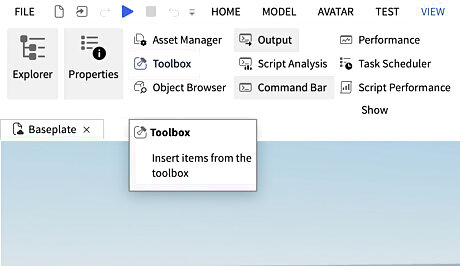
Open the toolbox. Navigate to the "VIEW" tab at the top of the Roblox Studio window. Next, select the "Toolbox" button.
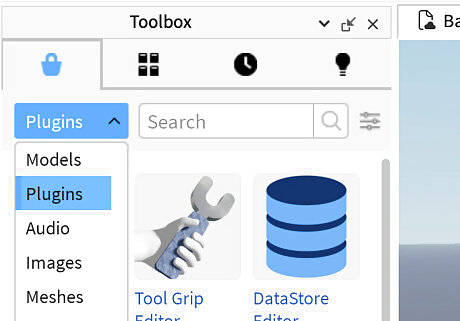
Select Plugins. Open the dropdown menu and select "Plugins". This will allow for us to search for a resource, which will help us learn how to script on the platform.
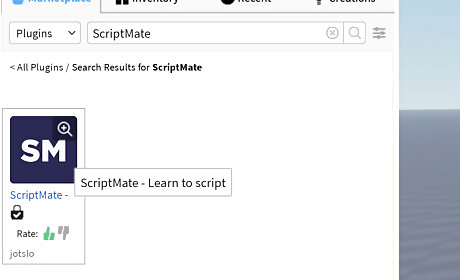
Install ScriptMate. Search for "ScriptMate", select it, and install it to Roblox Studio.

Open ScriptMate. Navigate to the "PLUGINS" tab, and open the ScriptMate plugin.
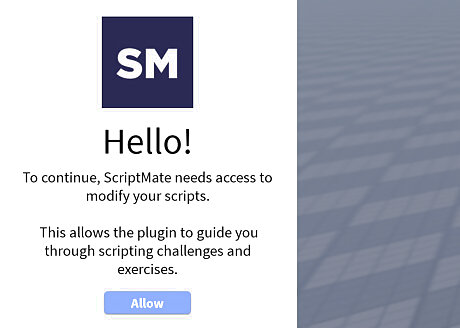
Give plugin permissions. Select "Allow" to any windows that initially appear. This allows for the plugin to grab the latest educational information, and read your solutions to scripting exercises.
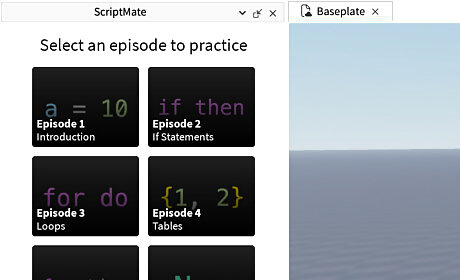
Select the episode. Select "Episode 1" to begin learning how to script on Roblox.
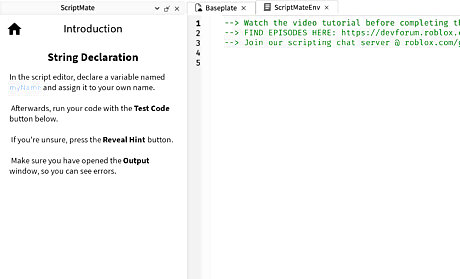
Start learning & practicing. Watch the tutorial video linked in the script. Once you have finished, start solving the scripting challenges and continue the tutorial content.


Comments
0 comment