
Date and Time Selection
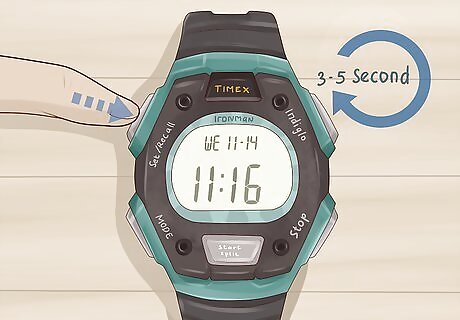
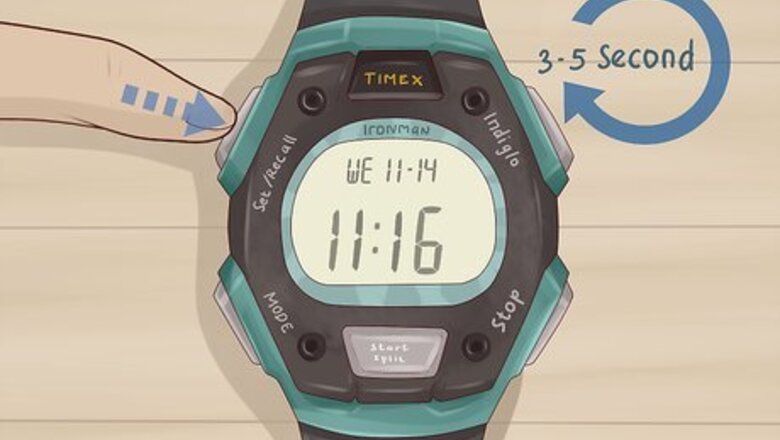
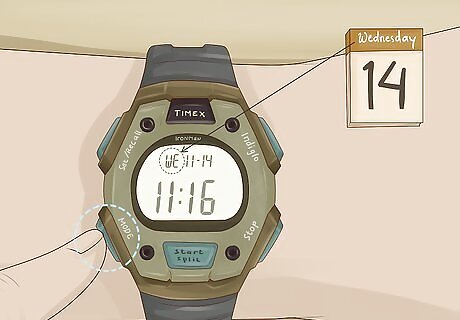
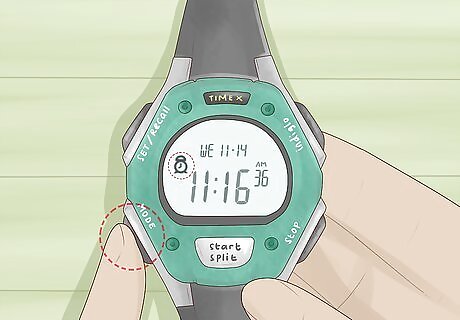
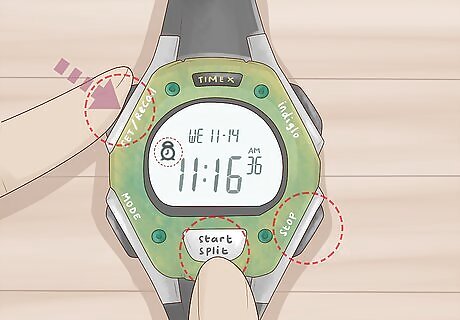
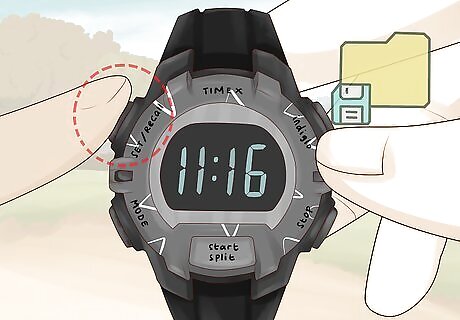
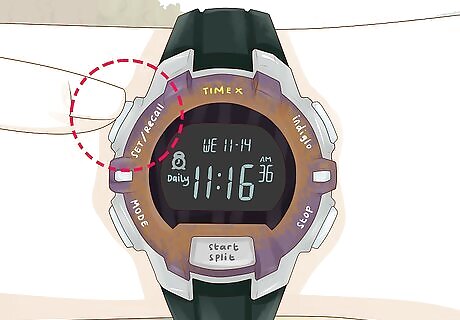
Press and hold down the “Set/Recall” button to open the time set menu. This button is located at the top left side of your Timex. Hold the button down for 3-5 seconds to enter the time set menu. After that time, the screen will read “Set” across the top. At any time during this process, pressing “Set/Recall” again closes the time set menu and saves all your changes up until that point. If you’ve made all the changes you wanted to make, then press “Set/Recall” to save them without scrolling through the whole menu.
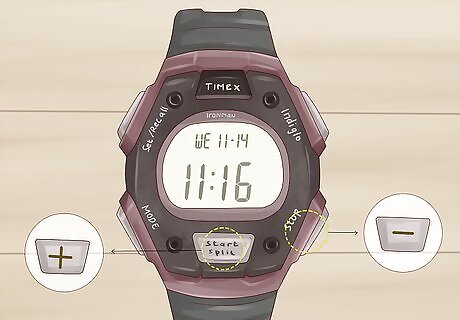
Select the time zone with the “+” or “-” buttons. The Timex allows you to set the time for 2 or 3 different time zones, depending on the model. You’ll automatically be in time zone 1 when you enter the time set menu. If you want to set time zone 2 or 3, press the “+” button to move the time zone forward. Press the “-“ button to move it back. The + button is located on the front of the watch directly below the watch face, and the - button is located on the bottom right side of the watch. On some Timex models, the + button reads “Start/Split” and the – button reads “Stop/Reset.” This feature is useful for checking the time in another part of the world quickly. If you do business or have to make a phone call to different time zones, it’s handy to stay organized.
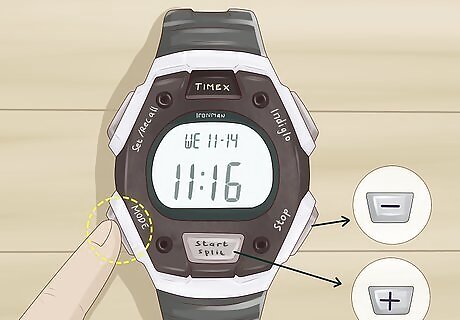
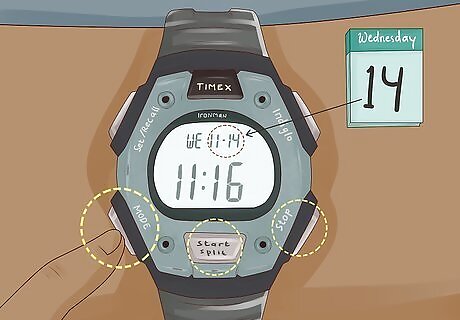
Set the time with the “Mode” and + or - buttons. The Mode button is in the lower left of the watch. On the digital screen, this area will read “Next.” This button cycles the menu between the hours, minutes, seconds, day, and date, in that order. Press it to make the hours on the watch face flash. Use the + or – buttons to cycle the hours forward or backwards. Then press Mode again to make the minutes flash. Cycle through the minutes with the + or – keys as well, then do the same for the seconds. If you only wanted to set the time and leave the date alone, press Set/Recall after this step to save your progress and close the menu.
Choose the current day of the week. After setting the time, press Mode again. The day section above the time will start flashing. Cycle forward with the + button and backwards with the – button. Then press Mode again when you’ve chosen the right day.
Set the date with the Mode and + or – buttons. When you press Mode after setting the day, the month (in number form) will start flashing. Select the correct month with the + and – buttons. Then press Mode again and select the current date.
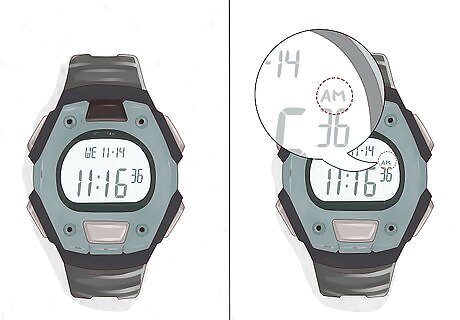
Choose if you want the time displayed in 12 or 24-hour mode. When you press Mode after setting the date, the menu changes to 12 or 24-hour time mode. The mode you’re currently in will flash. Use the + button to cycle between both time settings, and press Mode when you pick one. The advantage of 24-hour time is that you don’t have to check if the time is AM or PM. It’s easier to tell what part of the day it is with a quick glance.
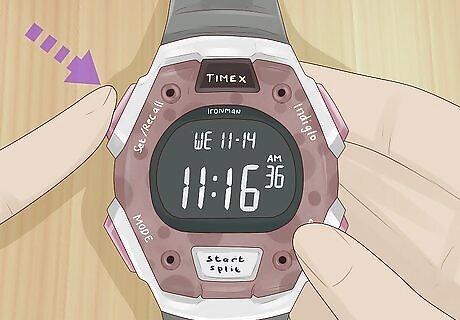
Save your changes by pressing the Set/Reset button. This button closes the menu and brings you back to the normal watch display. The changes you made will be saved. If the time or date looks wrong, you may have set them incorrectly. Press Set/Reset again to open the time menu back up and check your settings.
Alarm Setup
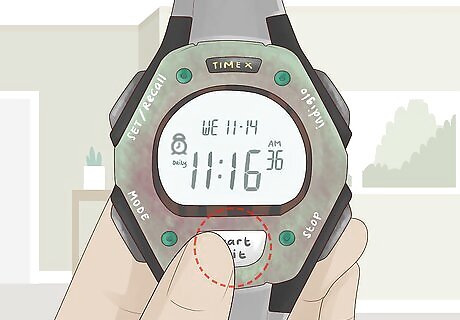
Press Mode until ALARM appears on the watch display. Cycle through the options to get to the alarm menu. If your Timex model allows you to set multiple alarms, select ALM1 by pressing Stop/Reset. To set multiple alarms, keep pressing Mode to find ALM2 and ALM3. Select each one with Stop/Reset.
Use Set/Recall and the + and – buttons to set the alarm time. Set/Recall opens the alarm menu. By default, the time will appear and the hours will be flashing. Adjust the hours up and down with the + and – buttons. Press Mode (Next) to make the minutes flash and do the same thing. Press Mode once more to select whether you want the alarm to sound in the AM or PM. If your watch is set to 24-hour time, you don’t have to select AM or PM.
Decide if you want the alarm to ring weekdays, weekends, or daily. Press Mode after setting the alarm time. The option above the time will begin flashing. This will say “Daily,” “Wkday,” or “Wkends,” depending on where you last had it set. Press Start/Split to cycle through the options and select how often you want the alarm to sound. If you only want the alarm to ring on one day, disable it after it rings.
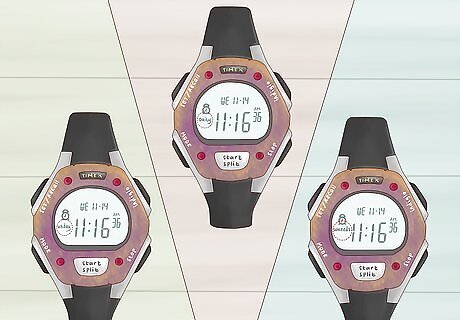
Press Set/Recall to save the alarm. This programs the alarm into your watch memory. The alarm will sound on the times and days that you set it to. A small clock icon appears on the left of your watch display to let you know that an alarm is active.
Open the alarm menu and press Start/Split to turn the alarm off. Get to the alarm menu by cycling through the Mode button until you reach ALARM. Then press Start/Split to toggle the alarm off. To reactivate the alarm, do the same actions and hit Start/Split to toggle the alarm back on.
Pace and Splits Tracking

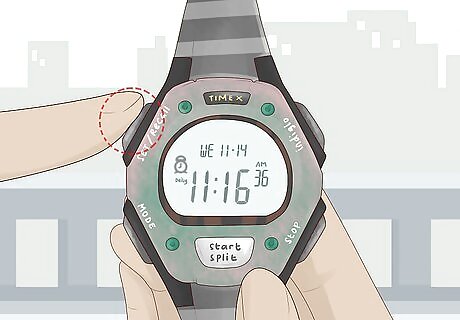
Press Mode until “Chrono” appears on top of the screen. Chrono is the mode you use to track your split and lap times. It’s the second option after the main clock. If you scroll too far and miss Chrono mode, keep pressing Mode to cycle through the watch options. The watch modes are Clock, Chrono, Timer, and Alarm. Cycle back to Chrono if you miss it the first time.
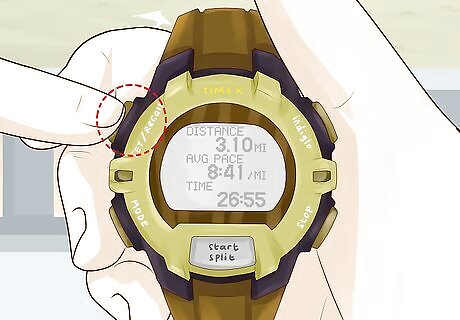
Set the Lap and Split setting by pressing Set/Recall. You have 2 options for the Chrono setting. One displays the current lap time larger with the overall split time smaller. The other reverses the order, and shows the split time larger. Cycle between them with the Start/Split button. Then press Set/Recall again when you pick a format. If you’re trying to improve your lap time, set the Lap to appear larger. This way, you can see how your laps are measuring up. If you’re just timing your run without tracking laps, then displaying Split larger is more useful. The watch keeps the format that you picked for every time you use the Chrono unless you change it again.
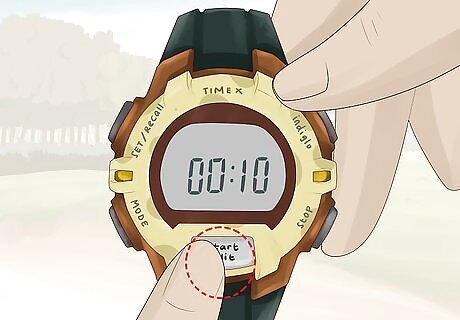
Start the Chrono with the Start/Split button. This begins the timer. Start your workout and use the Chrono to check your current time. If you’re only measuring your overall run or exercise time, then just let the timer go. If you want a specific lap or split time, the Chrono can also measure this.

Get your current lap time by pressing the Start/Split button. If you’re tracking your lap progress, press the Start/Split button when you complete a lap. The timer display will show your lap time for 10 seconds so you can read it. The timer continues running in the background and switches back after 10 seconds. You can use this feature for any measurement. Whether you’re tracking your time per lap, mile, kilometer, or another distance, the Chrono will measure it when you hit Start/Split. Repeat this for as many laps as you’re running to get the time for each lap.
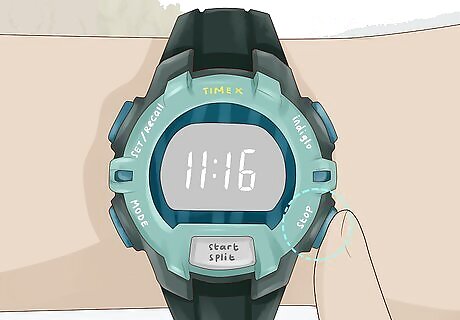
Pause the timer with the Stop/Reset button. If you need a break or want to talk to someone, pause the timer by pressing Stop/Reset. Then when you’re ready to start again, press Start/Split to resume the timer where it paused. Be careful not to accidentally hit Stop/Reset again to start the timer. This will erase your current workout and you’ll have to start over.
Store the workout by pressing Set/Recall when you’re done. When you’re done, stop the timer by pressing Stop/Reset and then holding the same button to reset the data. If you want to store and review your workout results, hold Set/Recall to save the data.
Review your workout by pressing Set/Recall. This brings you to the workout data menu. All the results you’ve stored are on this menu by date. To review your workouts, use + and – to scroll to the one you want to view. Then press Next (or Mode) to open a specific workout. When on a specific workout, you can view each lap of your run plus the total time. To clear a workout, hold Stop/Reset for 5 seconds. When the watch beeps, the last stored workout is deleted. Continue holding the button to erase all workouts and free up all the watch memory.


Comments
0 comment