

Setting Your Hours in Outlook
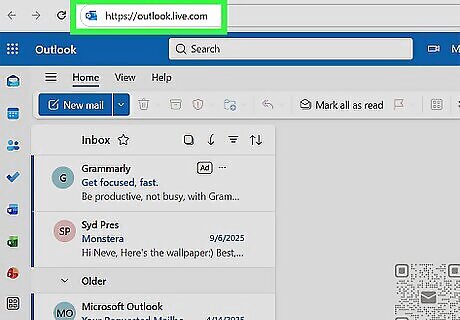
Open Outlook for the web. To set your work hours in Teams, you must update your hours in Outlook. While you can theoretically do this in the Outlook desktop app, many users report that using the web app works more reliably. Visit outlook.com and log in with the same account you use for Teams. If you use Outlook for the web and Outlook for desktop, you might need to update your schedule in both versions of Outlook.
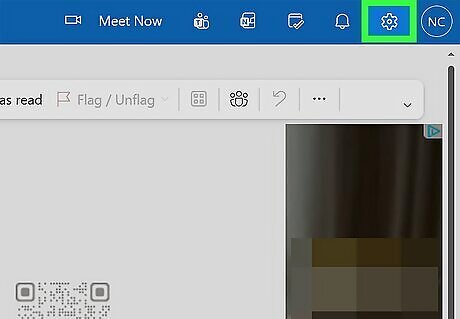
Click the Android 7 Settings Settings icon. If you’re using Outlook for the web, this icon is located at the top right side of the page, next to your profile picture or initials. A new window will open. To access Settings in the desktop app, go to File > Options (Windows) or Outlook > Settings (Mac).
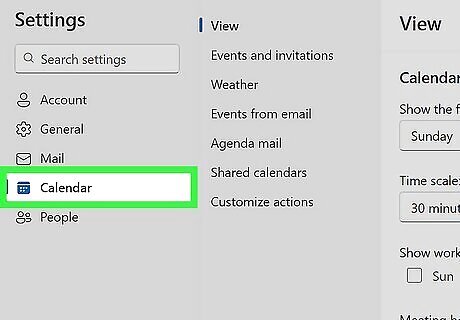
Select Calendar. Click Calendar in the Settings/Options menu to open your Calendar settings.

Set your work days, hours, and time zone. The options you see will vary depending on what version of Outlook you’re using and what kind of account you have, but you should see settings for your work days and hours near the top of the menu. Use the boxes to select your work days and the dropdowns to select the start and end times for your work day. In some versions of Outlook, you might see “Meeting hours” or something similar rather than “Work hours” or “Work day starts/ends”. You can also set one or more time zones, which is helpful when you have team members in multiple time zones trying to keep track of when you are available. Depending on your version of Outlook, you may see an option to save your changes, or they may be saved automatically when you close the Settings menu.
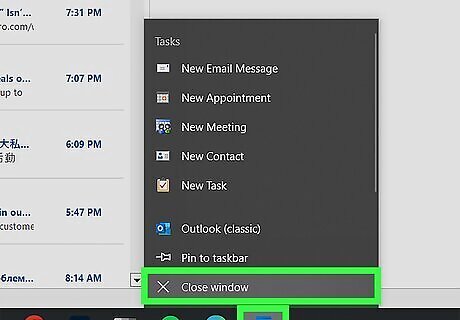
Quit and restart Outlook and Teams. Once you’ve made your changes, completely quit and restart both Outlook and Teams. Even if you made the changes in Outlook for the web, quit and restart the Outlook desktop app if it’s open. It might also help to log out of your Microsoft account and log back in. Once you restart everything, your updated work hours should be reflected in both Outlook and Teams. However, it may take a few hours for your coworkers to see the change in your schedule.
Using Shifts
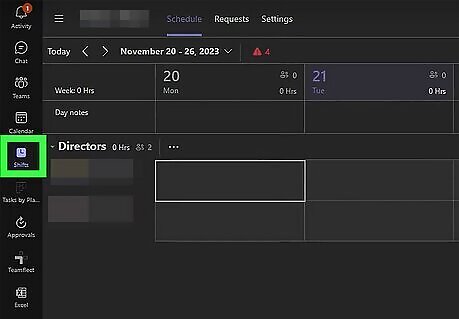
Click Shifts in the left-hand menu bar. If you use Teams with an organizational (school or work) account, you should have access to the Shifts app. It’s located in the left menu bar in Teams for desktop or the web. If you don’t see it, click See more apps •••. What you’re able to do with Shifts depends on your role in the team. If you’re a team owner, you can schedule shifts for your team members. If you’re a team member, you can view, swap, or request shifts, but you can’t create or edit them. The instructions below are primarily for team managers assigning shifts to their team members.
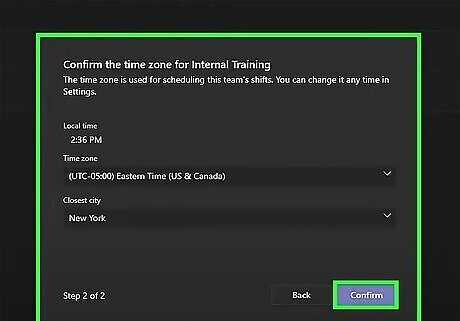
Create a new schedule. If you’re a team leader (or “frontline manager”), you can create schedules in Shifts and add team members to the schedules. To create a new schedule, click Choose or create a schedule > New schedule. If you manage multiple teams, click Create next to the team for which you’re creating the schedule. Set your location and time zone, then click Confirm.
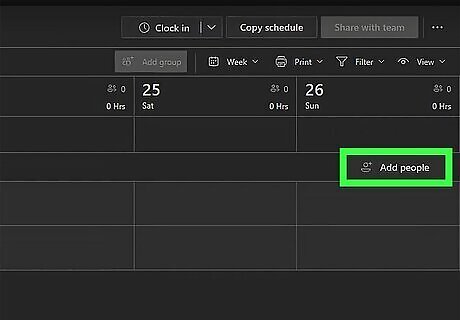
Create schedule groups. You can create groups based on the roles of the team members in each group. For example, in a retail setting, you might create separate groups for cashiers, sales associates, and managers. To create a group, click Add group, then select More options ••• > Rename group. Give your group a name that reflects its role, then click Save. Select Add people to add members to the group.
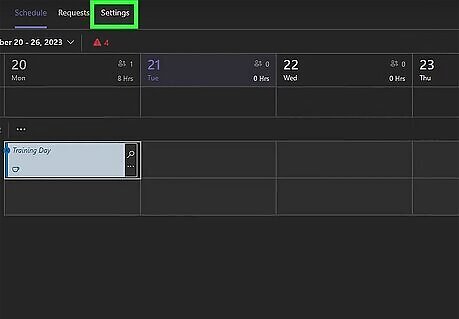
Set a schedule for each group. There are several features you can use when creating a group schedule. To create a schedule, go to the Settings tab in the Shifts app, then enable the features you want. For example, you can: Set a specific day of the week when you want the schedule to start. Give team members the capability of clocking in and out of shifts and recording breaks. Give team members the ability to request open shifts or to swap shifts with coworkers. Set whether or not team members can request time off. Adjust whether team members can see their coworkers’ shift details.
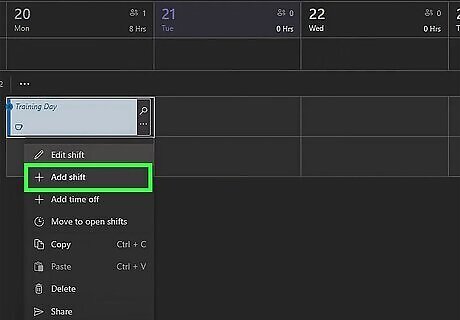
Assign a shift to a team member. Once you’ve set your schedules, you can assign shifts to specific members of each group. To do so: Go to the team member’s row in the schedule, then click More options ••• > Add shift. Fill out the shift information. This includes things like: The shift start and end times. A custom shift name (optional). Unpaid break time (optional). Shift notes. Assigned shift activities. Click Save to save the shift, or click Share to save it and share it with the team member. If you want to add an open shift that team members can request, go to More options ••• > Add open shift, then fill out the shift details. Make sure to include how many slots are available for the shift.

Publish your schedule to the team. Once you’ve created a schedule, you can share it with the whole team to help them track and manage their assigned shifts. Click Share with team at the upper right corner of the schedule, then review the schedule timeframe and details and click Share. You can always make changes to the schedule and share it again!
Troubleshooting

Update your schedule in Outlook for desktop and the web. If your updated schedule didn’t take, it might help to change your hours in both the desktop and online versions of Outlook. This is especially true if you use Outlook and Teams on multiple computers.
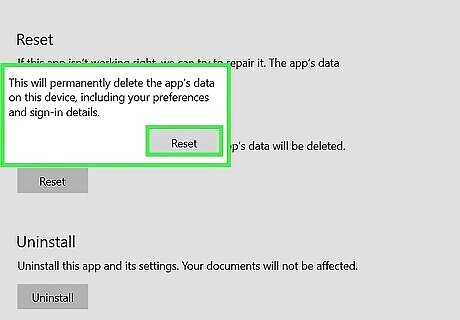
Clear the Teams cache. Cached data might be preventing Teams from reflecting your updated work hours. The right way to clear it depends on what version of Teams you’re using: Teams for Windows: Open the Windows start menu and search for settings. In the Settings app, go to Apps > Installed Apps and search for Microsoft Teams. Click ••• next to Teams in the results, then select Advanced options > Reset > Reset. Restart Teams when you’re done. Teams for Mac: Quit Teams and open your Mac’s Terminal app. Enter the command rm -rf ~/Library/Group Containers/UBF8T346G9.com.microsoft.teams and press Return. Enter the command rm -rf ~/Library/Containers/com.microsoft.teams2 and press Return again. Restart the Teams app.
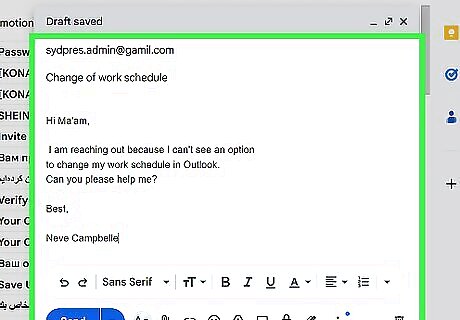
Check with your organization’s administrator or IT department. If you’re using an organizational (school or work) account, the administrator of your account may have disabled the ability to set your own work hours. Contact them if you can’t see an option to change your work schedule in Outlook.


Comments
0 comment