
Confirming Your Dog Needs a Split
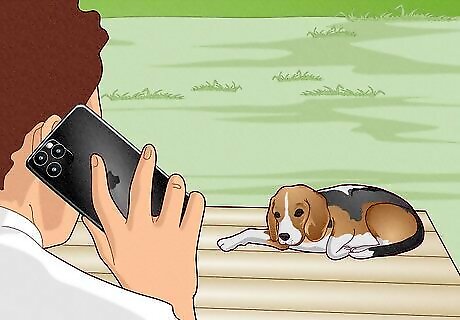
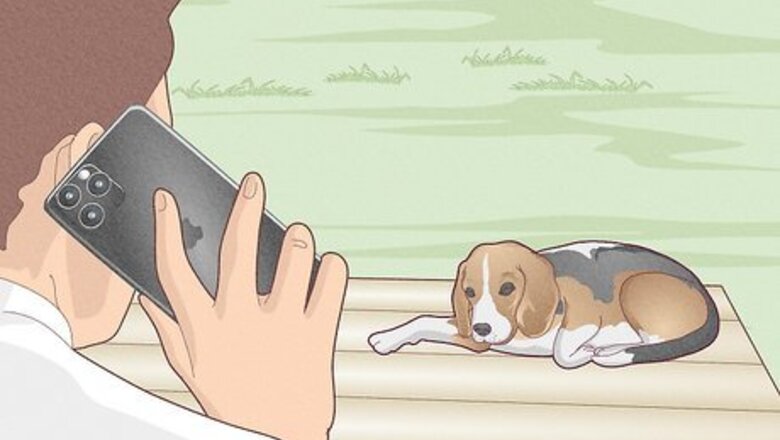
Call your vet to attend to your injured dog. If you can avoid moving your dog or if he is injured in a low traffic area, call your vet to help you assess your dog’s injury. If your dog appears to be okay to walk or move without a splint, it may not be necessary to make one. But, if his injury is pretty bad, the splint will support the bone and minimize any further damage en route to a vet clinic.
Move your dog to safe place. It’s important to get your dog to lay still to assess the injury, so you will need to move him to a safe place to examine his leg. If he has been hit by a vehicle and is lying in the middle of the highway and is small and light enough, pick him up and carry him to a safe area. If your dog is too large for you to carry on your own, get a passerby to help you lift him to safety. As a last resort, you can encourage your dog to stand and limp to a safe area.
Notice if your dog’s leg moves or wobbles in the wrong direction. Signs of obvious instability in your dog’s leg includes the leg moving in a direction it is not meant to. For example, if your dog has a shin bone fracture, the shin bone may bend or bow when it should be straight, or the bone may angle in the wrong direction, such as pointing outwards when it should rest parallel to your dog’s body.
Look to see if the bone has penetrated the skin. If your dog’s injured bone is sticking out through his skin, a splint will help to stop the bone from moving any further.
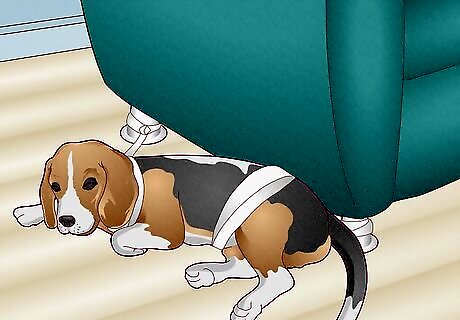
Tie your dog down so he does not move or stand. If you determine that your dog’s injury needs a splint, you need to prevent your dog from standing or walking on his damaged leg by tying him to a piece of furniture or a post. You can also get your neighbor to help you watch him to make sure he does not put weight on his damaged leg.
Gathering the Materials and Applying the First Protective Layer
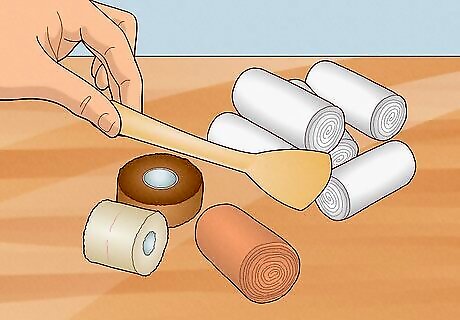
Gather together the necessary materials in one place. You don’t want to get the first few layers of the splint on only to find you are missing a length of bandage so get all your materials together in one place before you make the splint. Pausing to search for more materials will also allow your dog to shake or move his leg while he is unsupervised, and potential undo all your hard work on the splint. Get four to five rolls of cotton padding bandage (such as Soffban) and four to five rolls of cotton bandage. A roll of zinc oxide tape. A roll of crepe bandage (preferably a self-adhesive bandage such as Co-flex). A roll of adhesive bandage (such as Elastoplast). A splint. You want a splint that is a similar width and as long as the injured limb bone. A ruler or a wooden spatula can be acceptable splints in a pinch. Scissors to cut the bandage material.
Get someone to help you hold your dog still. If your dog is conscious, it is helpful to a friend or neighbor assist you in holding your dog still. This will also prevent him from shaking off the dressing halfway through and if he gets snappy because of the pain, your assistant can help to calm him down while you work on the splint. EXPERT TIP Colleen Demling-Riley, CPDT-KA, CBCC-KA, CDBC Colleen Demling-Riley, CPDT-KA, CBCC-KA, CDBC Canine Behavior Consultant Colleen Demling-Riley (CPDT-KA, CBCC-KA, CDBC) is a Canine Behavior Consultant and the Founder of Pawtopia Dog Training. With more than 20 years of experience, she specializes in creating and customizing dog management programs for dog owners. She is a Certified Pet Dog Trainer-Knowledge Assessed, Certified Behavior Consultant Canine-Knowledge Assessed, Certified Dog Behavior Consultant, and American Kennel Club Canine Good Citizen Evaluator. Colleen is a member of the International Association of Canine Professionals and has been a featured expert in national media including the New York Times, Woman’s Day, Readers Digest, Cosmopolitan, and Yahoo.com. Colleen Demling-Riley, CPDT-KA, CBCC-KA, CDBC Colleen Demling-Riley, CPDT-KA, CBCC-KA, CDBC Canine Behavior Consultant If your dog is in pain, stay calm. Dogs are sensitive to their owner's emotions. If your dog is in pain and you start getting nervous or panicky, your dog will sense your distress and feel more pain and stress. Whatever the situation, approach it calmly to help your dog feel reassured.
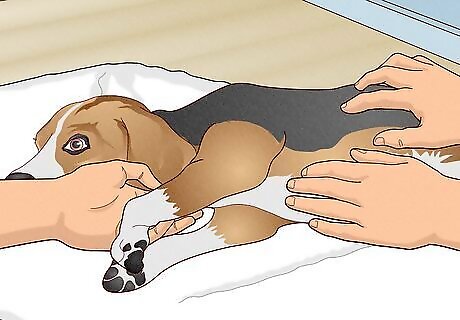
Lie your dog down on a padded surface with his injured leg in the air. Use a rug or a towel to create a soft, padded surface as your dog will be less likely to wiggle around if he is comfortable.
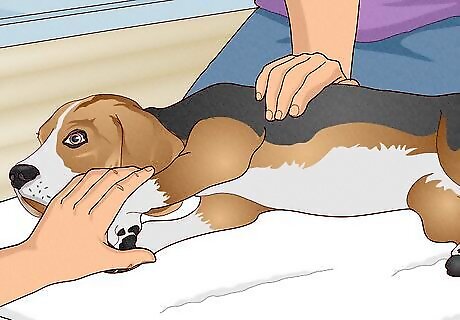
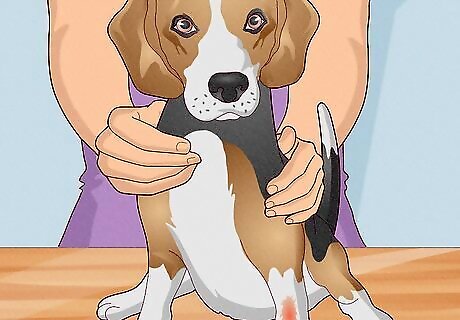
Position yourself on one side of your dog with his paws closest to you. Your assistant should stand with your dog’s back against their tummy, so that your dog’s legs are pointing away from them and towards you.
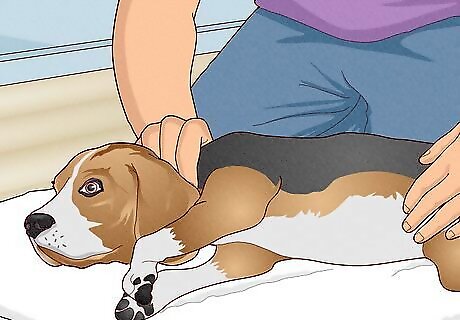
Have your assistant gently restrain your dog. If your dog is wiggling around, your assistant can gently rest their forearm over your dog’s neck to push your dog’s head to the floor. Your assistant can then use their free hand to grasp your dog’s leg, which should be resting on the ground. Pinning down your dog’s head and holding his leg will stop him from getting up.
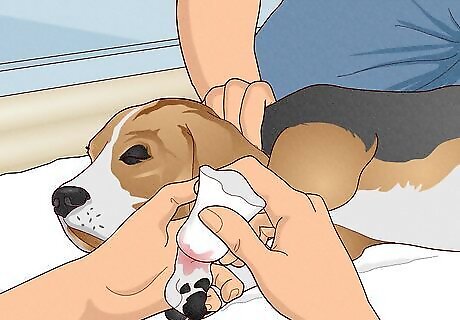
Clean any open wounds. Stop any excessive bleeding, then clean the wound before dressing it to limit the risk of infection. Work carefully but quickly, doing the best job you can reasonably do within a few minutes. If bleeding is severe, apply direct pressure to the wound using a clean towel or gauze for 3-5 minutes. Repeat if necessary, and call the veterinarian immediately if you cannot get the bleeding to stop on your own. If there's no excessive bleeding or you're able to stop it, you can flush out the wound with a saline solution made of 2 tsp sea salt and 1 cup (250 ml) warm water. If you have a dog-specific antibiotic solution or cream, you can apply that afterward. Lightly dry the area by patting it with a clean towel.
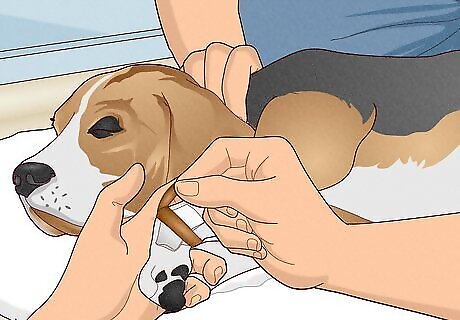
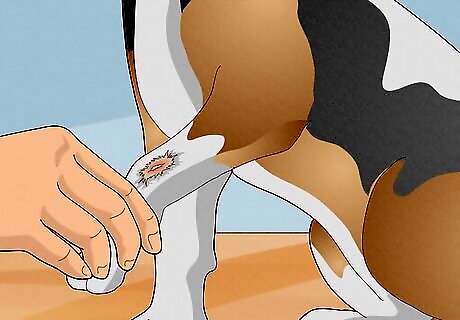
Cover any open wounds on your dog’s leg with a sterile gauze swab. To do this, cut two strips of zinc oxide tape so they are four-inches wider than the swab. Open the sterile swab packaging and place the swab on top of the open wound. Wrap the zinc oxide tape over the swab and wind it around your dog’s leg to anchor the swab in place. Avoid stretching the tape because this could restrict the blood circulation to your dog’s leg. If you do not have access to sterile swabs, use a piece of clean linen or cotton to cover the wound; a clean handkerchief would work just fine. Choose a material that is not fluffy and will not leave fibers in the wound. Do not use wool or fleece.
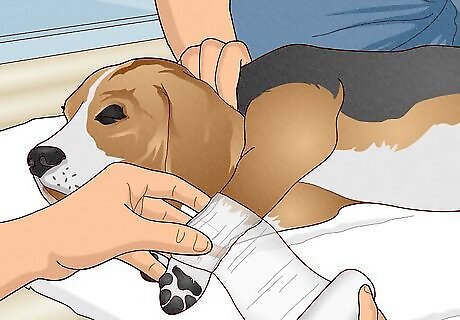
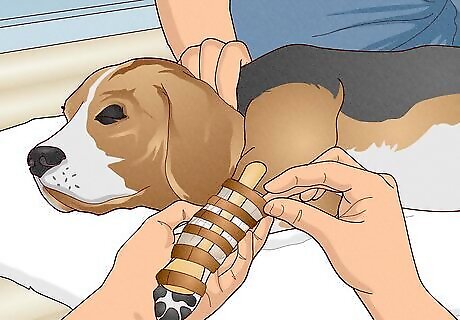
Apply a single layer of padding around your dog’s leg. Applying the splint directly to the skin can cause rubbing and discomfort so begin with a single layer of padding around your dog’s leg. You want to prevent the splint from resting against your dog’s skin, rather than pad the injury, so do not put lots of layers of padding at this stage. Too much padding can cause the splint to slip out of place. Remove the wrapper from the sterile Soffban. If you are right-handed, hold the roll in your right hand with the tongue rolling down and under the roll, and facing away from you. Start at the toes, and rest the tongue of the roll over the top of your dog’s paw. Hold it in place with the left hand and then wind the Soffban around the limb in a circular motion, with each wrap overlapping the previous by half the width of the Soffban. Apply a little bit of tension to the Soffban as you wind, so that it stretches slightly but does not tear. Soffban will not cut off circulation on the limb because the fibers part and the bandage shears before that amount of tension can be applied. Continue winding the Soffban until you have encased the limb. Tear off the Soffban and tuck the free end under the previous wrap to secure it. If you do not have access to medical supplies like Soffban, you can use regular cotton wool to form a soft layer around the leg, or cut a T-shirt into strips and wrap them around your dog’s leg.
Applying the Splint
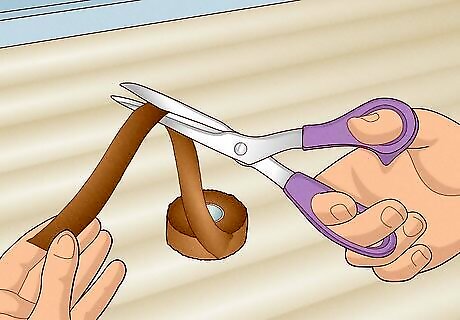
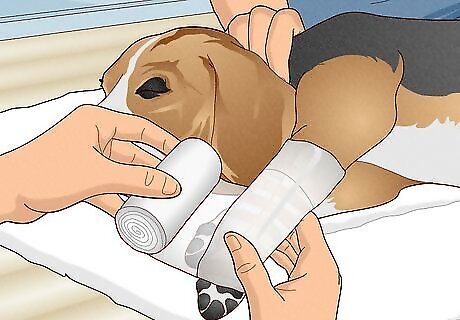
Cut off four to six pieces of zinc oxide tape. Each strip should be twice the diameter of the bone being splinted.
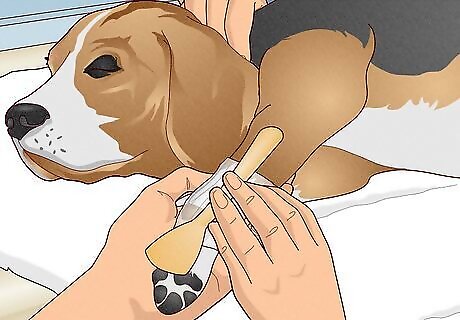
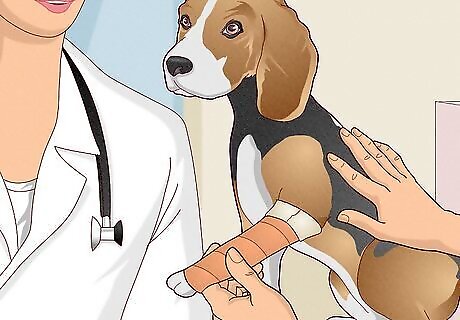
Place the splint against the padding to support the injury. Make sure you line up the splint to properly fit the injured area.
Secure the splint in place with the zinc oxide tape by placing the strips one at each end of the splint and then throughout the splint. Wind the tape around the splint and Soffban, so the splint is secured firmly against the limb. If you don't have access to zinc oxide tape, improvise with what you have on hand. Zinc oxide tape is a fabric tape with adhesive, so you could use alternatives like sticky tape, duct tape, or even shoelaces tied around the splint and leg to secure it in place. The goal is to anchor the splint against the leg so it is comfortable for your dog.
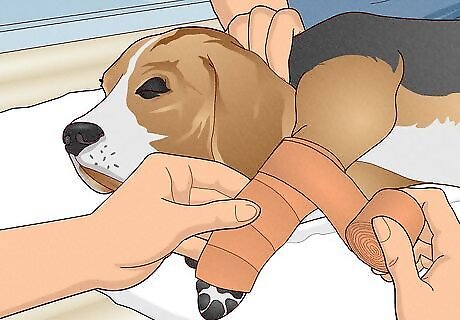
Apply another layer of Soffban. Do this the same way you applied the initial layer of Soffban. Then, open the sterile packaging on the cotton bandage and wind a layer over the top of the Soffban, using the same technique. Repeat this for approximately three layers. Applying further layers of padding and bandage helps to hold the splint in place and further immobilizes any fractures.
Finishing the Splint
Apply a protective layer such as Co-flex to keep the bandage clean and rigid. Open the sterile wrapper and apply a layer of Co-flex using the same technique as you did for the Soffban. Co-flex is stretchy so if it is applied in its stretched state, it will contract on the damaged limb and impair the limb’s blood circulation. Always release the tension on the roll as you bandage so the Co-flex is unstretched as you wrap it around your dog’s leg. If you do not have access to Co-flex, don't worry about this step. The bandage will be fine without an outer layer in the short term (about a day), while you take your dog to the vet. The outer layer will help to keep the inner layers clean, which becomes more of a priority if the dressing has to stay in place for several days.
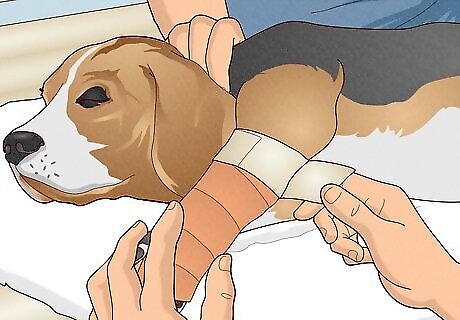
Use Elastoplast to prevent the splint from sliding off. No matter how well you apply the splint, most limb dressings have a habit of sliding off. So to ensure this doesn’t happen, cut a length of adhesive dressing, such as Elastoplast, to secure the top of the dressing to the limb. Cut a length of Elastoplast that is long enough to pass twice around the top of the dressing. Overlap the width so that half overlaps the dressing and the other half overlaps the fur on your dog’s leg. Then, wind the Elastoplast around like a garter.
Take your dog to the vet. Now that your pup’s damaged limb is supported in a splint, make your way to the vet.


Comments
0 comment